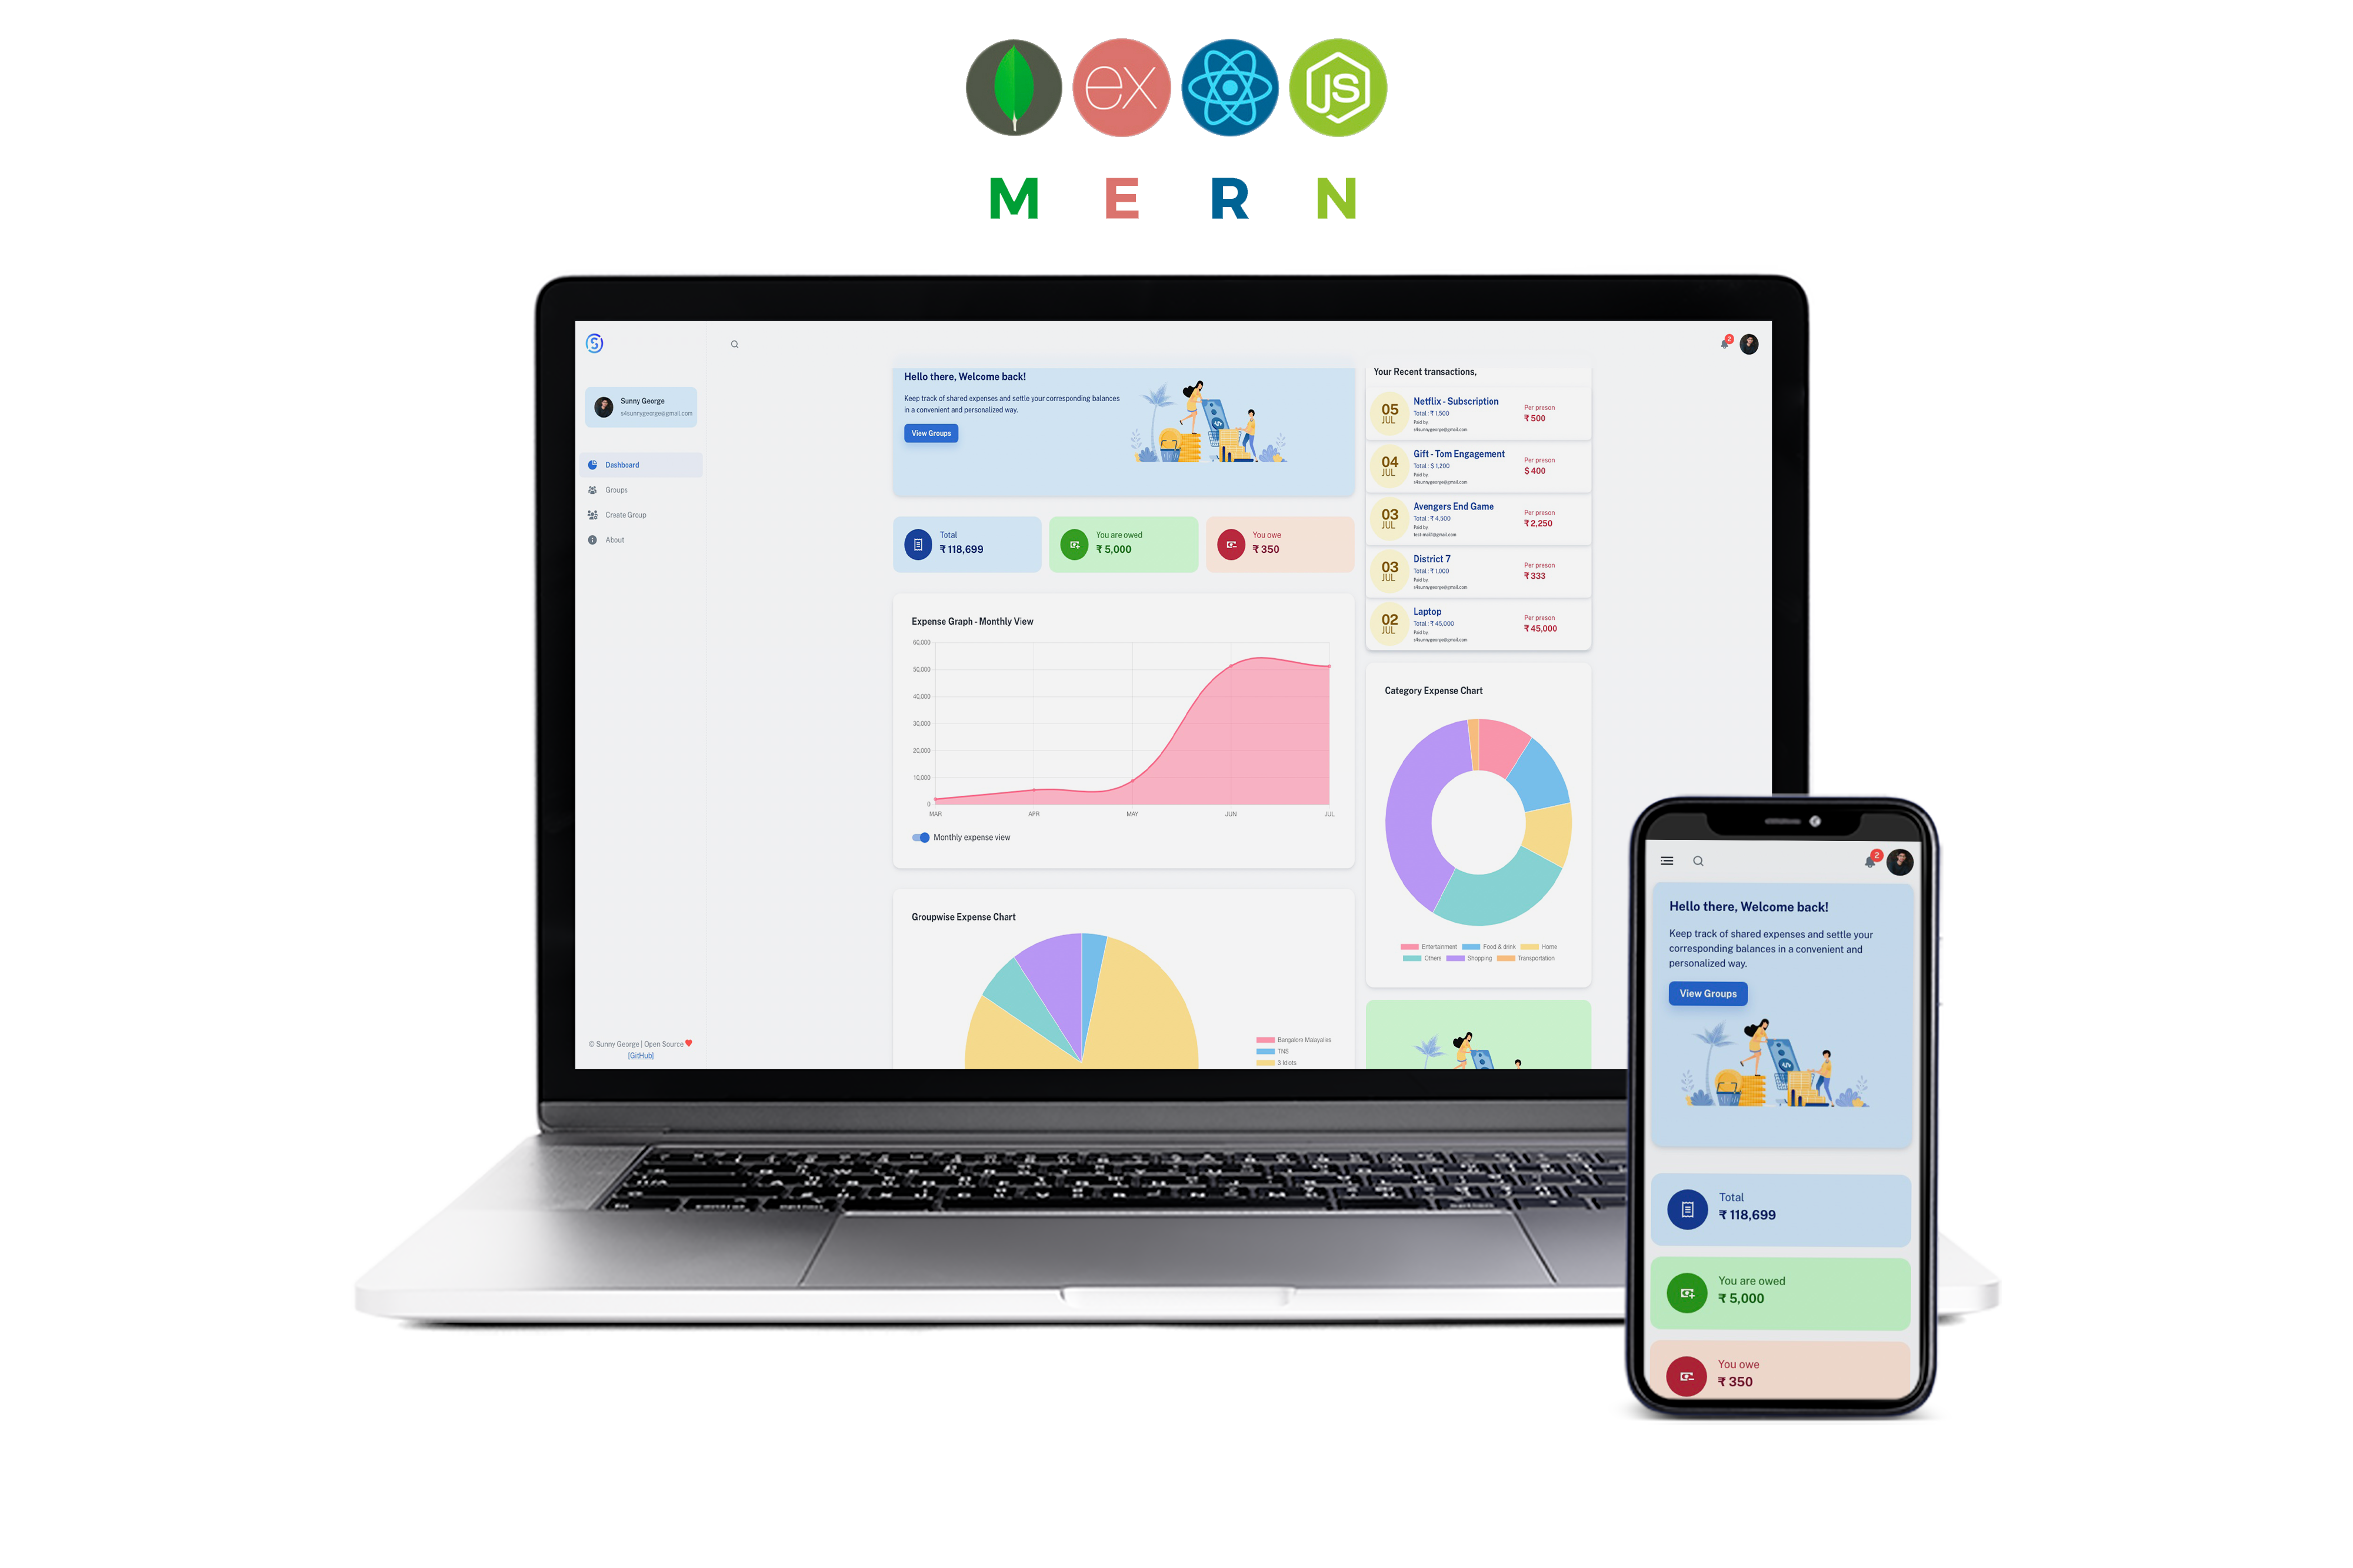
Build with the MERN stack (MongoDB, Express, React and NodeJS).
Explore the docs »
View Demo
·
Report Bug
·
Request Feature
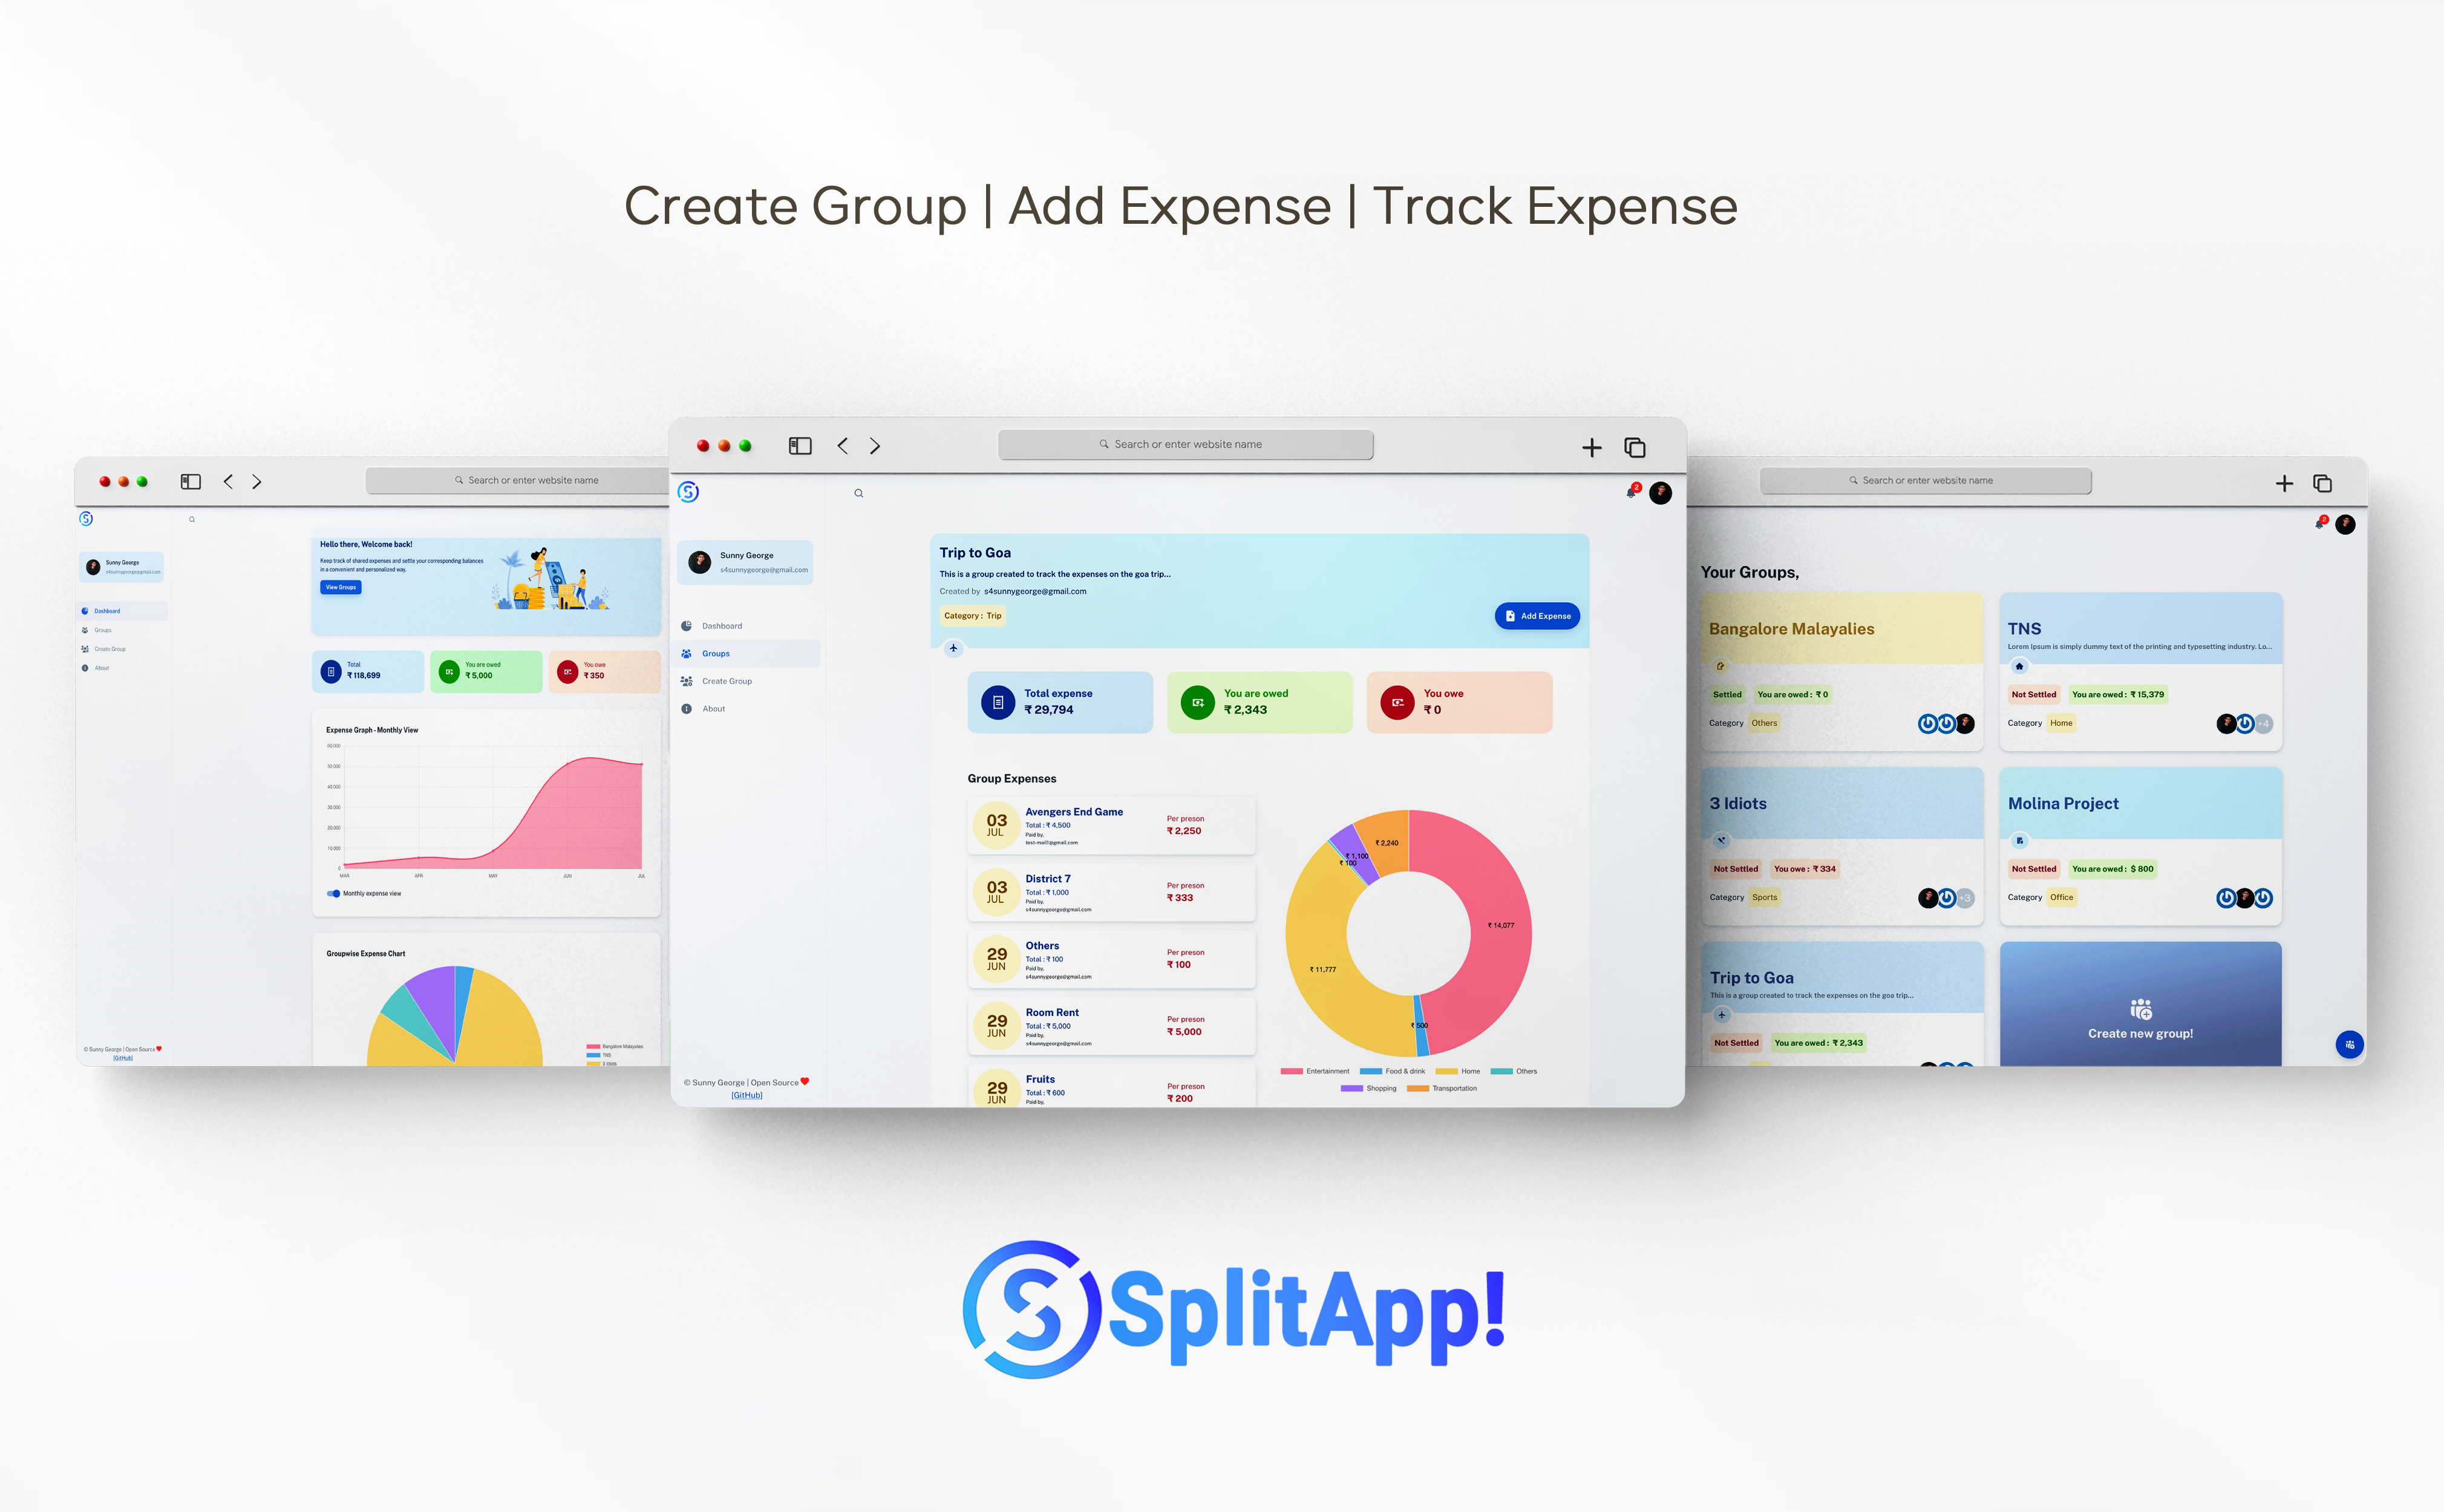
This is a side project I've been working on. A full stack expense spliting app - splitwise clone made using the MERN stack (MongoDB, Express, React & Nodejs), specially designed to split group expense between friends. With this application, you can add your expense details and get an whole expense analytics feature - Group Balance, Monthly amount spend, Catagory wise expense spending graph etc... Jump right off the Live App and start adding your expenses or download the entire Source code and run it on your server. This project is something I've been working on in my free time so I cannot be sure that everything will work out correctly. But I'll appreciate you if can report any issue.
- Create user groups and track group expense
- Keep track of shared expenses and settle your corresponding balances in a convenient and personalized way.
- Get Analytical graphs to understand your expenditure trend
- Multiple user registration.
- Authentication using JSON web token (JWT)
This project was created using the following technologies.
- React JS
- Redux (for managing and centralizing application state)
- Axios (for making api calls)
- Material UI (for User Interface)
- Chart.js (To display various analytics graphs)
- React-chartjs-2
- Gravitar (for user profile picture)
- Express
- Mongoose
- JWT (For authentication)
- bcryptjs (for data encryption)
MongoDB (MongoDB Atlas)
In order to run this project locally, simply fork and clone the repository or download as zip and unzip on your machine.
- Open the project in your prefered code editor.
- Go to terminal -> New terminal (If you are using VS code)
- Split your terminal into two (run the client on one terminal and the server on the other terminal)
In the first terminal - Setup Clinet
$ cd client
$ npm install (to install client-side dependencies)
$ npm start (to start the client)
For setting up backend (root directory)
- create a .env file in the root of your directory.
- Supply the following credentials
PORT=3001
MONGODB_URI=
ACCESS_TOKEN_SECRET=
Please follow This tutorial to create your mongoDB connection url, which you'll use as your MONGODB_URI
Provide some random key in ACCESS_TOKEN_SECRET or you could generate one using node enter the below command in the terminal to genrate a random secret key
node -e "console.log(require('crypto').randomBytes(256).toString('base64'));"
In the second terminal (*in the project root directory (back-end))
$ npm install (to install server-side dependencies)
& npm start (to start the server)
I intend to keep adding more features to this application, so if you like it, please give it a star, that will encourage me to to keep improving the project.
This project is MIT licensed.
Copyright 2022 Sunny G Vaikathuparampan
Permission is hereby granted, free of charge, to any person obtaining a copy of this software and associated documentation files (the "Software"), to deal in the Software without restriction, including without limitation the rights to use, copy, modify, merge, publish, distribute, sublicense, and/or sell copies of the Software, and to permit persons to whom the Software is furnished to do so, subject to the following conditions:
The above copyright notice and this permission notice shall be included in all copies or substantial portions of the Software.
THE SOFTWARE IS PROVIDED "AS IS", WITHOUT WARRANTY OF ANY KIND, EXPRESS OR IMPLIED, INCLUDING BUT NOT LIMITED TO THE WARRANTIES OF MERCHANTABILITY, FITNESS FOR A PARTICULAR PURPOSE AND NONINFRINGEMENT. IN NO EVENT SHALL THE AUTHORS OR COPYRIGHT HOLDERS BE LIABLE FOR ANY CLAIM, DAMAGES OR OTHER LIABILITY, WHETHER IN AN ACTION OF CONTRACT, TORT OR OTHERWISE, ARISING FROM, OUT OF OR IN CONNECTION WITH THE SOFTWARE OR THE USE OR OTHER DEALINGS IN THE SOFTWARE.

