-
Notifications
You must be signed in to change notification settings - Fork 3
Architecture:RocketChat
RocketChat provides a chat service and is hosted at
rocketchat.<liquid_domain>. It requires manual configuration to let users log
in with accounts from liquid-core, see the steps below.
Rocket.Chat can directly authenticate users with the liquid-core oauth2
server. Most of the configuration is automated, but there is one manual step
that needs to be performed by an administrator through Rocket.Chat's web admin.
-
Get the Rocket.Chat admin credentials:
./liquid getsecret liquid/rocketchat/adminuser
-
Log into Rocket.Chat -
http(s)://rocketchat.<liquid_domain>- using those credentials.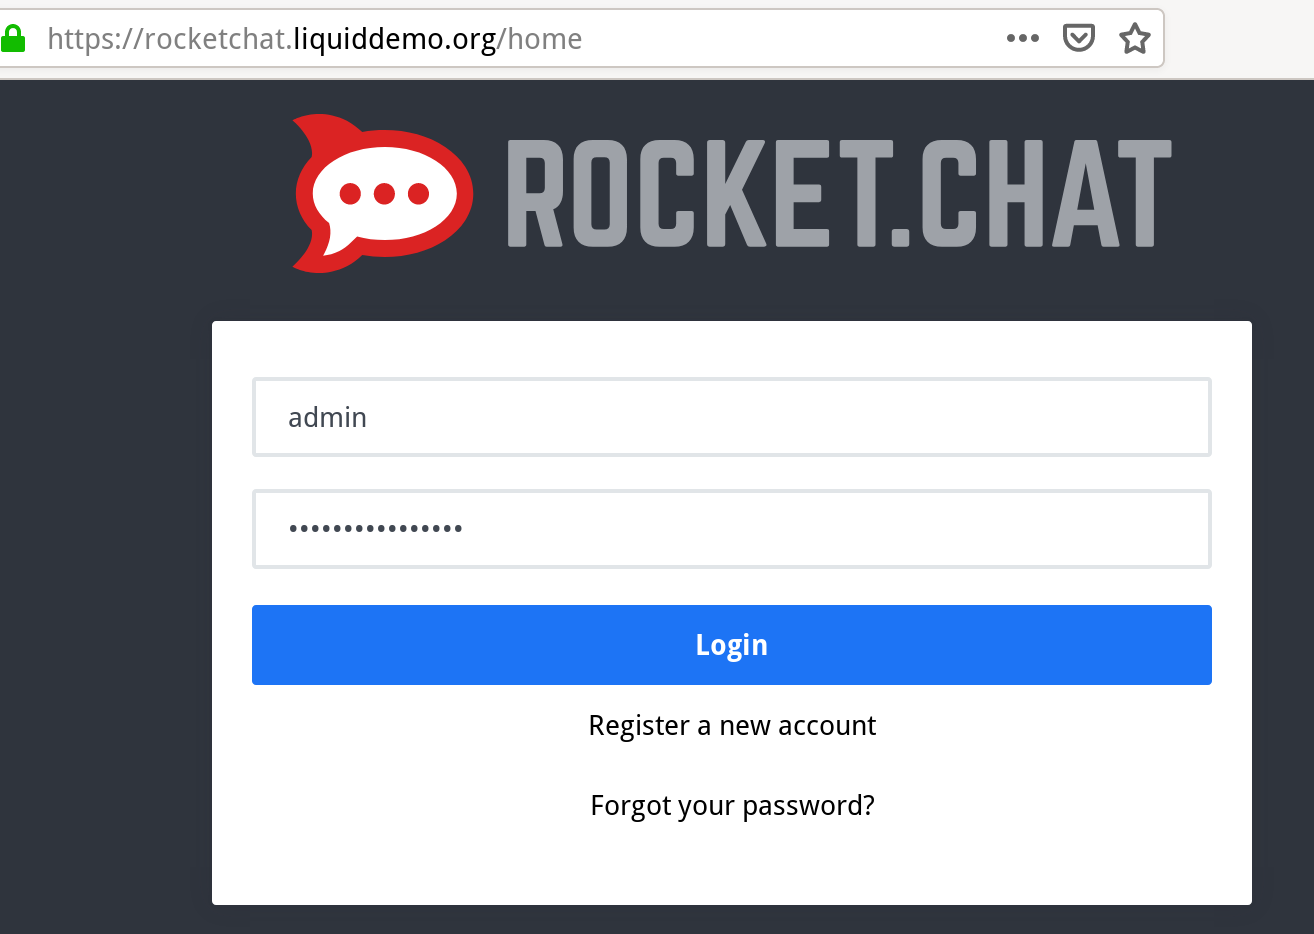
-
Go to admin, oauth


-
Create custom oauth application and call it
Liquid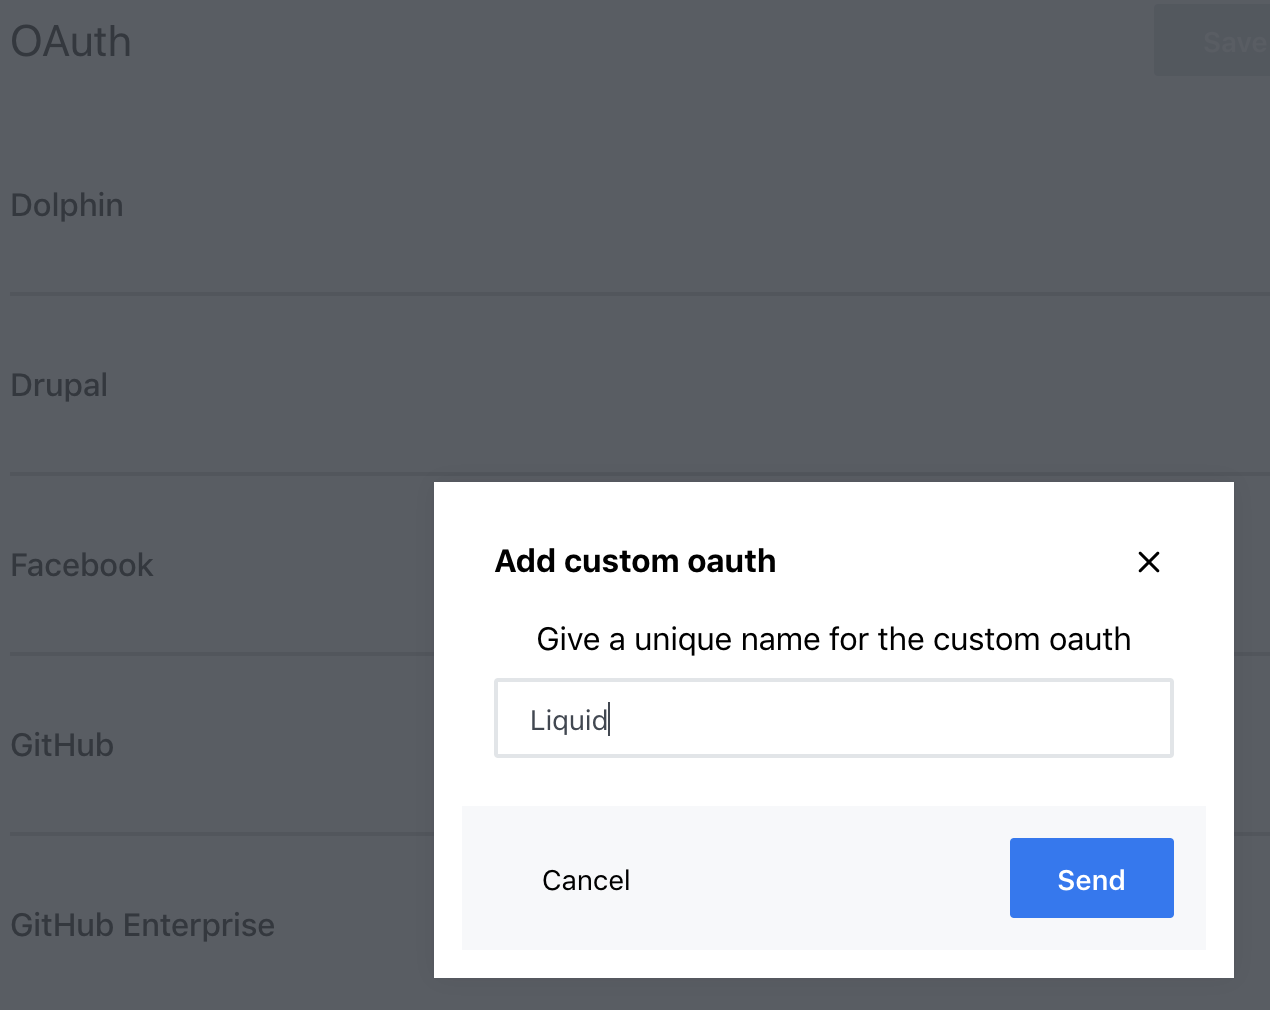
-
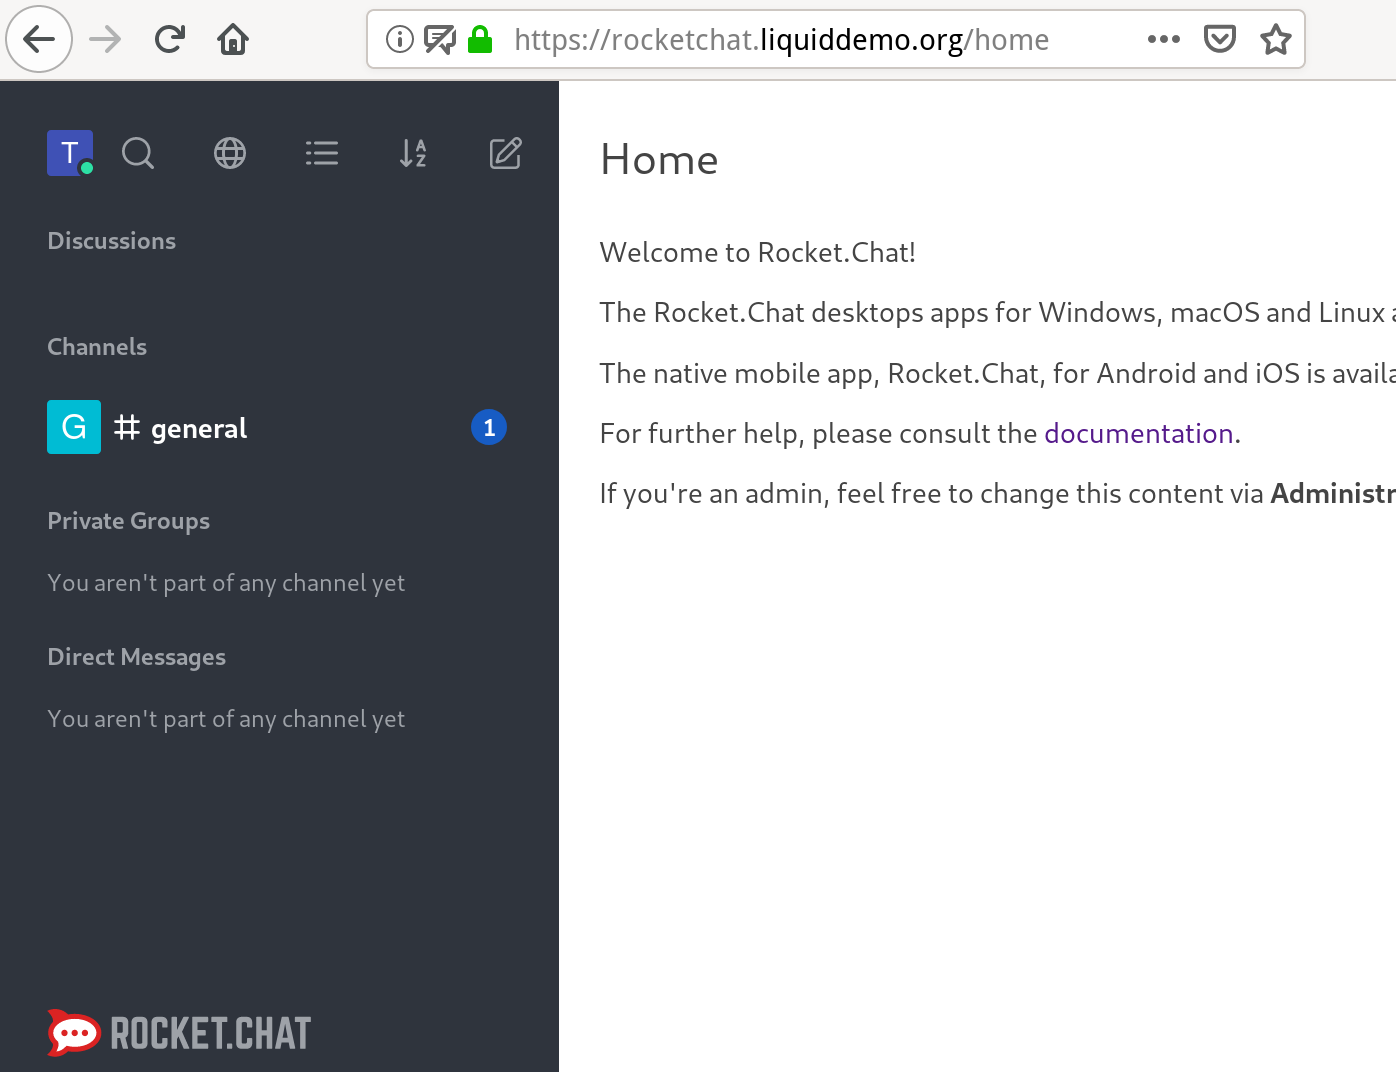
Log out. On the login page, a new button, "Liquid Login", should appear. Click on it and go through the
liquid-corelogin process. It should redirect back to Rocket.Chat and authenticate.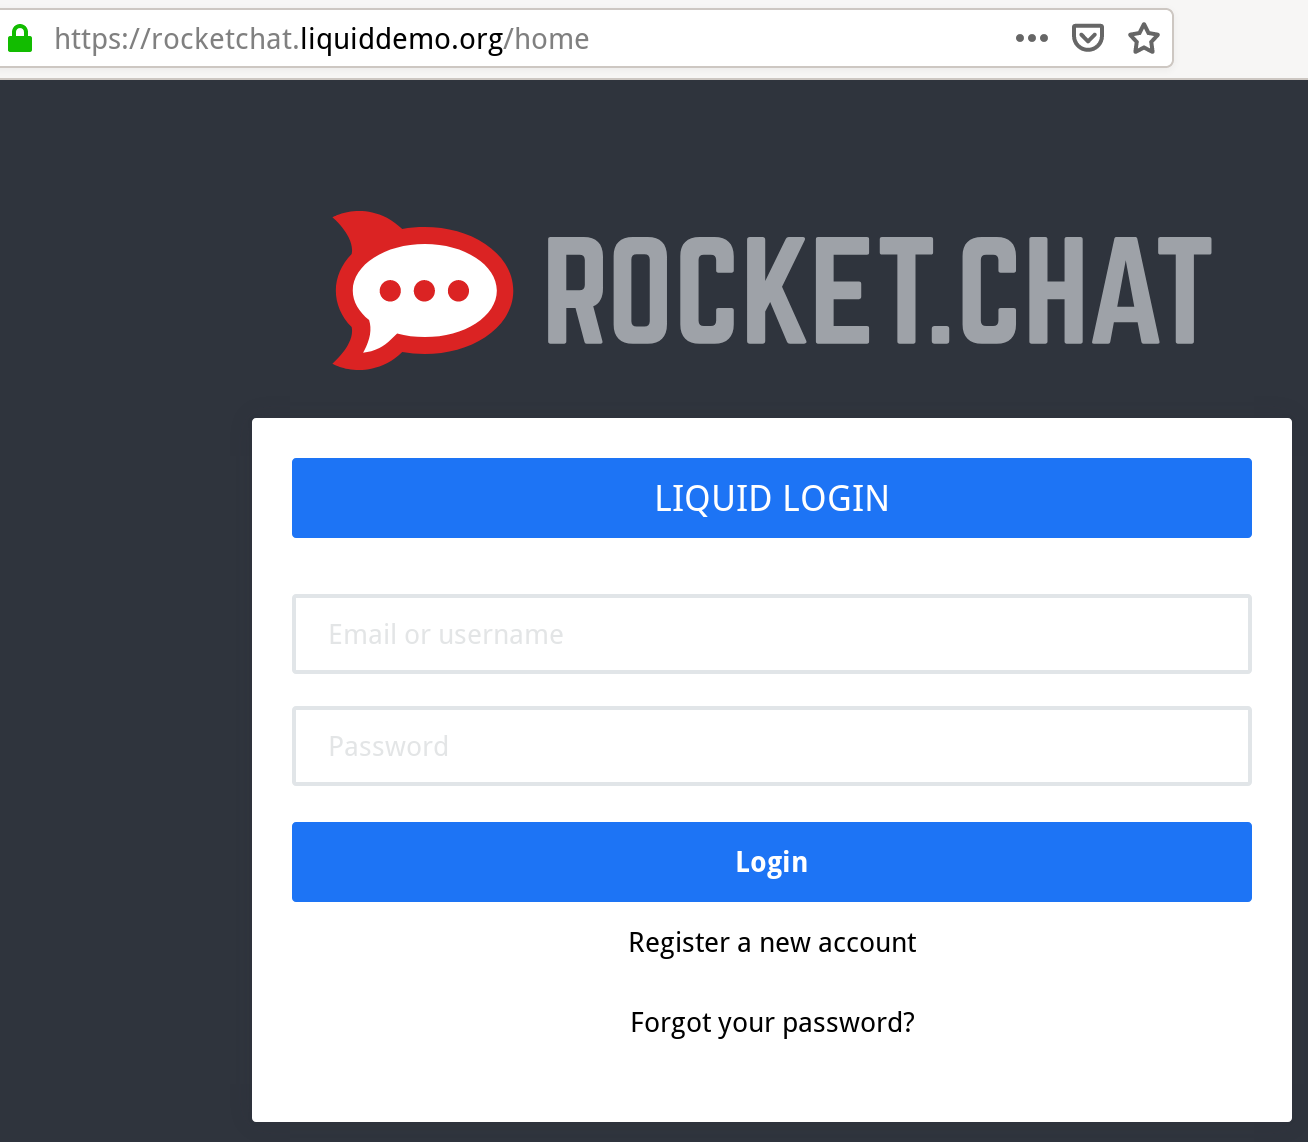
-
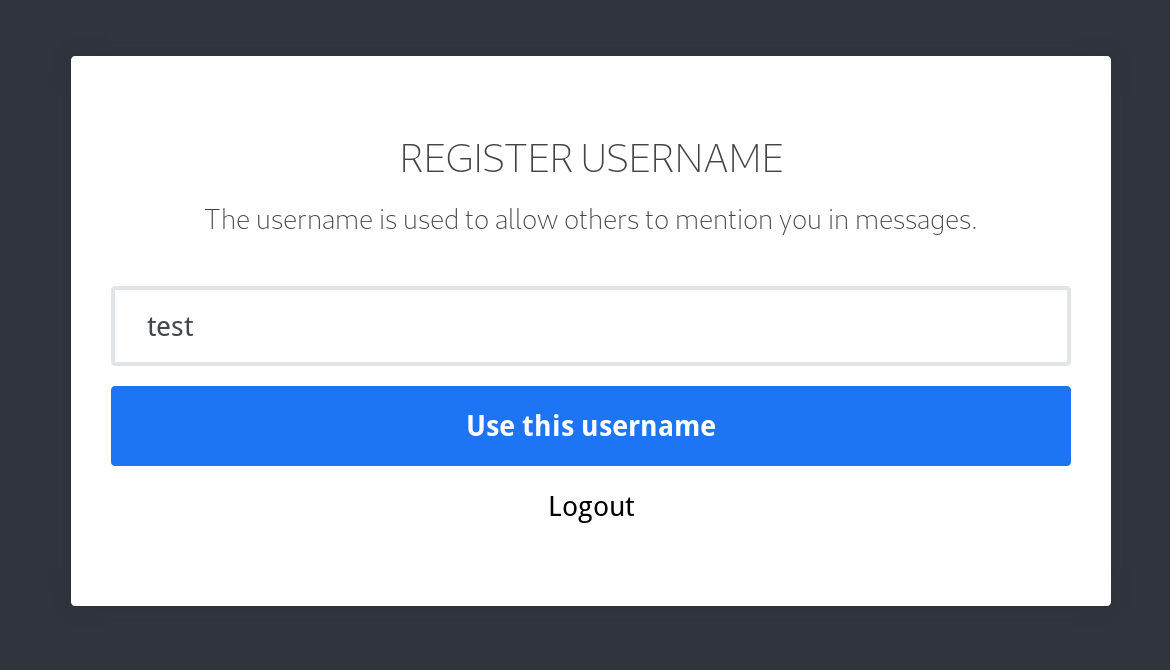
On first login, you are presented with a question, to choose a username. It's currently not based on the liquid username, so please enter something that people will recognize.
-
After you verify that the login button works correctly, please edit
liquid.iniand set the following setting:[liquid] rocketchat_show_login_form = false. This will only keep the login button, hiding the user/password form. -
Set the desired number of days for Login Expiration, by editing
liquid.iniand setting the following value:[liquid] rocketchat_autologout_days = 7. -
Run the command
./liquid deployand wait for server re-start.
After changing the domain name or the internal cluster IP address, the Login Page will break. To fix it, one must manually go through the above process again, deleting the old entry and creating another one:
- re-enable the user/password login form (step 7. above) and deploy
- login as
rocketchatadminwith the secret extracted from the commandline (step 1. above) - delete the old Oauth2 entry for Liquid
- re-create it as before (step 4. above)
- double check the section:
General > Site URL. It should have exactly the same url as the one in the browser.
The login should work as expected again.
This allows sending the message sender name, chat room, and optionally the entire message content through the RocketChat Public Gateway, and then through the Google/Apple cloud notifications system.
Options to limit the data being shown are available in the RocketChat Admin UI, section Admin > Push > Privacy.
Since we are running the Community Edition, it seems that notifications are not secured, and can be intercepted by Apple, Google, or RocketChat Cloud.
More details here: Rocket.Chat Guides -- Push Notifications Security,
and at their Pricing Page under Team Collaboration Features see Secured Push Notifications.
Nevertheless, it's recommended to keep the Fetch full message content from server on receipt flag set to TRUE.
The push notification service free tier is limited at 10 000 notifications / month for each server, or about 450 / work day -- should be enough for about 100 users.
The usage can be checked from the RockeChat Cloud console.
- Enable feature via
liquid.iniflag called[liquid] rocketchat_enable_push, and run./liquid deploy. - Create an account for RocketChat Cloud here: Rocket.Chat Cloud Registration.
- With this account, click the
Workspaces > Register self-managedbutton and obtain aRegistration Token. More details here: Rocket.Chat Guide -- Connectivity Services. - In your RocketChat instance, fill out all the fields under
Admin > Setup Wizard > Organization Info, including a valid-looking e-mail address for theOrganization Emailfield. - In your RocketChat instance, navigate to the
Connectivity Servicestab and connect it withRocketChat Cloudby using theRegistration Token.
Report incomplete documentation by opening a new Issue in this repository.