-
-
Notifications
You must be signed in to change notification settings - Fork 6
Installation
To install this extension, download the latest available release
and copy all files into the dlls folder of your Streamer.bot installation.
Then, import actions.txt into Streamer.bot using the Import button in the top toolbar of the app.

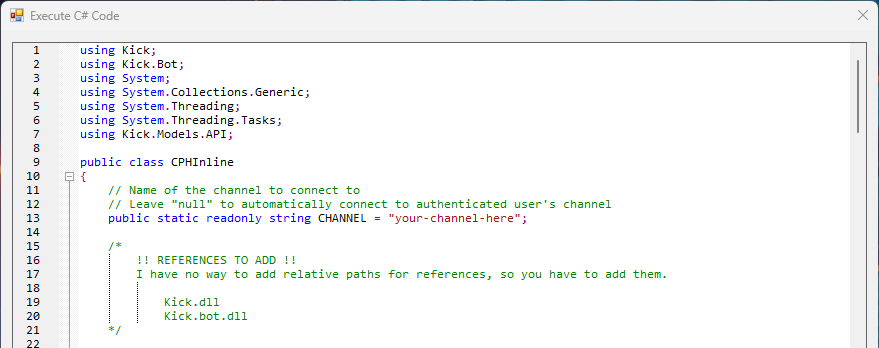
Now, go to the freshly installed action KickBot and edit the code sub-action.

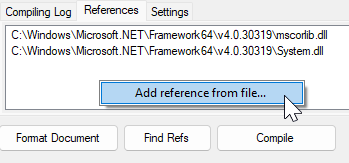
A new window will open. At the bottom, click on the References tab, do a right-click in the white box and click Add reference from file... and add both DLL.


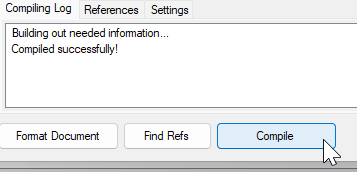
Then click on Compile and check in the Compiling Log tab that everything work as expected.

Click on OK to close this window. At this point, a Kick Login window should appear.
You just have to authenticate yourself on Kick, the window will close by itself once it's done.
A Windows notification will appear to confirm your authentication is successful. If you don't see the notification, check if they are not muted because of Windows' "Do Not Disturb" mode.
If you want to use a dedicated bot account with this extension, you will have to :
- Authenticate with your bot account on Kick
- Modify the C# code in the
KickBotaction to manually change your channel slug name. The slug name is what is shown in the browser URL when people join your channel. Ex: https://kick.com/your-channel-here
Note : You will have to do this everytime you update/re-import the KickBot action.
Note 2 : If you need to disconnect your own account to connect a bot account, stop the bot, delete the Streamer.bot.exe.WebView2 folder and restart it. The login window will open again.

Most upgrades are easy and require a simple DLL swap. Shutdown Streamer.bot and replace both DLL in the dlls folder with the new ones, then restart it.
Some upgrades might require to re-import an updated action that will replace the current one. You will have to follow the installation process again and add the missing references to make it work.
Just add Kick triggers to your actions and see for yourself !

All Kick triggers mimic Twitch triggers (as far as I could). Documentation for these can be found here: https://github.com/Sehelitar/Kick.bot/wiki/Triggers
To call any C# method, just add a Execute C# Method sub-action like this:


C# methods documentation is available here: https://github.com/Sehelitar/Kick.bot/wiki/Methods
The first thing to do, if you don't have any command yet, is to create one.
Go to the Commands tab and add a new command.
Note : If you already have commands set for Twitch or any other platform, you DO NOT need to duplicate them, they will automatically show up in the triggers list.
Note #2 :
User Permissionswill NOT work with Kick since this require a deeper intergration with Streamer.bot to make it work properly. UseGroup Permissionsinstead, with the 3 primary groups only (custom ones won't work either).
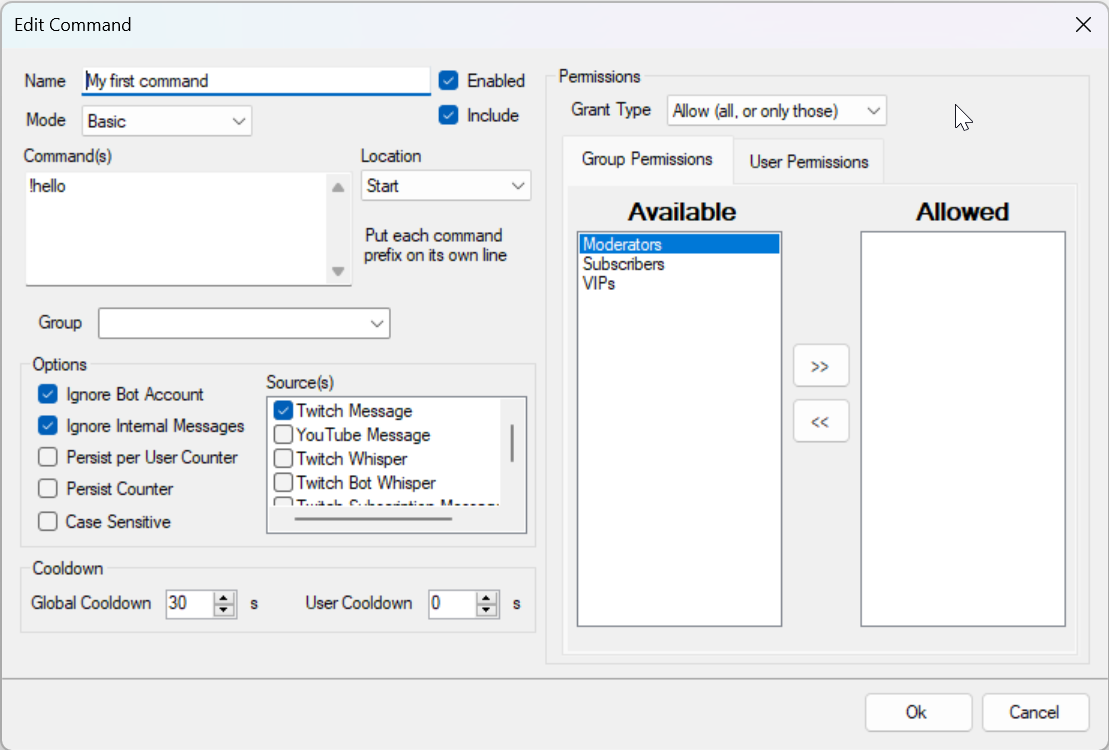
Let's create our first command :

Click Ok to save it. You also need to click on the Save button in the top bar.

Note: If you don't click on the
Savebutton, the command you just created won't show up in the triggers list.
Now, your command trigger should be available in the triggers list.

That's it! Now just configure your action to do whatever you need, then try it out!

If you ever have any problem with this extension, logs files might be very useful. You will find them in the logs folder of your bot's installation. All Kick's logs entries will have a [Kick] prefix in front of them to make them easy to spot.