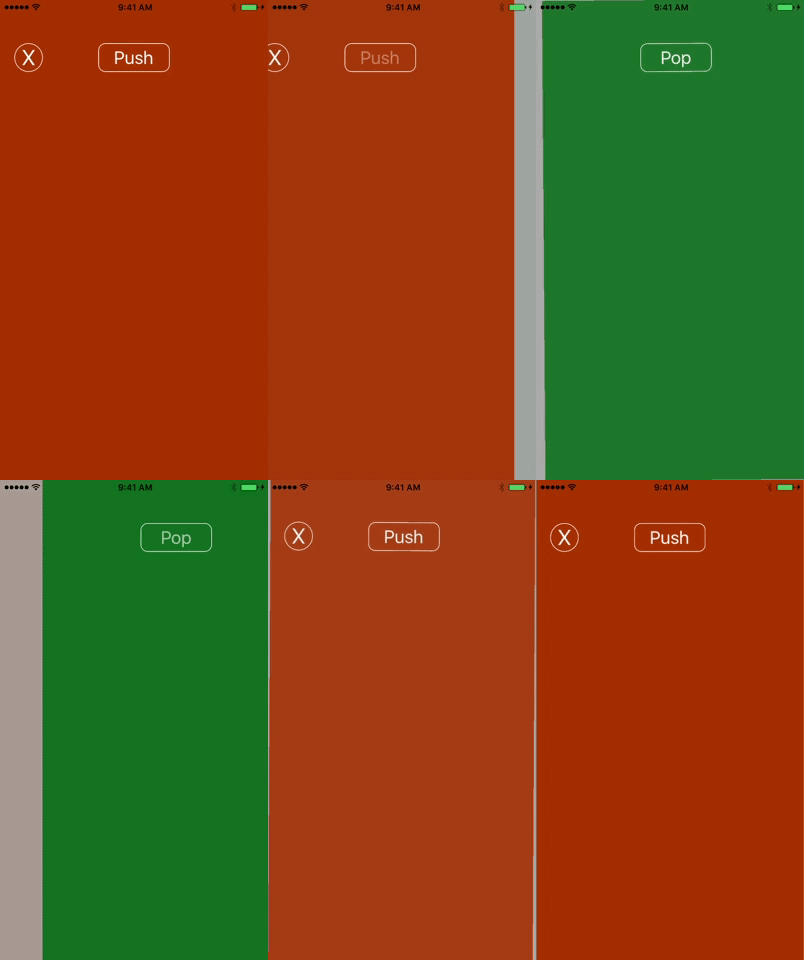
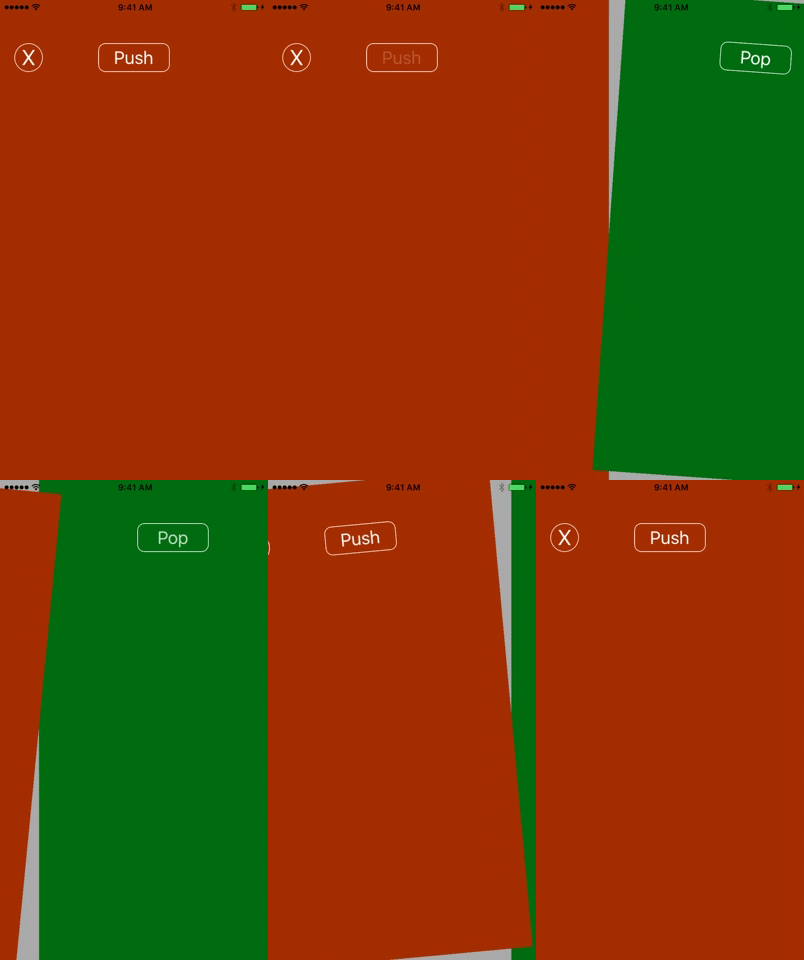
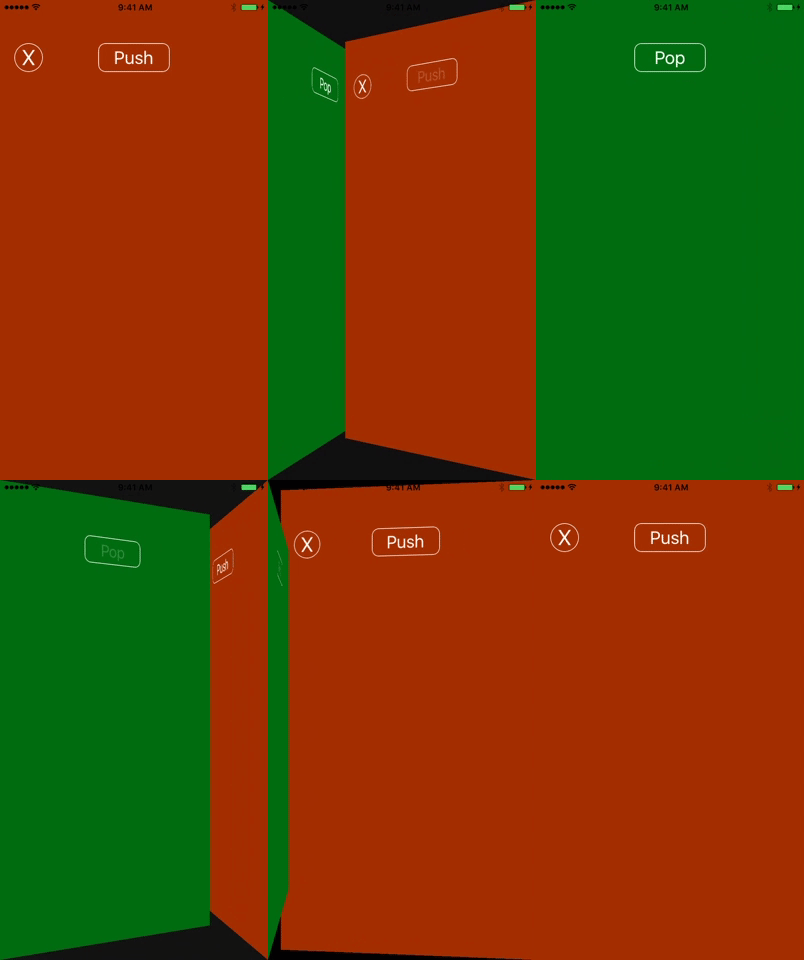
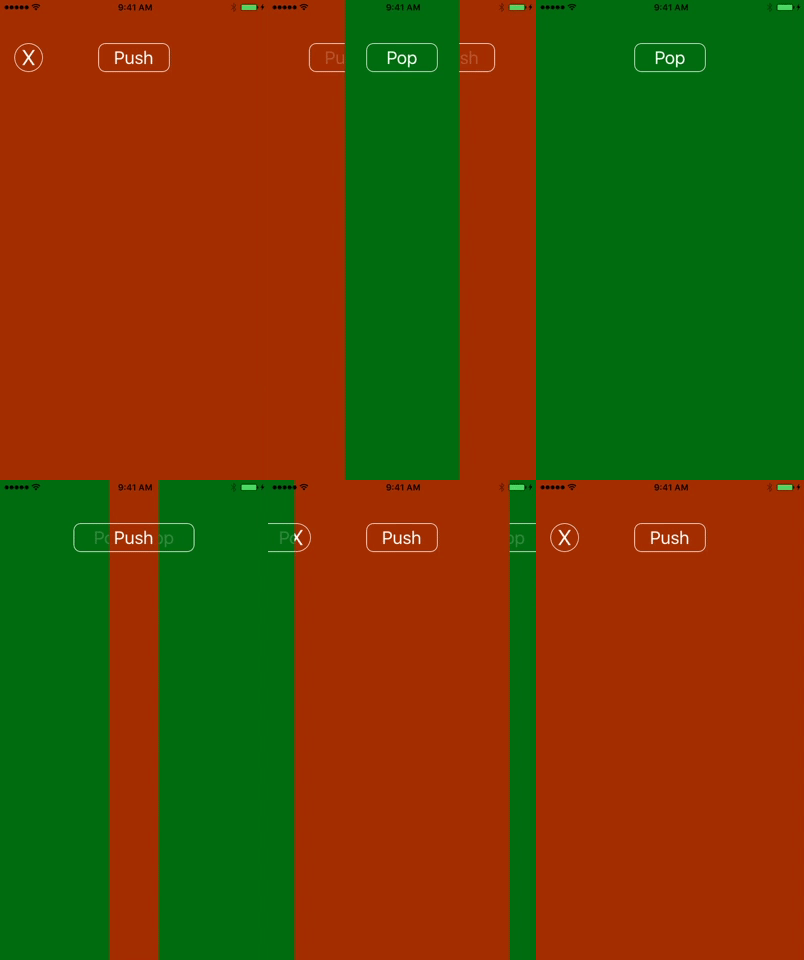
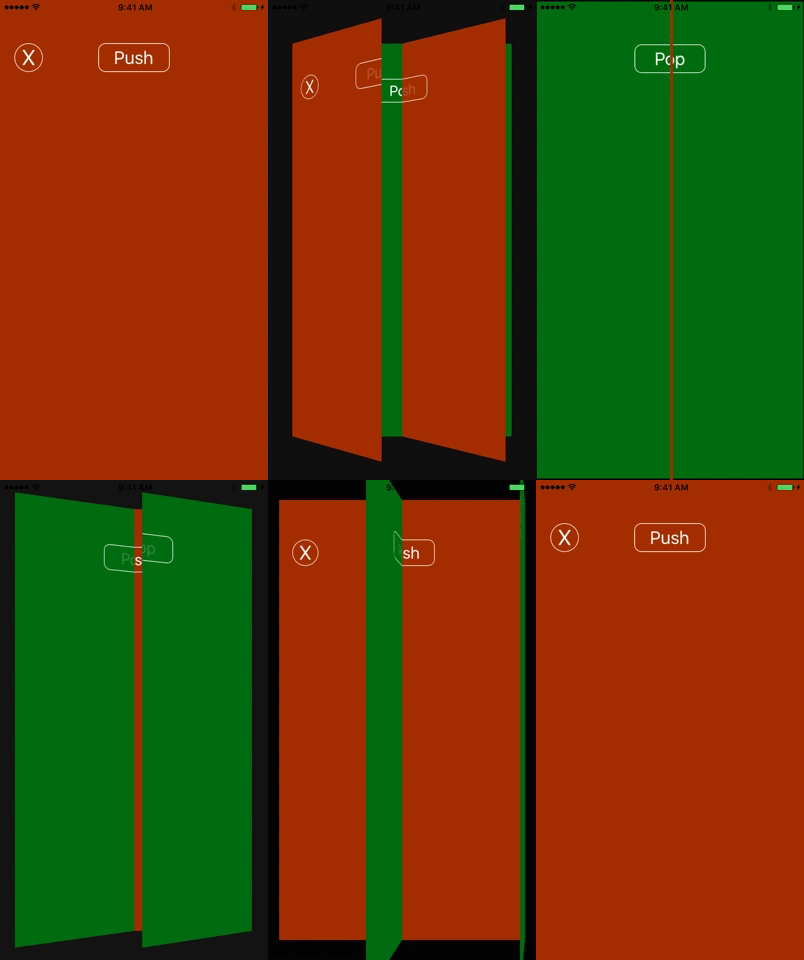
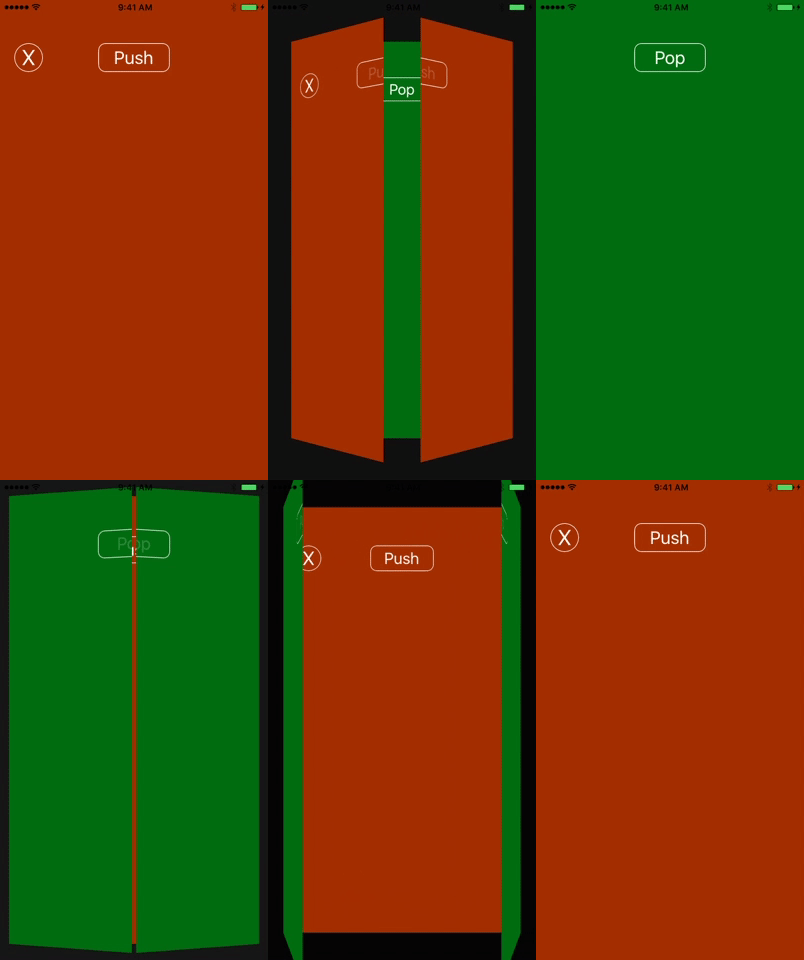
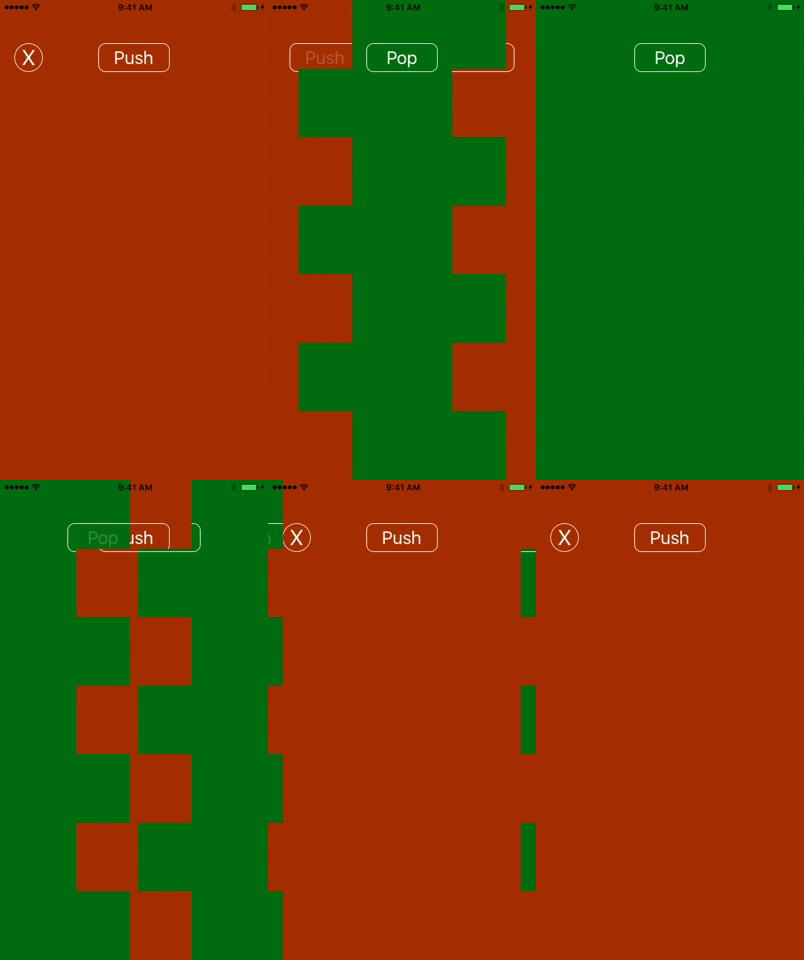
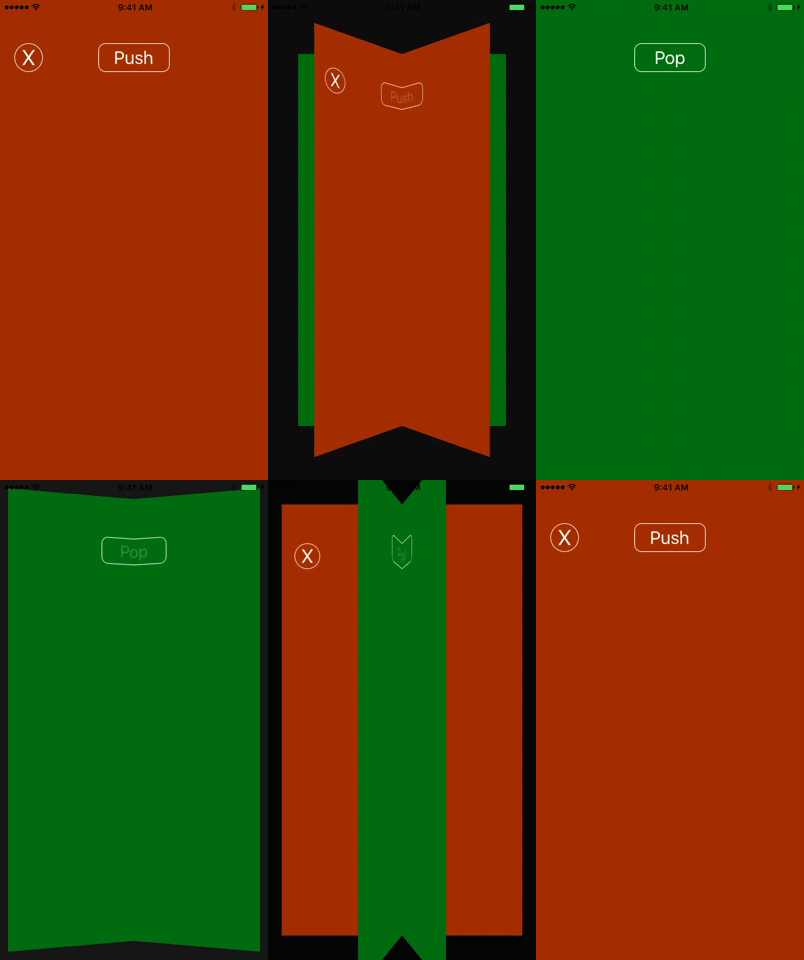
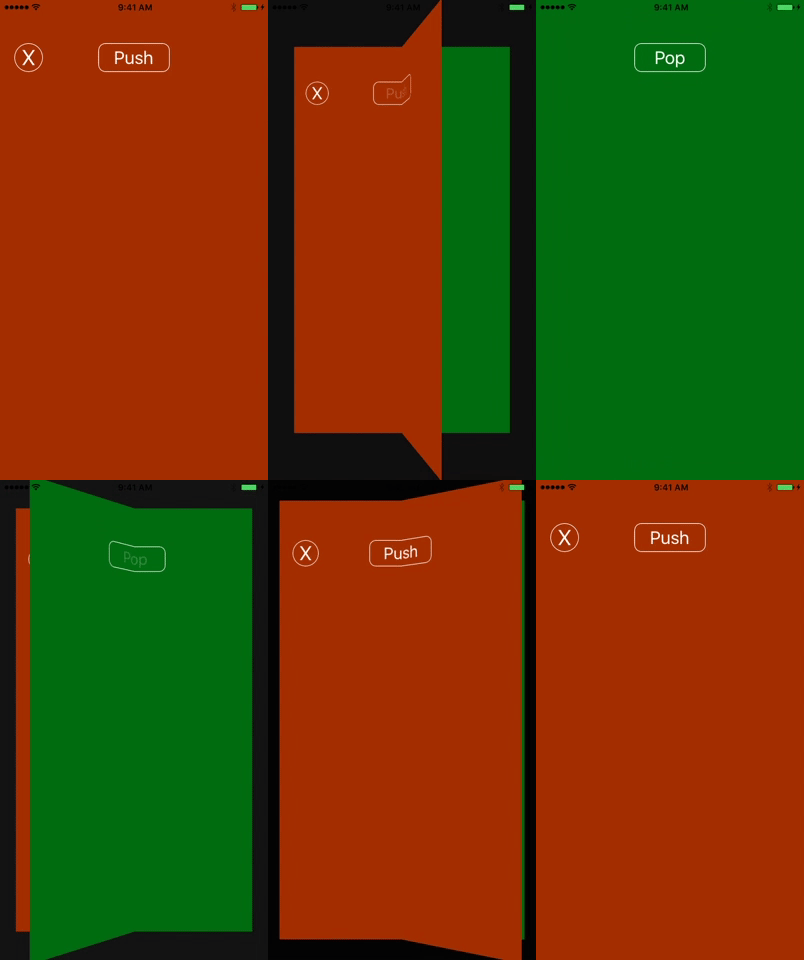
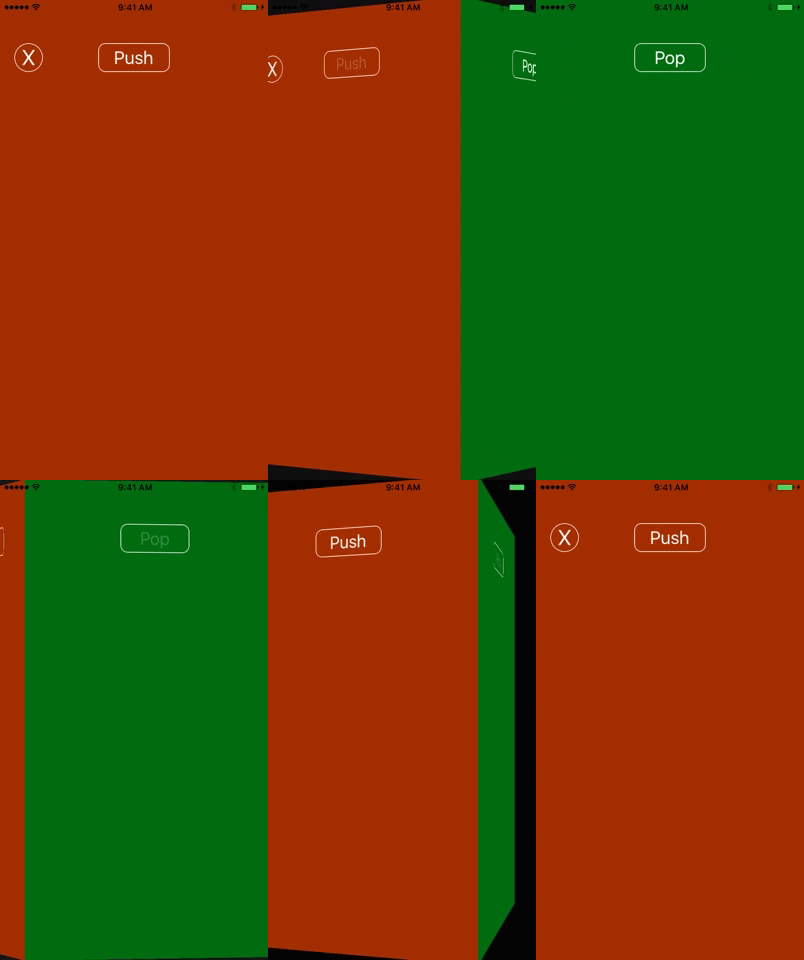
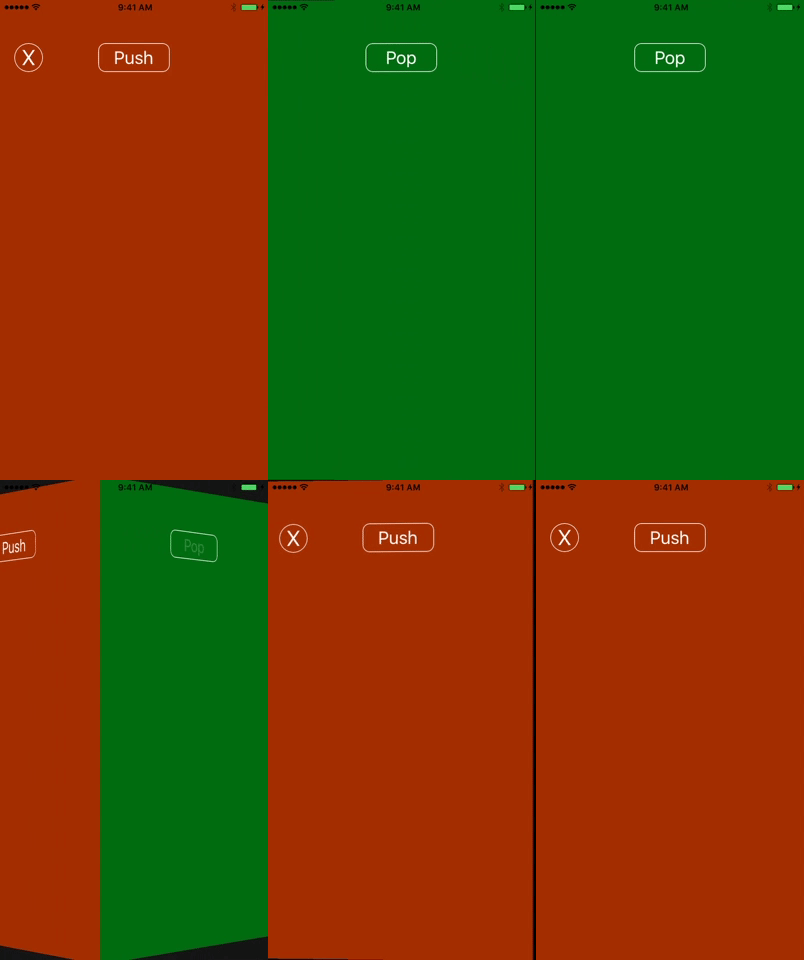
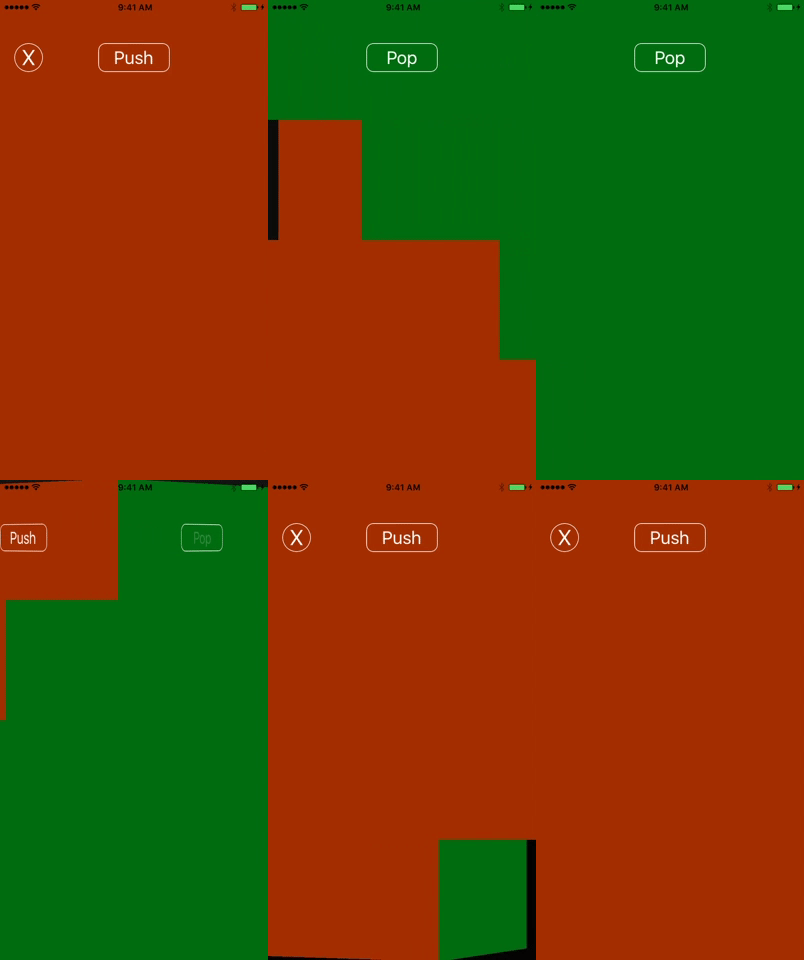
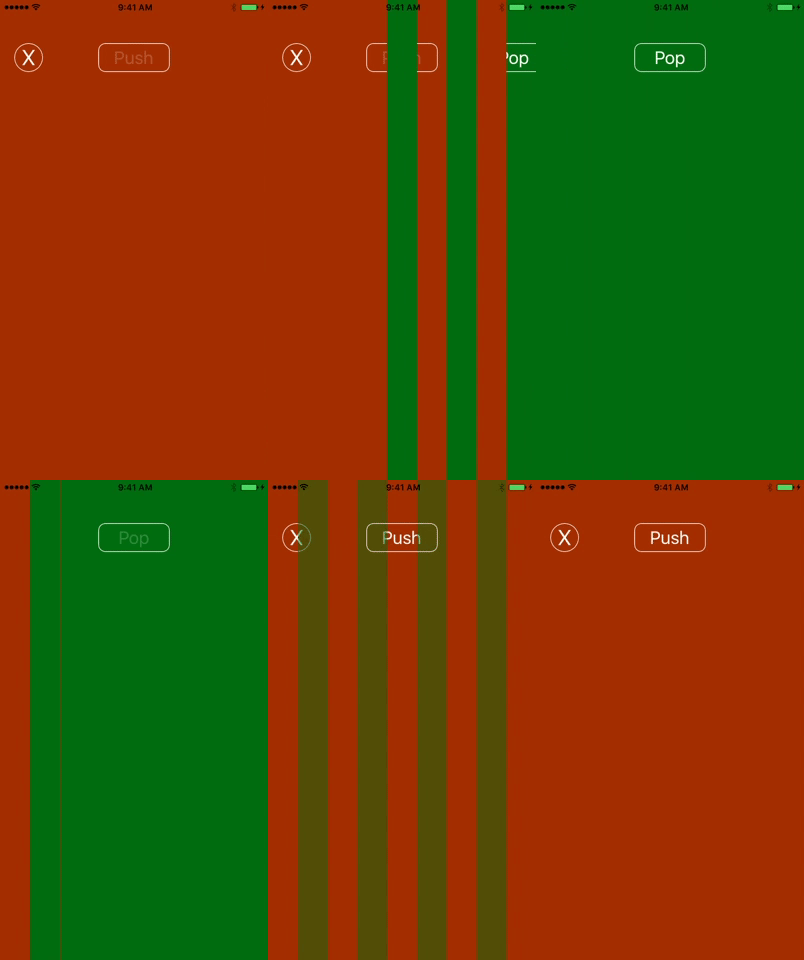
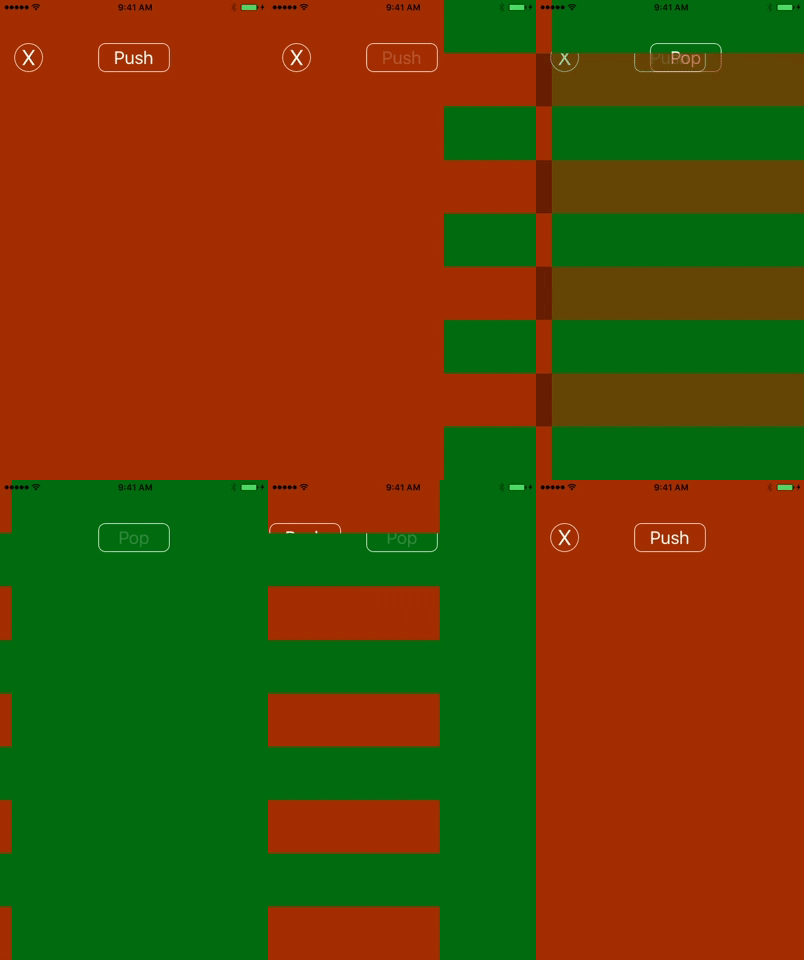
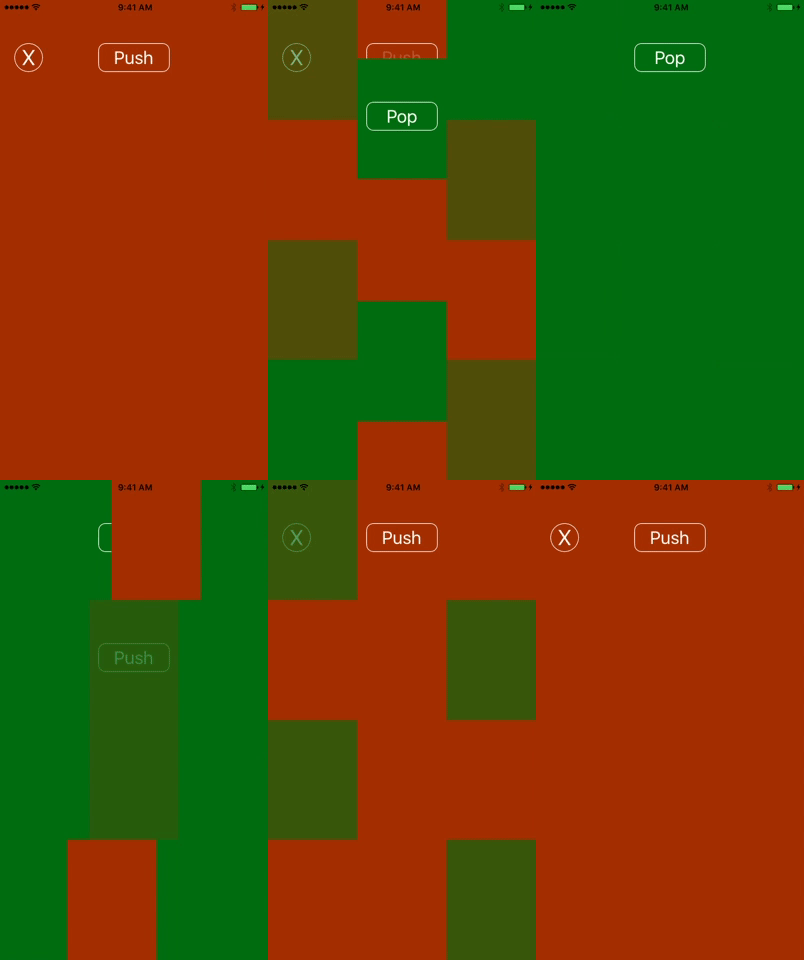
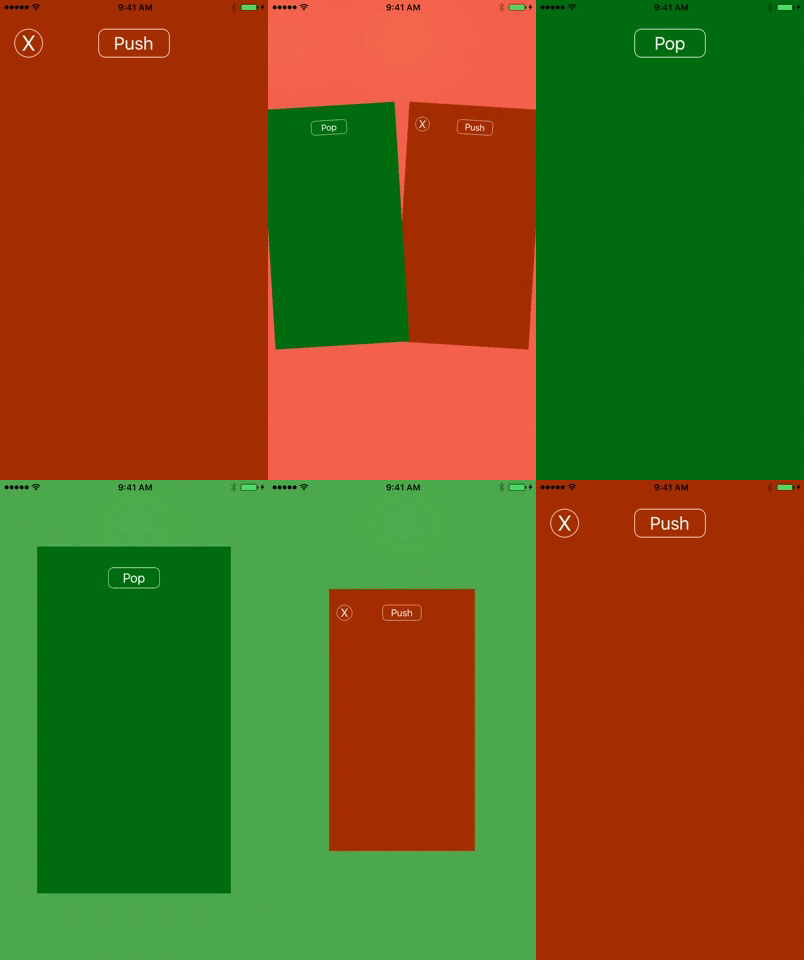
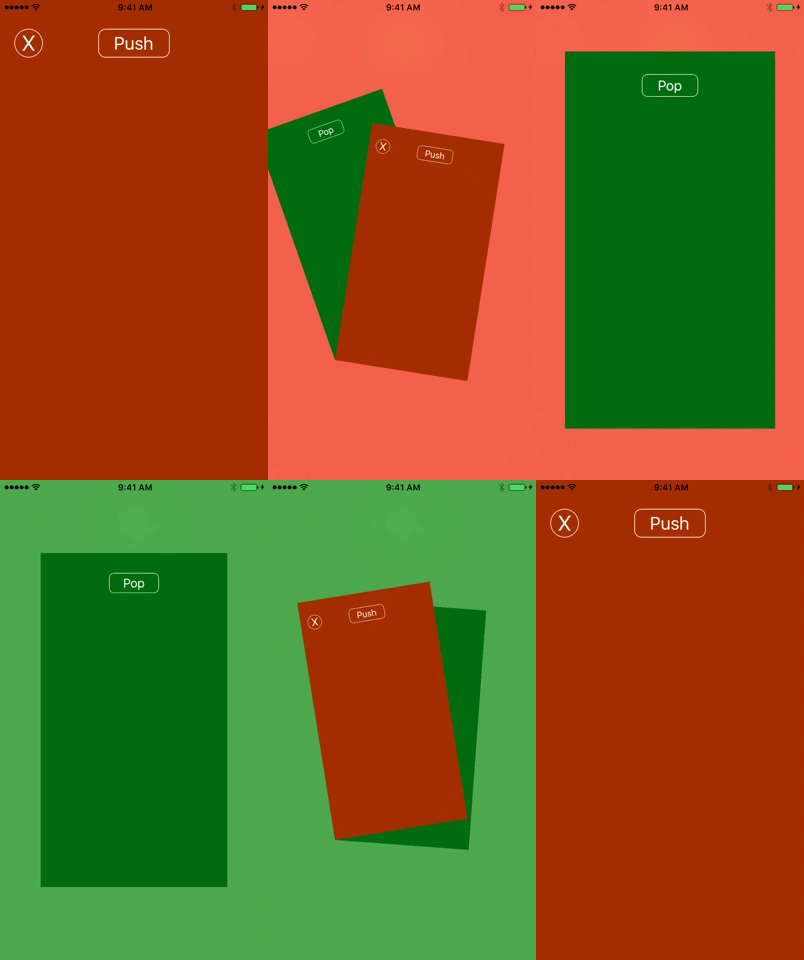
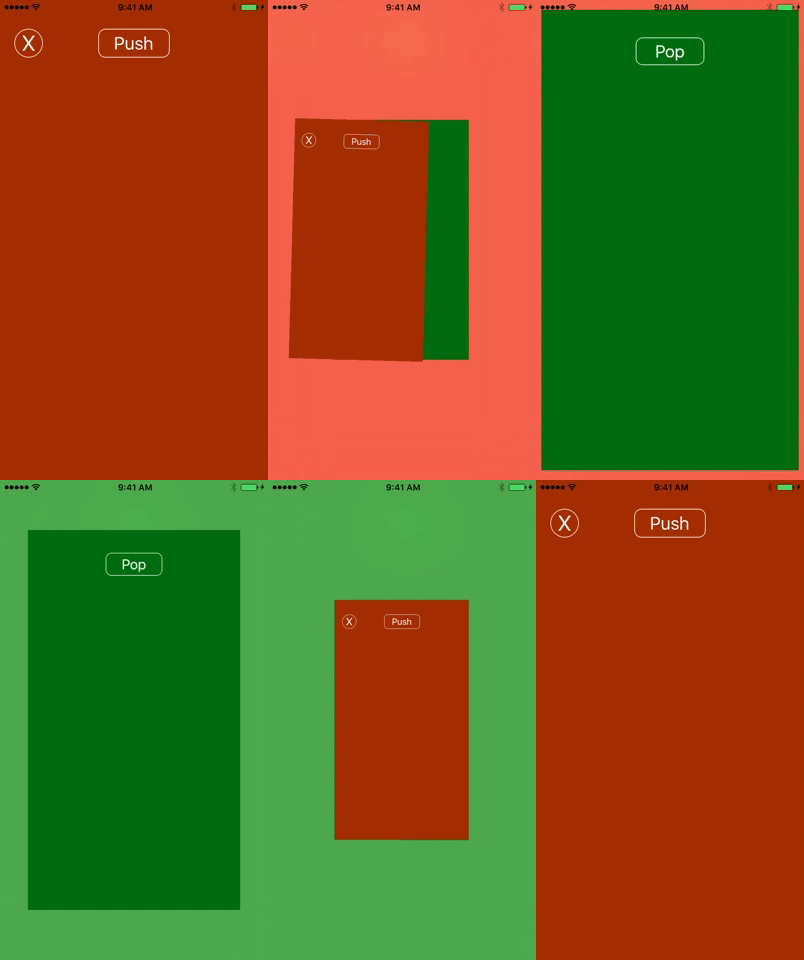
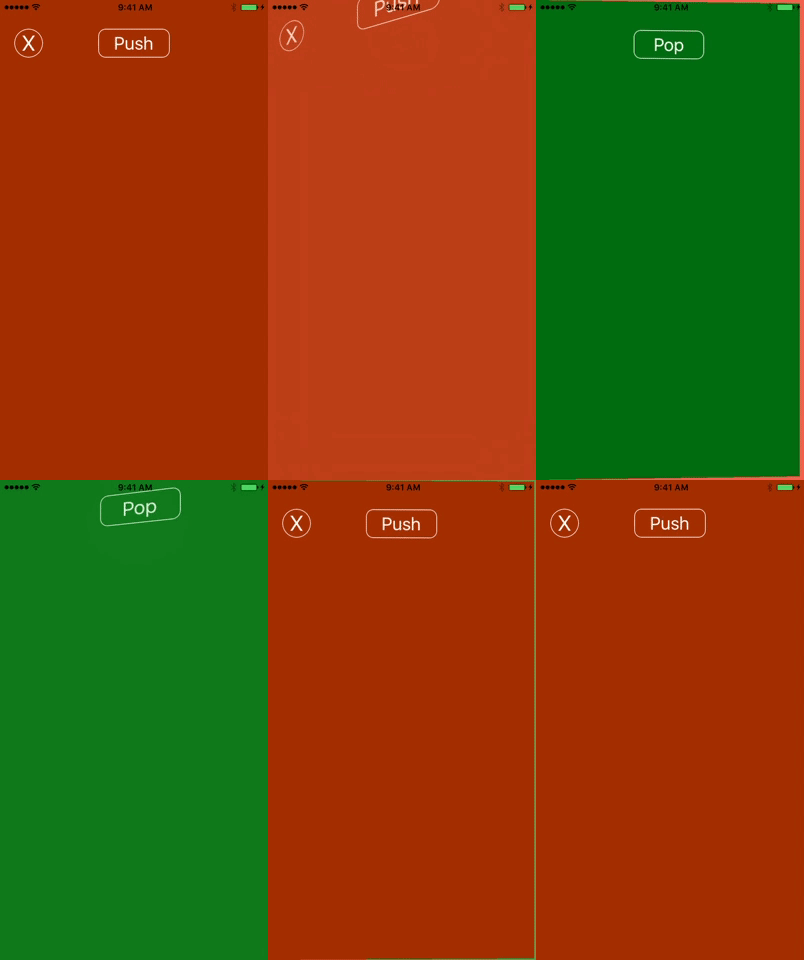
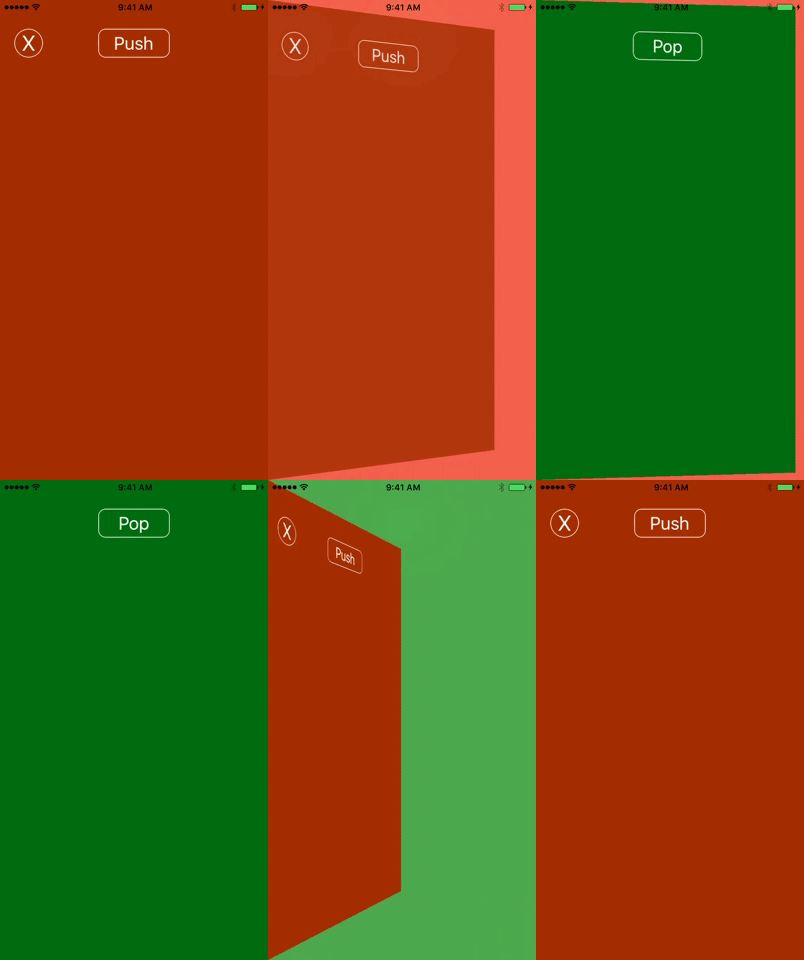
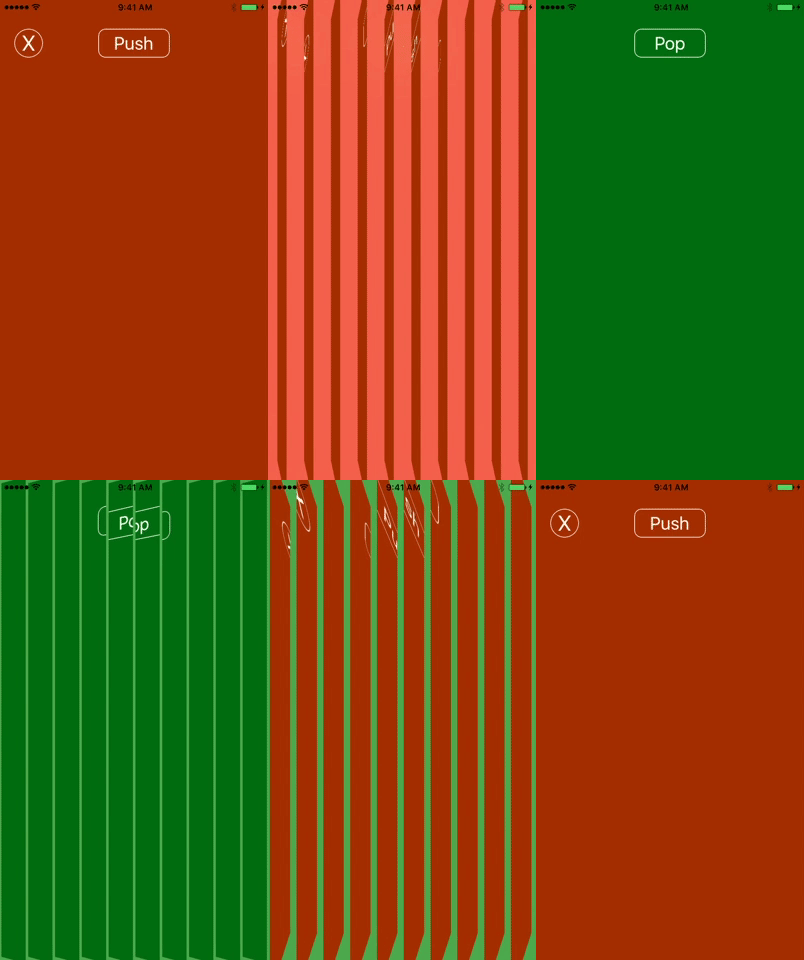
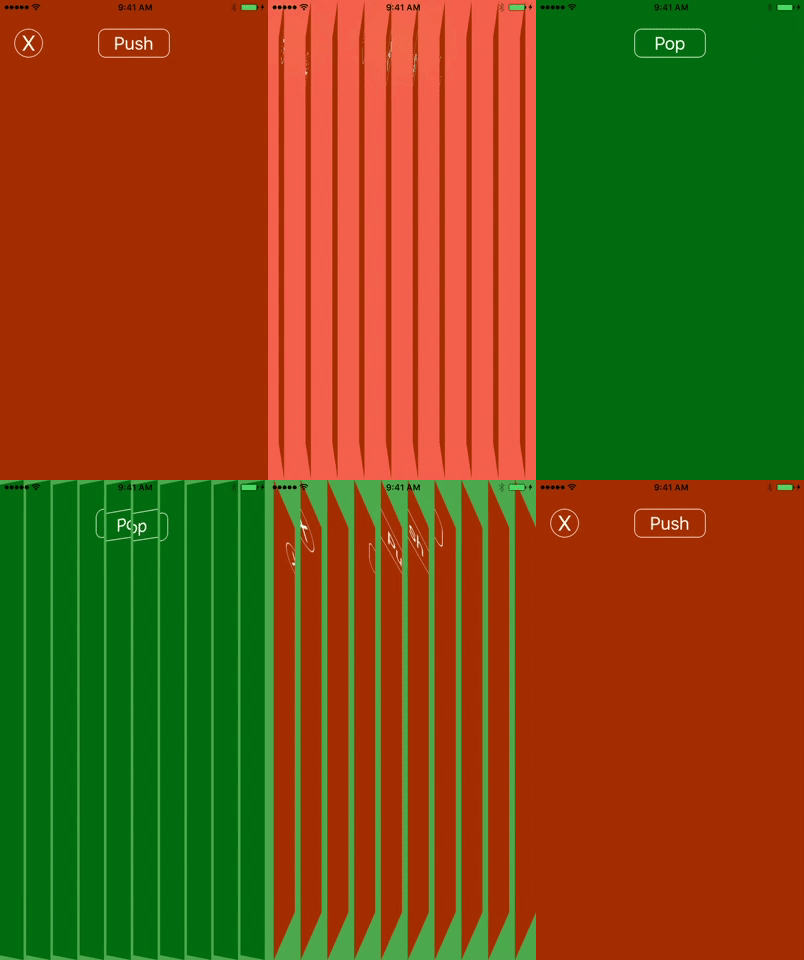
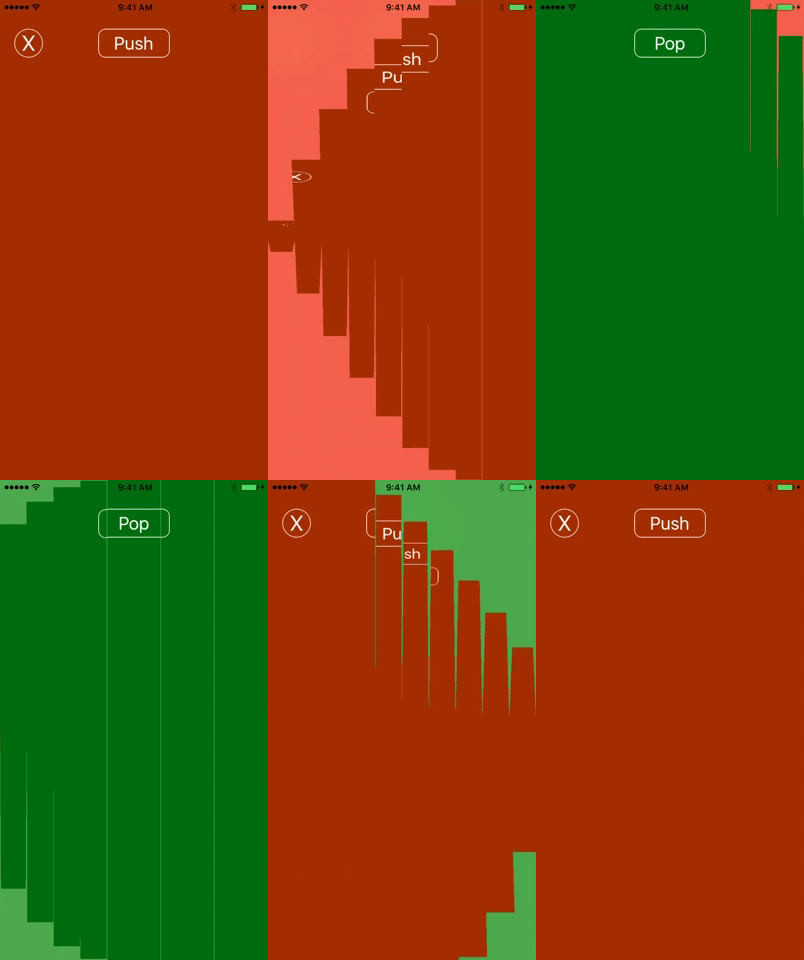
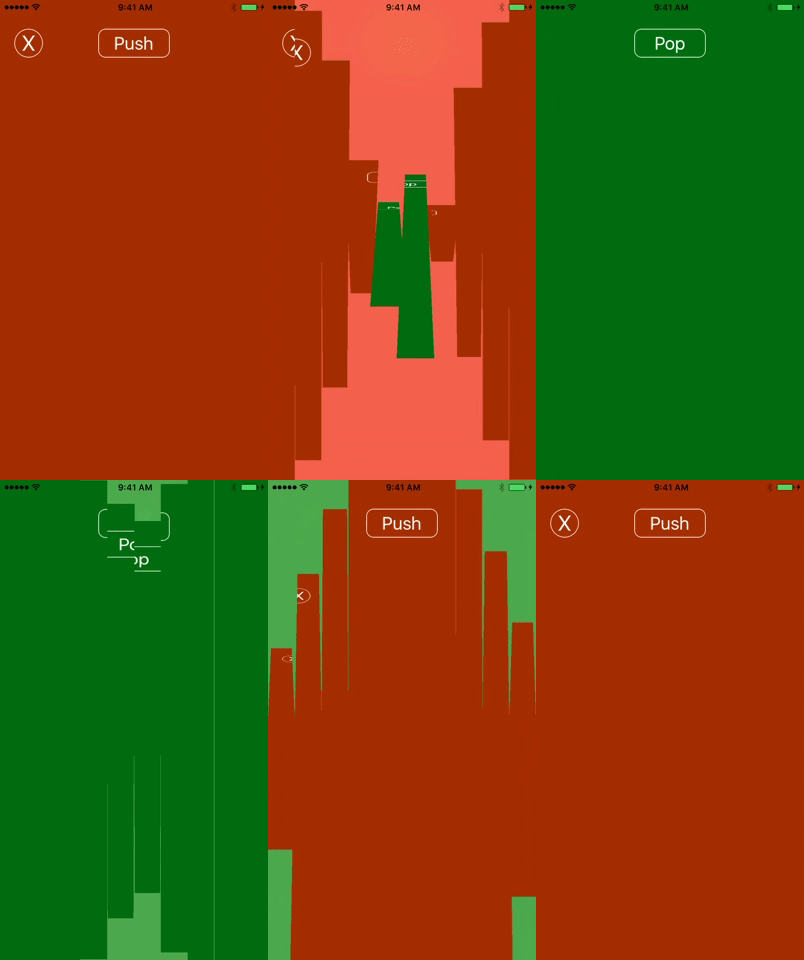
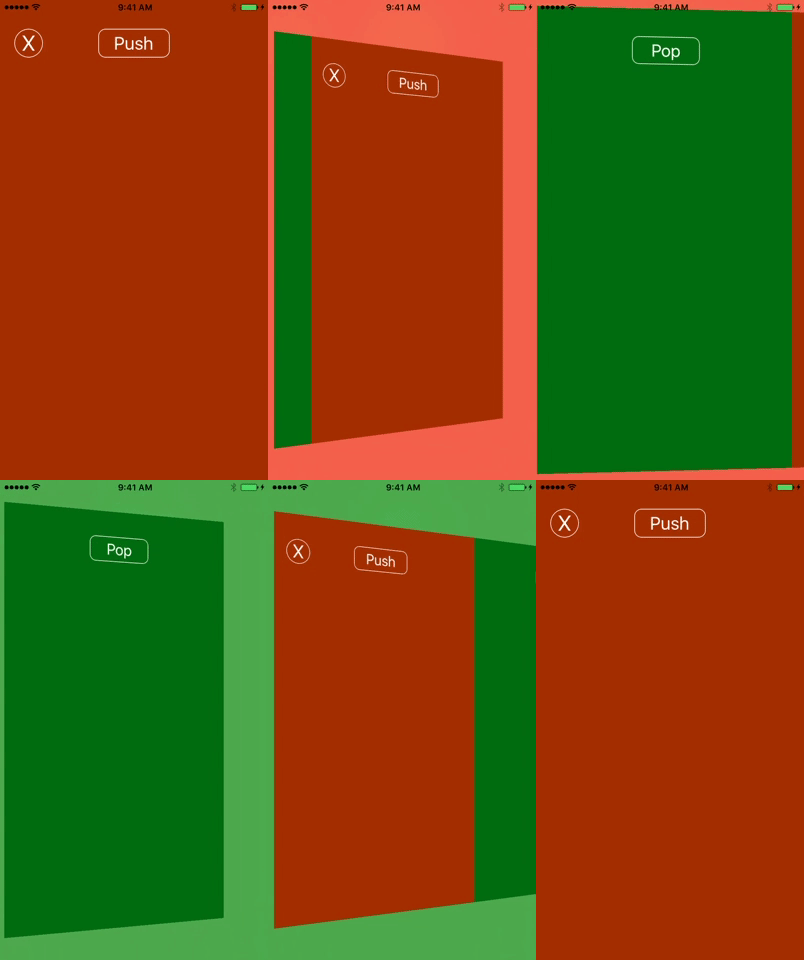
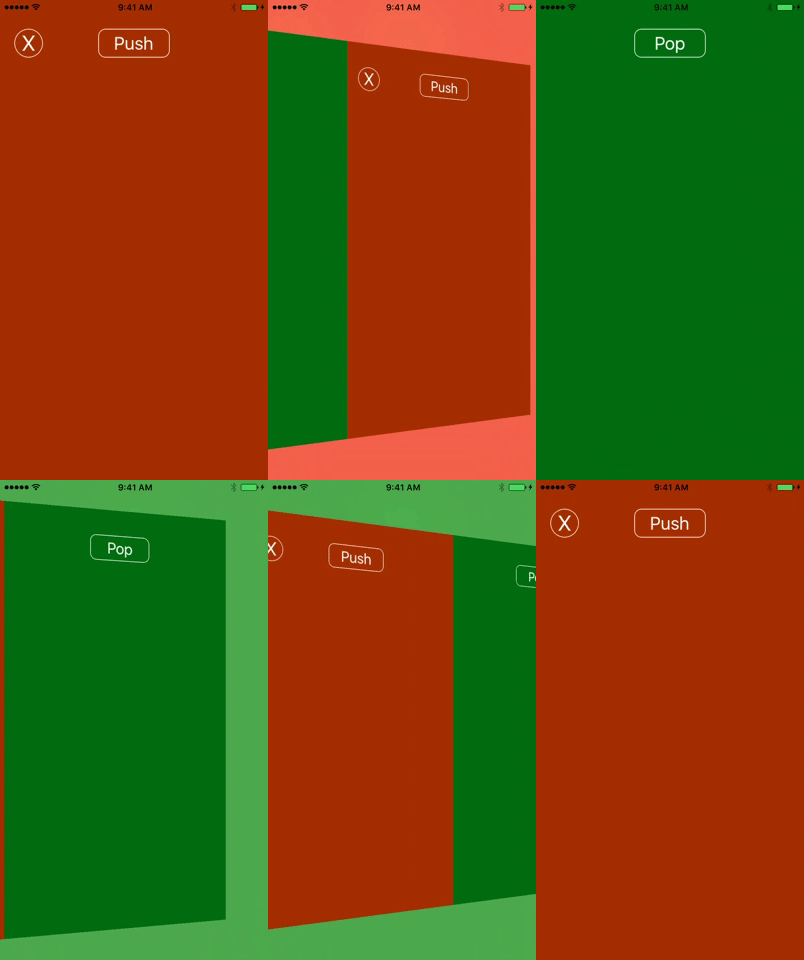
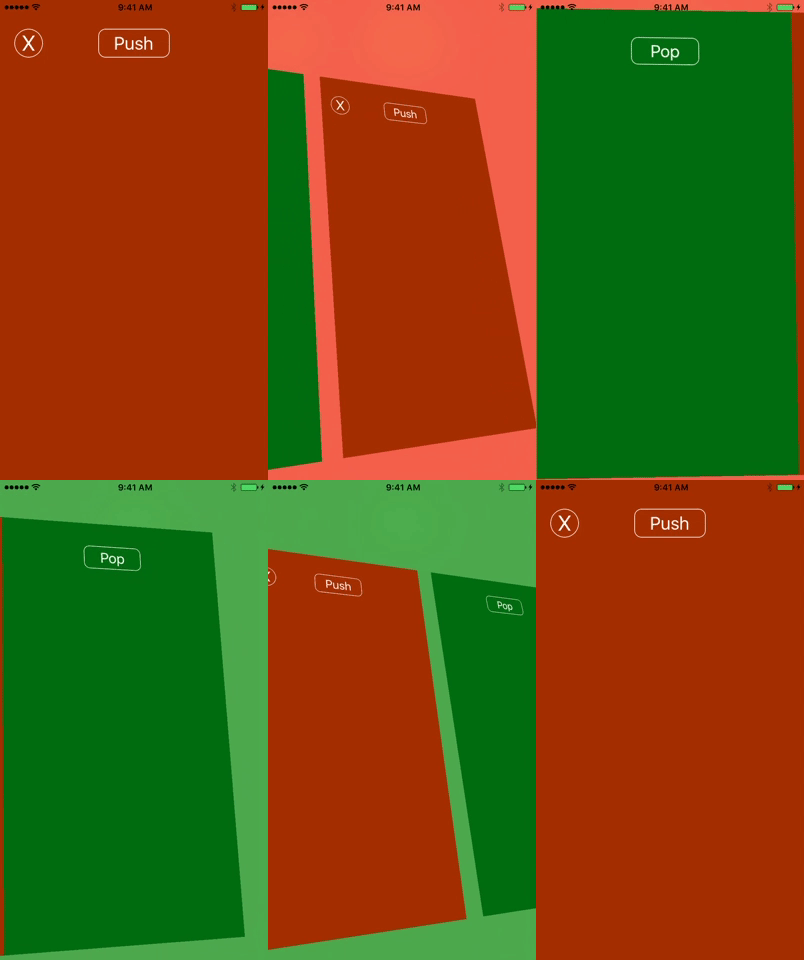
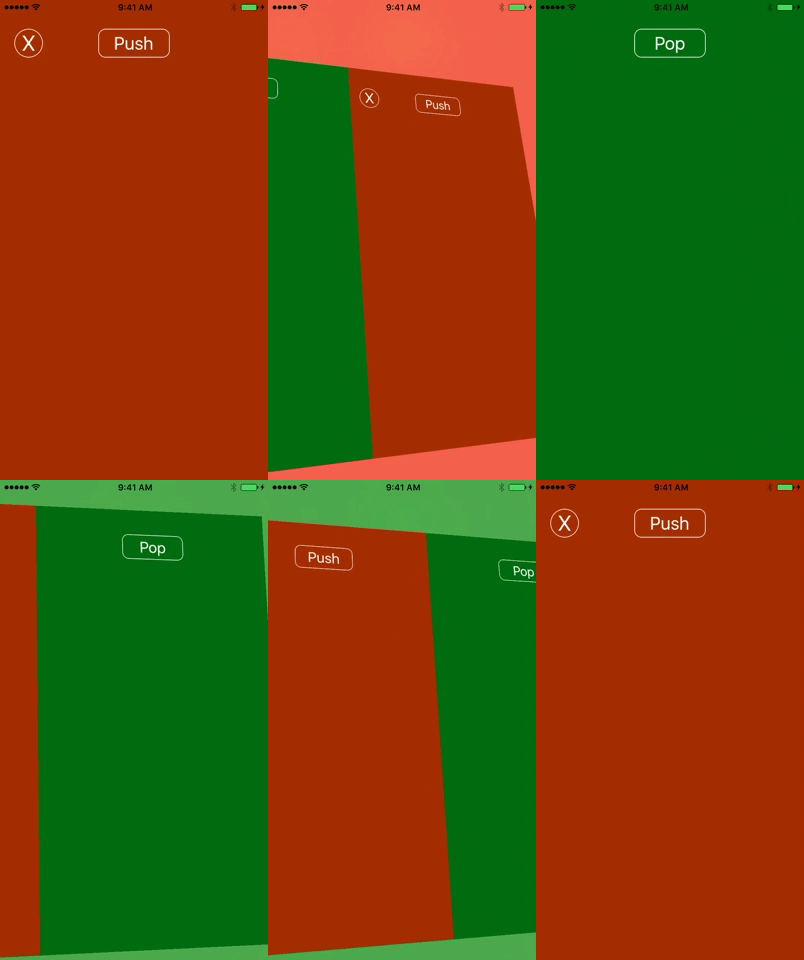
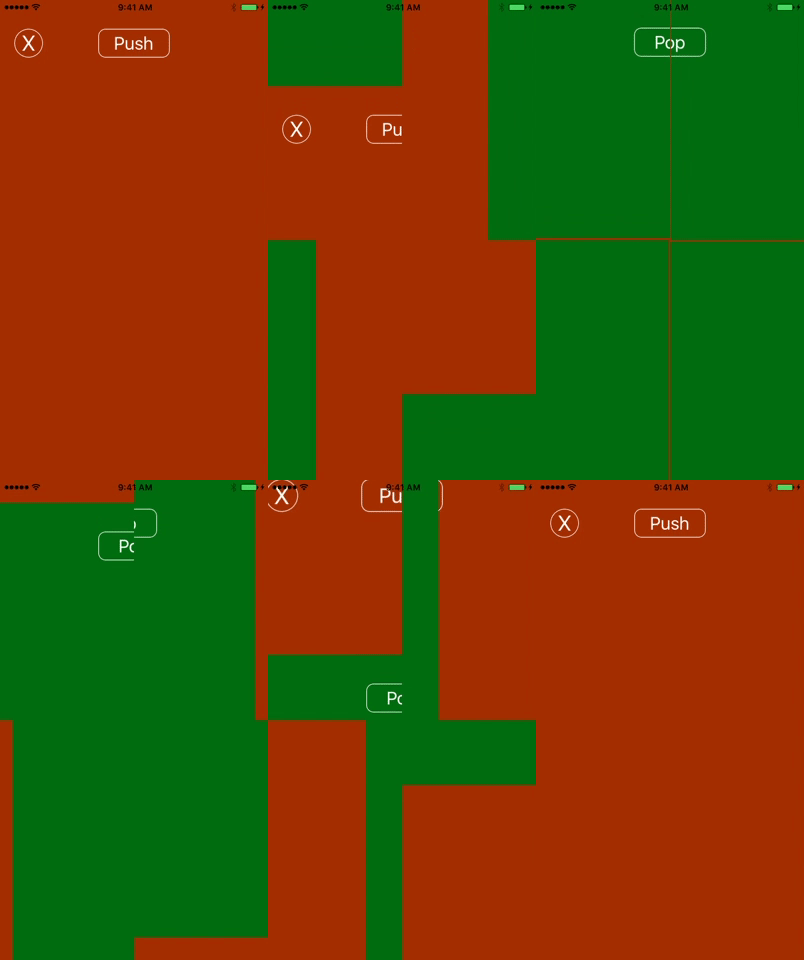
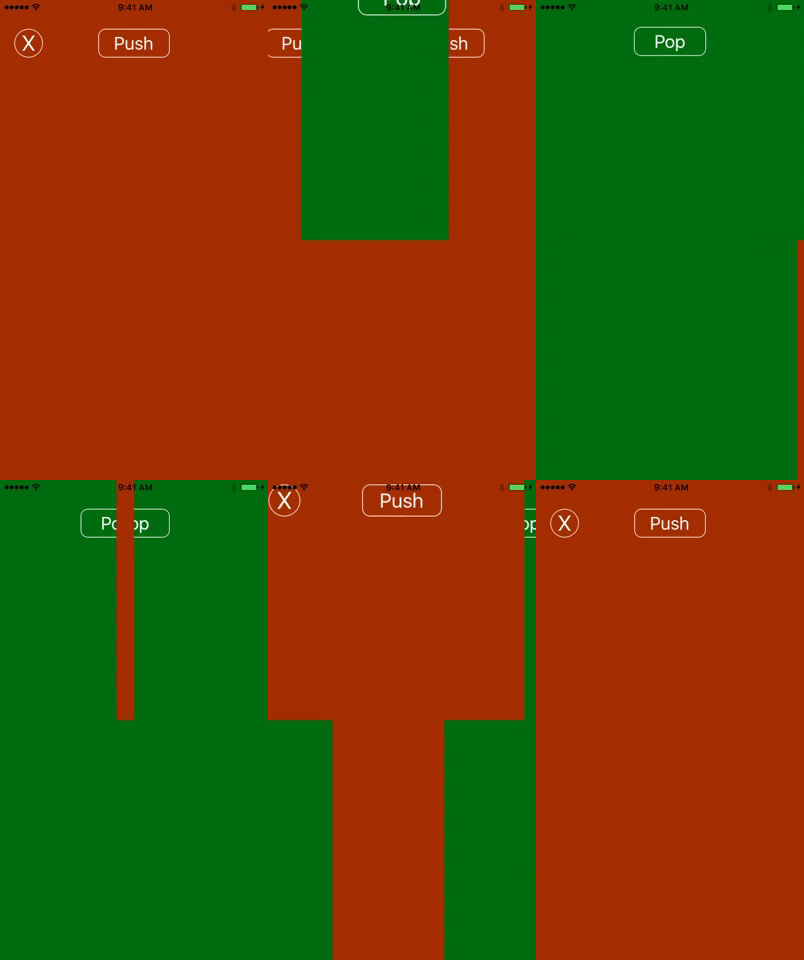
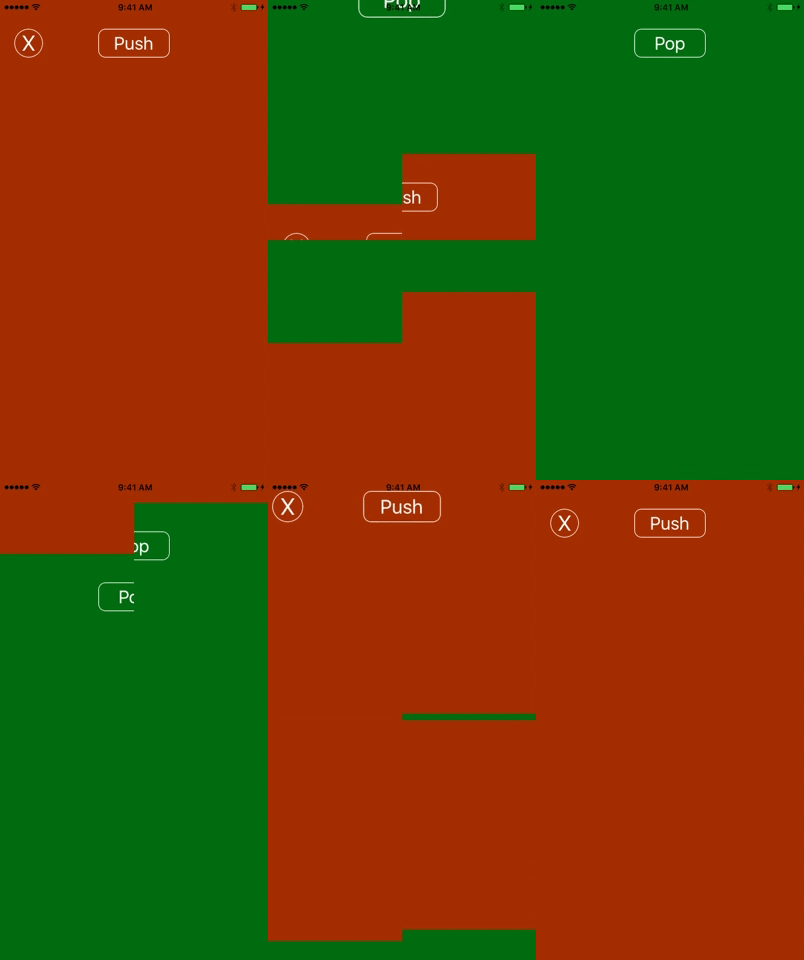
MasterTransitions is a library that contains a collection of custom transitions for view controller. It allows you to create a custom transition with just a few lines of code, making the process of creating custom transitions easy and painless for developers.
- iOS 12.0+
- Xcode 12+
- Swift 5
To install it, simply add the following lines to your Podfile:
use_frameworks!
pod "MasterTransitions"Copy Sources folder to your Xcode project.
How to use MasterTransitions to create a custom transition:
In the root view controller or the first view controller:
- Get a reference to your Navigation or TabBar Controller
- Create a Navigation or TabBar Controller delegate using Navigation or TabBar Controller, transition type and is Interactive as parameters.
- Optional: in your delegate object
- set the transition duration
- set the transition direction
- Your Done!
Navigation Controller
// In the root view  controller
override func viewDidLoad() {
super.viewDidLoad()
// 1-  Get a reference to your Navigation Controller
guard let navigationController = self.navigationController else {
return
}
// 2- Create a Navigation Controller delegate with :
let navigationControllerDelegate = NavigationControllerDelegate.init(navigationController: navigationController, transitionType: .Puzzle1, isInteractive: true)
// 3- Optional: in your delegate object
//     - set the transition duration
//     - set the transition direction
navigationControllerDelegate.duration = 1.4
navigationControllerDelegate.transitionSubType = .LeftToRight
}
TabBar Controller
// In the first view  controller
override func viewDidLoad() {
super.viewDidLoad()
// 1-  Get a reference to your TabBar Controller
guard let tabBarController = self.tabBarController else {
return
}
// 2- Create a tabBar Controller delegate with :
let tabBarControllerDelegate = TabBarControllerDelegate.init(tabBarController: tabBarController, transitionType: .Puzzle1, isInteractive: true)
// 3- Optional: in your delegate object
//     - set the transition duration
//     - set the transition direction
tabBarControllerDelegate.duration = 1.4
tabBarControllerDelegate.transitionSubType = .LeftToRight
}if you are using the storyboard only:
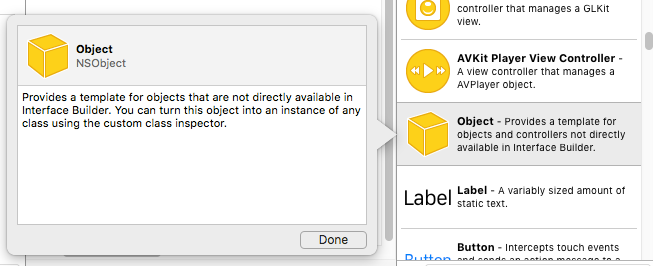
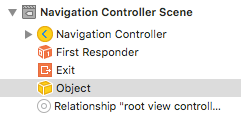
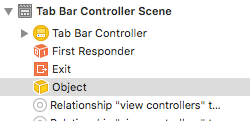
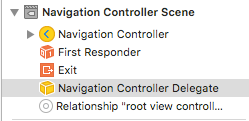
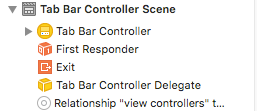
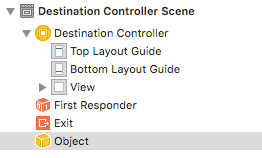
- Drag an Object from the Object Library to your:
navigation controller scene
or
tabBar controller scene
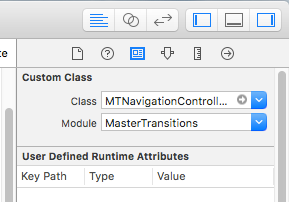
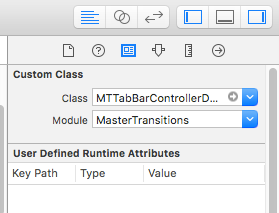
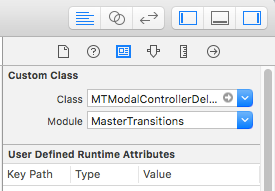
- In the Custom Class Inspector of the object set its class to:
NavigationControllerDelegate
or
TabBarControllerDelegate
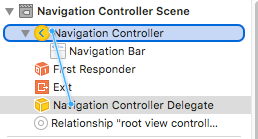
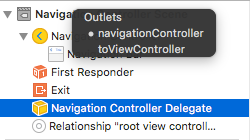
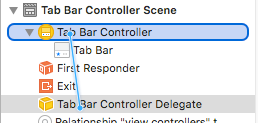
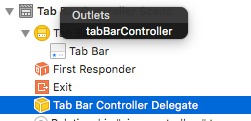
- control-drag from the delegate object to:
the navigation controller and set the outlet to navigationController
or
the tabBar controller and set the outlet to tabBarController
- Optional:
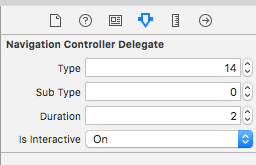
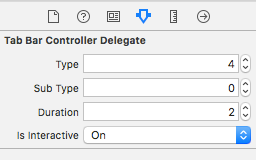
In the Attributes Inspector of the delegate object
- set the Type as transition type
- set the Sub Type as transition direction
- set the Duration as transition durtion
- set Is Interactive
In the source or presenting view controller:
- Create or get a reference to your destination controller
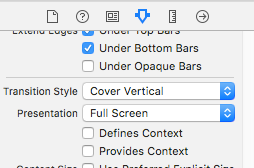
- set the modal Presentation Style of your destination controller to full screen
- Create a Modal Controller delegate using the destination controller and a transition type as parameters.
- Optional:
- make the transition interactive
- set the transition duration
- set the transition direction
- Your Done!
// In the source or presenting view  controller:
@IBAction func presentViewControllerModally(_ sender: Any) {
// 1- Create your destination Controller
guard let destinationController = storyboard?.instantiateViewController(withIdentifier: "desVC") as? DestinationViewController else { return }
/*
or get a reference to your destination controller if you are using prepare for segue function

let destinationController = segue.destination

*/

// 2- set the modal Presentation Style of your destination controller to full screen
destinationController.modalPresentationStyle = .fullScreen
// 3- Create a Modal Controller delegate using the destination controller and a transition type as parameters.
let controllerDelegate = ModalControllerDelegate.init(destinationController: destinationController, transitionType: .Door2)
// 4- Optional:
// - make the transition interactive
// supply a pan gesture if the destination controller view already has a one, if not do not warry about it, the Modal Controller Delegate will create one for you.
controllerDelegate.addInteractiveToDestinationController(panGesture: nil)
// - set the transition duration
controllerDelegate.duration = 2
// - set the transition direction
controllerDelegate.transitionSubType = .RightToLeft
// - present the destination controller modally
present(destinationController, animated: true, completion: nil)
}if you using the storyboard only:
- In the Attributes Inspector of the destination controller set Presentation to Full Screen
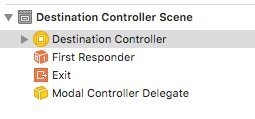
- Drag an Object from the Object Library to the destination controller scene
- In the Custom Class Inspector of the object set its class to ModalControllerDelegate
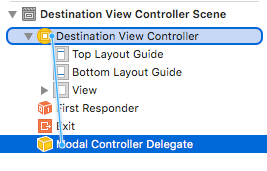
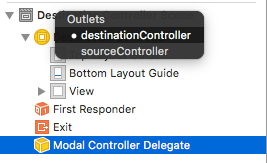
- control-drag from the delegate object to the destination controller and set the outlet to destinationController
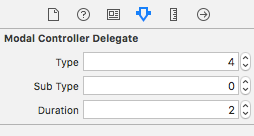
- Optional: In the Attributes Inspector of the delegate object
- set the Type as transition type
- set the Sub Type as transition direction
- set the Duration as transition durtion
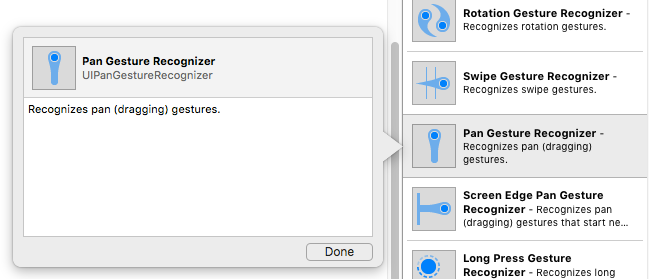
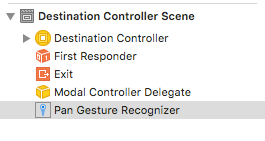
- Drag a Pan Gesture Recognizer from the Object Library to the destination controller view.
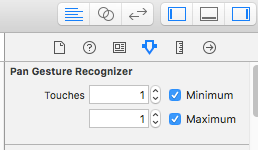
- In the Attributes Inspector of the Pan Gesture Recognizer set the Minimum and Maximum Touches to 1
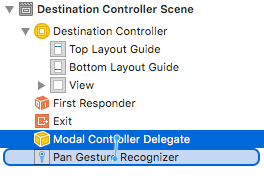
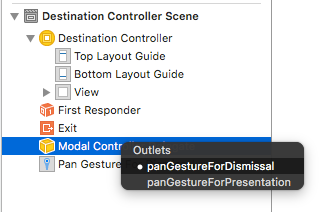
- control-drag from the delegate object to the Pan Gesture Recognizer and set the outlet to panGestureForDismissal
To run the example project, clone the repo, and run pod install from the Example directory first.
frgallah, frgallah@outlook.com
1. Push 2
Transition's Directions as Transition SubType
- RightToLeft
- LeftToRight
- BottomToTop
- TopToBottom
2. Pull 1
Transition's Directions as Transition SubType
- RightToLeft
- LeftToRight
- BottomToTop
- TopToBottom
3. Swing Door
Transition's Directions as Transition SubType
- RightToLeft
- LeftToRight
- BottomToTop
- TopToBottom
4. Door 2
Transition's Directions as Transition SubType
- Horizontal
- Vertical
5. Door 3
Transition's Directions as Transition SubType
- RightToLeft
- LeftToRight
- BottomToTop
- TopToBottom
6. Door 4
Transition's Directions as Transition SubType
- Horizontal
- Vertical
7. Door 5
Transition's Directions as Transition SubType
- Horizontal
- Vertical
8. Folder 1
Transition's Directions as Transition SubType
- Horizontal
- Vertical
9. Book 1
Transition's Directions as Transition SubType
- RightToLeft
- LeftToRight
- BottomToTop
- TopToBottom
10. Cube 1
Transition's Directions as Transition SubType
- RightToLeft
- LeftToRight
- BottomToTop
- TopToBottom
11. Cube 2
Transition's Directions as Transition SubType
- RightToLeft
- LeftToRight
- BottomToTop
- TopToBottom
12. Cube 3
Transition's Directions as Transition SubType
- RightToLeft
- LeftToRight
- BottomToTop
- TopToBottom
13. Blinds 1
Transition's Directions as Transition SubType
- RightToLeft
- LeftToRight
- BottomToTop
- TopToBottom
14. Blinds 2
Transition's Directions as Transition SubType
- RightToLeft
- LeftToRight
- BottomToTop
- TopToBottom
15. Puzzle 1
MasterTransitions is available under the MIT license. See the LICENSE file for more info.


