forked from pivotal-cf/docs-snyk
-
Notifications
You must be signed in to change notification settings - Fork 1
/
installing.html.md.erb
71 lines (40 loc) · 4.11 KB
/
installing.html.md.erb
1
2
3
4
5
6
7
8
9
10
11
12
13
14
15
16
17
18
19
20
21
22
23
24
25
26
27
28
29
30
31
32
33
34
35
36
37
38
39
40
41
42
43
44
45
46
47
48
49
50
51
52
53
54
55
56
57
58
59
60
61
62
63
64
65
66
67
68
69
70
71
---
title: Installing and Configuring Snyk for PCF
owner: Partners
---
This topic describes how to install and configure Snyk for PCF.
## <a id='install'></a> Step 1: Install and Configure Snyk for PCF
To install the Snyk for PCF tile on the Ops Manager Installation Dashboard, do the following:
1. If you have not obtained yet a trial or production license key, contact a [Snyk sales representative](mailto:sales@snyk.io).
1. Download the product tile from Pivotal Network.
1. Navigate to the Ops Manager Installation Dashboard and click **Import a Product** to upload the product tile.
1. Under the **Import a Product** button, click **+** next to the version number of Snyk for PCF. This adds the tile to your staging area.
1. Click the newly added **Snyk for PCF** tile.
1. Click **Managed Service**.
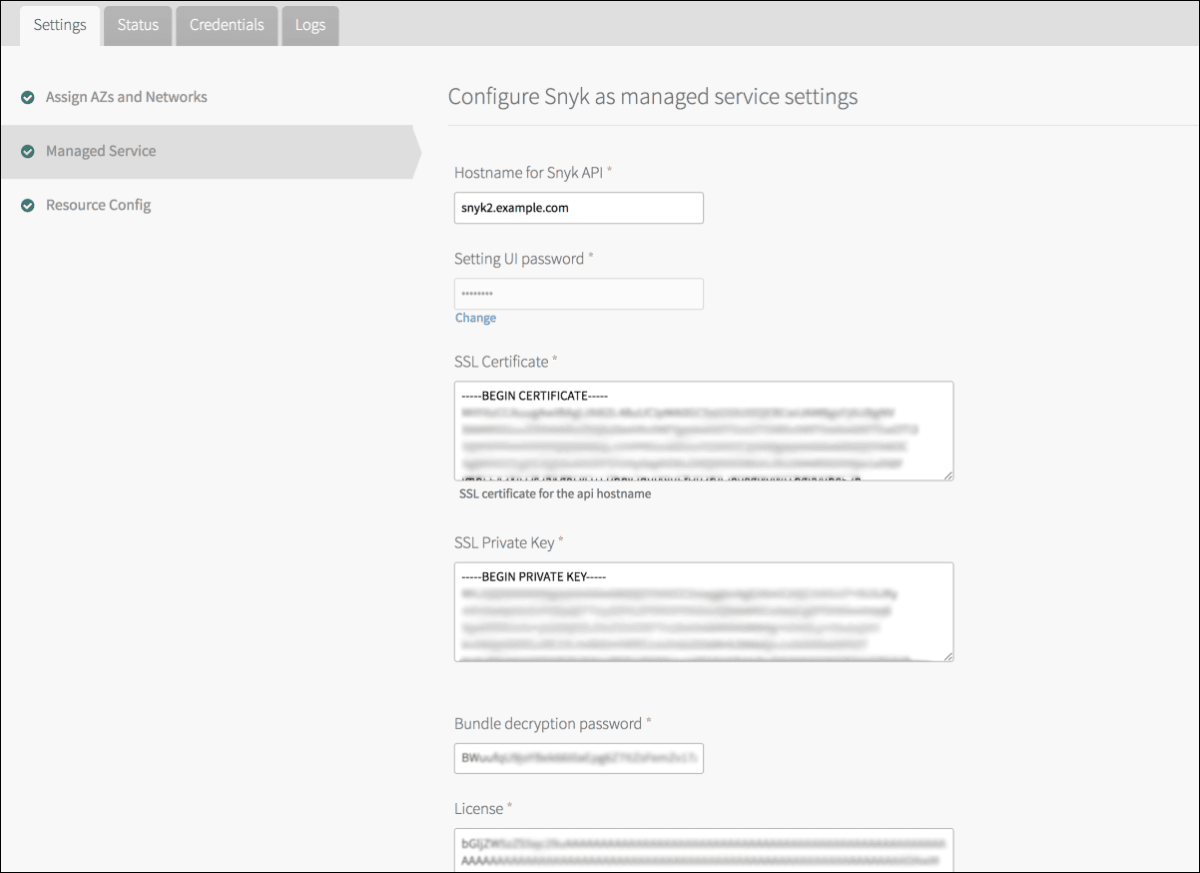
1. For **Hostname for Snyk API**, enter the domain that you will use for the Snyk web interface. For example, it may be `snyk.example.com`.
1. For **Setting UI password**, enter a password for securing the management console of the Snyk server.
1. For **SSL Certificate**, enter the full-chain certificate (in PEM format) for the domain of the Snyk web interface. For example, if the domain for the Snyk web interface is `snyk.example.com` the certificate should either match `snyk.example.com` or `*.example.com`.
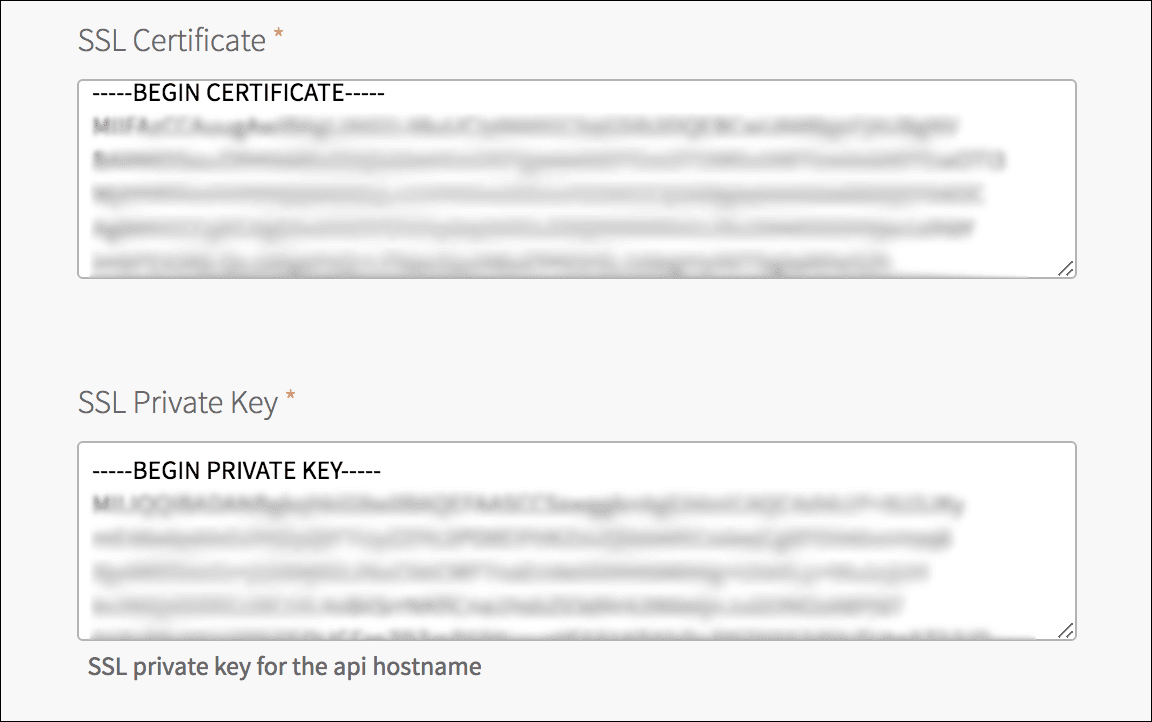
1. For **SSL Private Key**, enter the private key (in PEM format) for the full-chain certificate for the domain of the Snyk web interface.
1. For **Bundle decryption password**, enter the **Bundle Decryption Password** as provided to you by a Snyk sales representative.
1. For **license**, enter the base64 enconding of the license file, as provided to you by a Snyk sales representative.
<p class="note"><strong>Note:</strong> Given a <strong>license.rli</strong> license key file, you can generate the base64 encoding of it by running <code>base64 -w0 license.rli</code> on Linux or <code>base64 license.rli</code> on Mac OS X.</p>

1. (Optional) For **Additional Settings**, enter a JSON of config settings as provided to you by a Snyk representative.

1. Click **Save**.
1. Return to the Ops Manager Installation Dashboard and click **Apply changes** to install Snyk for PCF tile.
## <a id='post-install-env-setup'></a> Step 2: Post-Install Environment Configuration
1. Once the tile finishes installing, click on the tile.
1. Click **Status**.
1. Note the IP address under **IPS**. This is the Snyk server address.
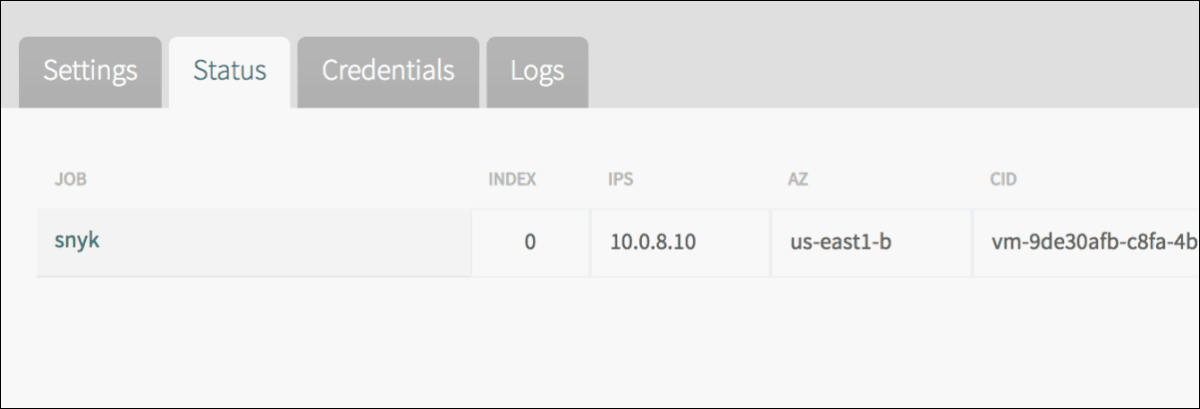
1. Update the Snyk web interface domain to point to the noted IP address.
1. Allow network access to the Snyk server on TCP ports `:30443` (Snyk web interface and API) and `:8800` (Snyk server management console).
## <a id='post-install-config'></a> (Optional) Step 3: Post-Install Snyk Server Configuration
1. Go to the URL of the Snyk server management console on port `8800`. For example, if the Snyk web interface domain is `snyk.example.com`, go to `https://snyk.example.com:8800`. Log in using the password for the Snyk web interface that you set during install.
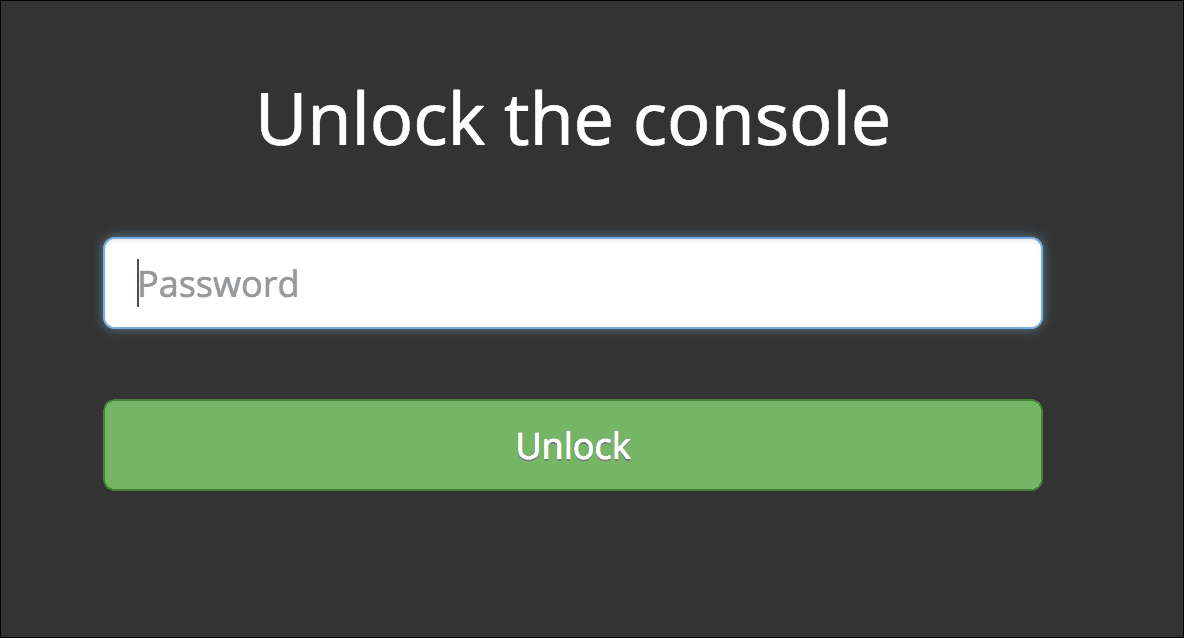
1. Click **Settings**.
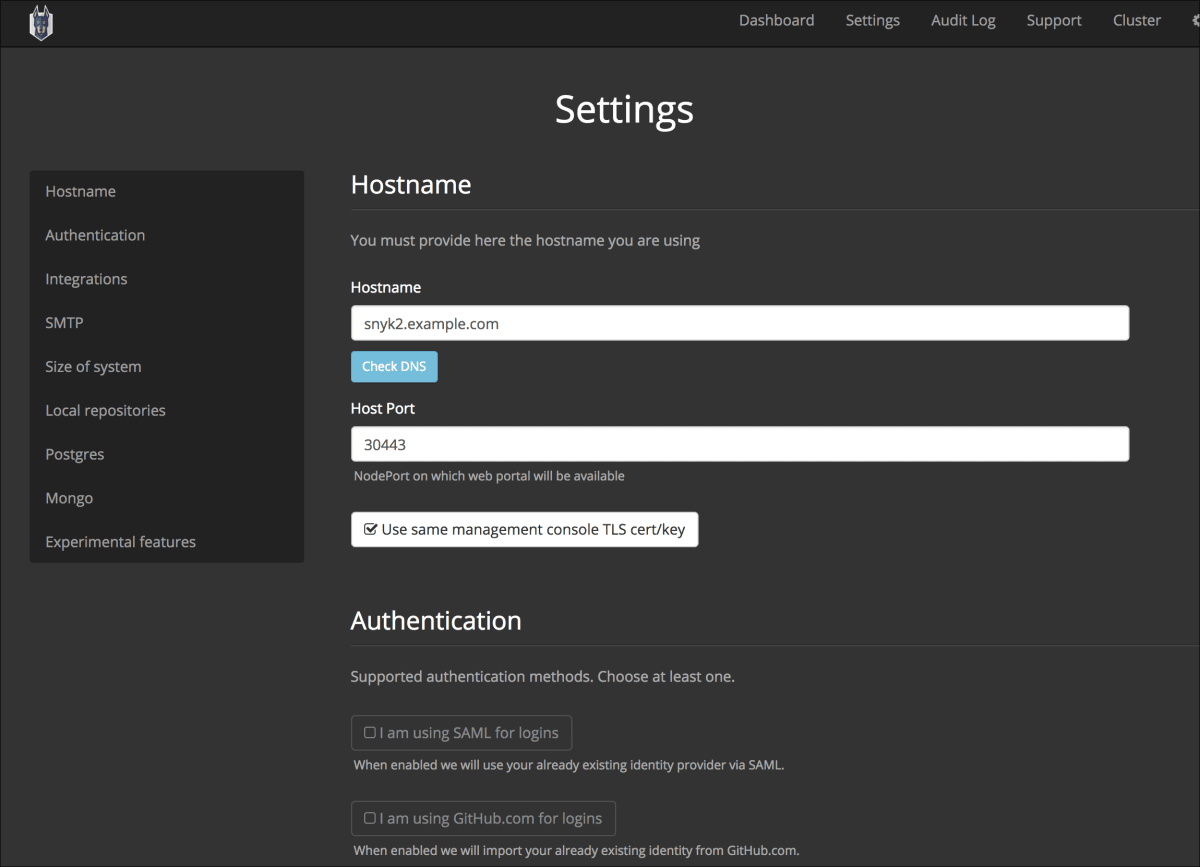
1. Change any settings as per your requirements. Contact a Snyk representative for support and guidance.