A Deep Atrous CNN architecture suitable for Named Entity Recognition on input with variable length, which achieves state of the art results. Up to 10x times faster during prediction time.
The architecture replaces the predominant LSTM-based architectures for Named Entity Recognition tasks. Instead it uses fully convolutional model with dilated convolutions, which are resolution perserving. The architecture is inspired by the ByteNet model described in Neural Machine Translation in Linear Time.
The model has several components:
- Embedding layer for word representation
- 1x1 convolutions for depth decompression
- An atrous-cnn part which is similar to the ByteNet encoder described in Neural Machine Translation in Linear Time
- 1x1 Convolutions for depth compression
- A fully connected layer and SoftMax for numerical stability
Tailored cross-entropy function is applied at the end. Dropout is applied within every ResNet block in the atrous-cnn component.
The network support embedding initialization with pre-trained GloVe vectors (GloVe: Gloval Vectors for Word Representations) which handle even rare words quite well compared to word2vec.
To speed up training the model pre-processes any input into "clean" file, which then utilizes for training. The data is read by line from the "clean" files for better memory management. All input data is split into the appropriate buckets and dynamic padding is applied, which provides better accuracy and speed up during training. The input pipeline can read from multiple data sources which makes addition of more data sources easy as long as they are preprocessed in the right format. The model can be trained on multiple GPUs if the hardware provides this capability.
(Some images are cropped from WaveNet: A Generative Model for Raw Audio, Neural Machine Translation in Linear Time and Tensorflow's Reading Data Tutorial)
Current version : 0.0.0.1
- numpy==1.13.0
- pandas==0.20.2
- protobuf==3.3.0
- python-dateutil==2.6.0
- scipy==0.19.1
- six==1.10.0
- sklearn==0.18.2
- sugartensor==1.0.0.2
- tensorflow==1.2.0
- tqdm==4.14.0
- python3.5 -m pip install -r requirements.txt
- install tensorflow or tensorflow-gpu, depending on whether your machine supports GPU configurations
Currently the only supported dataset is the CoNLL-2003, which can be found within the repo, additional instructions how to obtain and preprocess it can be found here
The CoNLL-2003 dataset contains around 15,000 sententences (~203,000 tokens), along with a validation and test sets consisting of 3466 sentences (~51,000 tokens) and 3684 sentences (~46,400 tokens) respectively. From these tokens there are mainly 5 different entities: Person (PER), Location(LOC), Organization(ORG), Miscellaneous (MISC) along with non entity elements tagged as (O).
Before training the network you need to preprocess all the files. Do this by running python preprocess.py
The model can be trained across multiple GPUs to speed up the computations. In order to start the training:
Execute
python train.py ( <== Use all available GPUs )
or
CUDA_VISIBLE_DEVICES=0,1 python train.py ( <== Use only GPU 0, 1 )
Currently the model achieves up to 94 f1-score on the validation set.
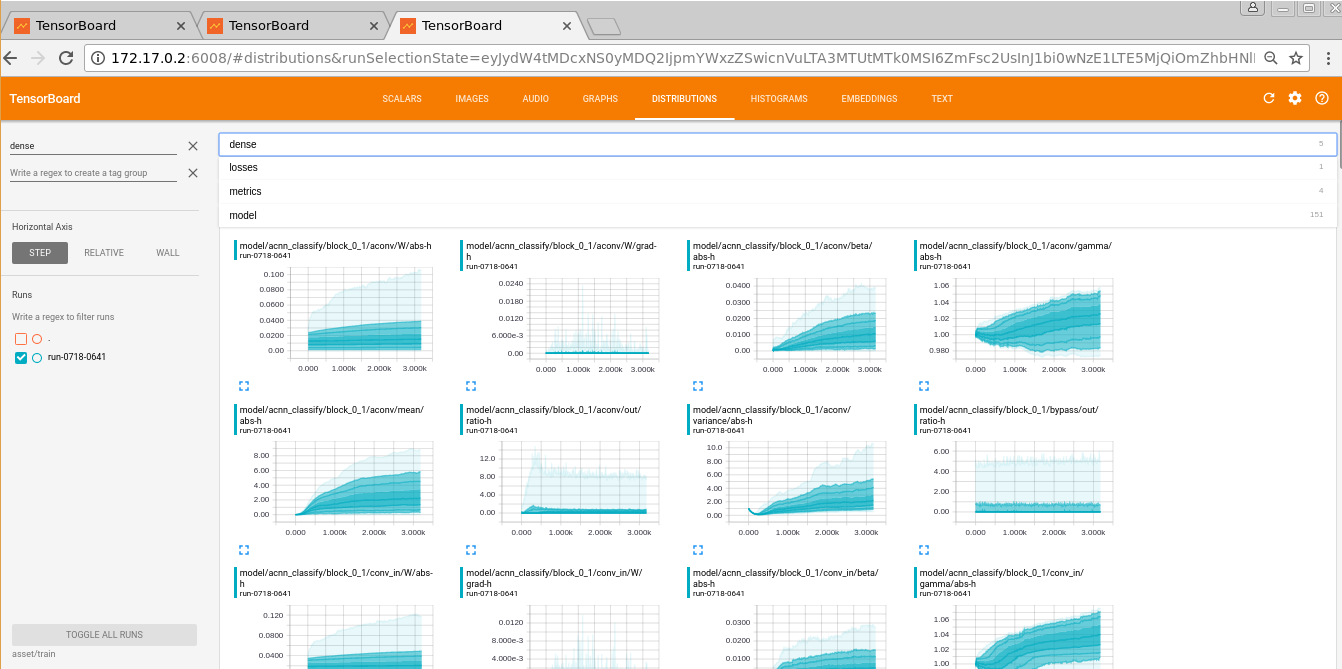
In order to monitor the training, accuracy and other interesting metrics like gradients, activations, distributions, etc. across layers do the following:
# when in the project's root directory
bash launch_tensorboard.sh
then open your browser http://localhost:6008/
(kudos to sugartensor for the great tf wrapper which handles all the monitoring out of the box)
During training you can also monitor the f1-scores on the validation set, which are written after every epoch on the console in a similar format:
Epoch 49 - f1 scores of the meaningful classes: [ 0.93855503  0.8487395   0.93145357  0.87792642]
Epoch 49 - total f1 score: 0.9051094890510949
Epoch 50 - f1 scores of the meaningful classes: [ 0.94793926  0.86325211  0.95052474  0.88527397]
Epoch 50 - total f1 score: 0.9179461364208408
Improved F1 score, max model saved in file: asset/train/max_model.ckpt
If the f1-score exceeds the previous best result a max_model.ckpt is saved automatically.
You can load any previously saved max_model.ckpt for further testing on different datasets, by running:
python test.py ( <== Use all available GPUs )
or
CUDA_VISIBLE_DEVICES=0,1 python test.py ( <== Use only GPU 0, 1 )
It will produces a similar output:
Precision scores of the meaningful classes: [ 0.9712689   0.89571279  0.89779375  0.80020146]
Recall scores of the meaningful classes: [ 0.956563845  0.87803279  0.92972093  0.80620112]
F1 scores of the meaningful classes: [ 0.96567506  0.88388911  0.91051454  0.80530973]
Total precision score: 0.9188072859744991
Total recall score: 0.8992679076693969
Total f1 score: 0.9083685761886454
Which in the case of the CoNLL-2003 score represents the following table:
| Class | Precision | Recall | F1 |
|---|---|---|---|
| PER | 97.22 | 95.88 | 96.56 |
| ORG | 89.99 | 87.92 | 91.94 |
| LOC | 95.89 | 96.99 | 96.42 |
| MISC | 80.43 | 89.62 | 89.58 |
| Total | 93.92 | 95.88 | 94.35 |
The script will run by default on the testb dataset.
- Increase the number of supported datasets
- Put everything into Docker
- Create a REST API for an easy deploy as a service
If you find this code useful please cite me in your work:
George Stoyanov. Deep-Atrous-CNN-NER. 2017. GitHub repository. https://github.com/randomrandom.
George Stoyanov (georgi.val.stoyan0v@gmail.com)


