Now that you have a solid understanding of the many ways you can manipulate a container using the Docker client, it's time to learn how to make custom images.
In this section, you'll learn many important concepts regarding building images, creating containers from them, and sharing them with others.
I suggest that you install Visual Studio Code with the official Docker Extension before going into the subsequent sub-sections.
In this sub-section we'll focus on the structure of a Dockerfile and the common instructions. A Dockerfile is a text document, containing a set of instructions for the Docker daemon to follow and build an image.
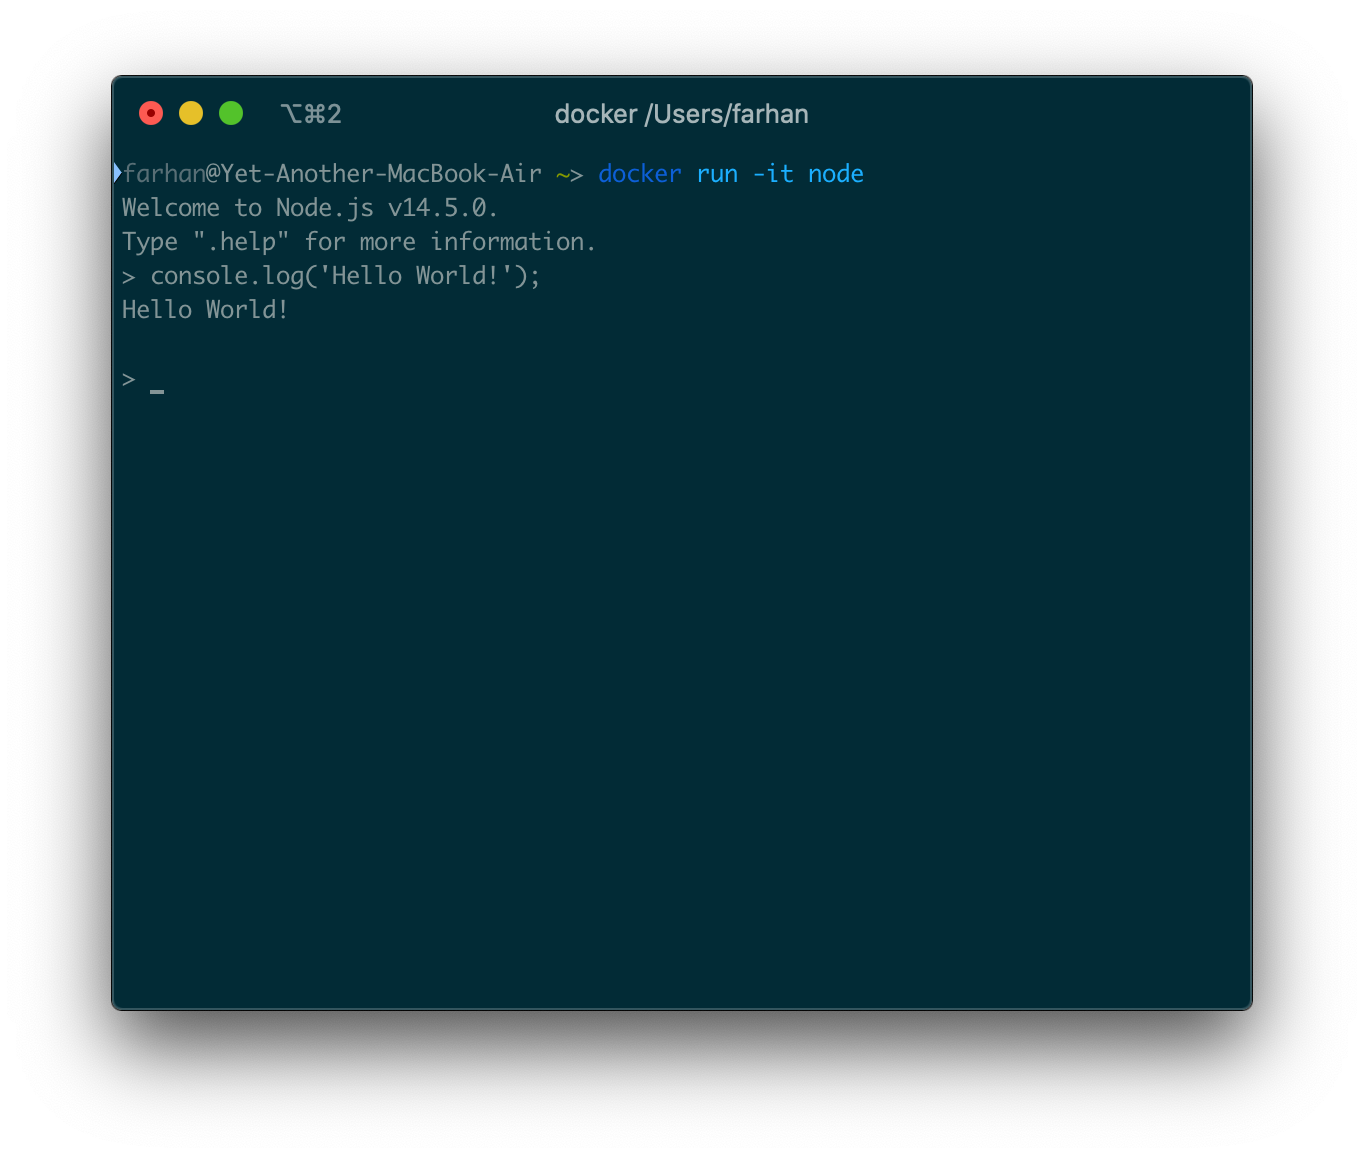
To understand the basics of building images we'll create a very simple custom Node image. Before we begin, I would like to show you how the official node image works. Execute the following command to run a container:
docker run -it node
The Node image is configured to start the Node REPL on startup. The REPL is an interactive program hence the usage of -it flag.
You can execute any valid JavaScript code here. We'll create a custom node image that functions just like that.
To start, create a new directory anywhere in your computer and create a new file named Dockerfile inside there. Open up the project folder inside a code editor and put following code in the Dockerfile:
FROM ubuntu

RUN apt-get update
RUN apt-get install nodejs -y

CMD [ "node" ]
I hope you remember from a previous sub-section that images have multiple layers. Each line in a Dockerfile is an instruction and each instruction creates a new layer.
Let me break down the Dockerfile line by line for you:
FROM ubuntu
Every valid Dockerfile must start with a FROM instruction. This instruction starts a new build stage and sets the base image. By setting ubuntu as the base image, we say that we want all the functionalities from the Ubuntu image to be available inside our image.
Now that we have the Ubuntu functionalities available in our image, we can use the Ubuntu package manager (apt-get) to install Node.
RUN apt-get update
RUN apt-get install nodejs -y
The RUN instruction will execute any commands in a new layer on top of the current image and persist the results. So in the upcoming instructions, we can refer to Node, because we've installed that in this step.
CMD [ "node" ]
The purpose of a CMD instruction is to provide defaults for an executing container. These defaults can include an executable, or you can omit the executable, in which case you must specify an ENTRYPOINT instruction. There can be only one CMD instruction in a Dockerfile. Also, single quotes are not valid.
Now to build an image from this Dockerfile, we'll use the build command. The generic syntax for the command is as follows:
docker build <build context>
The build command requires a Dockerfile and the build's context. The context is the set of files and directories located in the specified location. Docker will look for a Dockerfile in the context and use that to build the image.
Open up a terminal window inside that directory and execute the following command:
docker build .
We're passing . as the build context which means the current directory. If you put the Dockerfile inside another directory like /src/Dockerfile, then the context will be ./src.
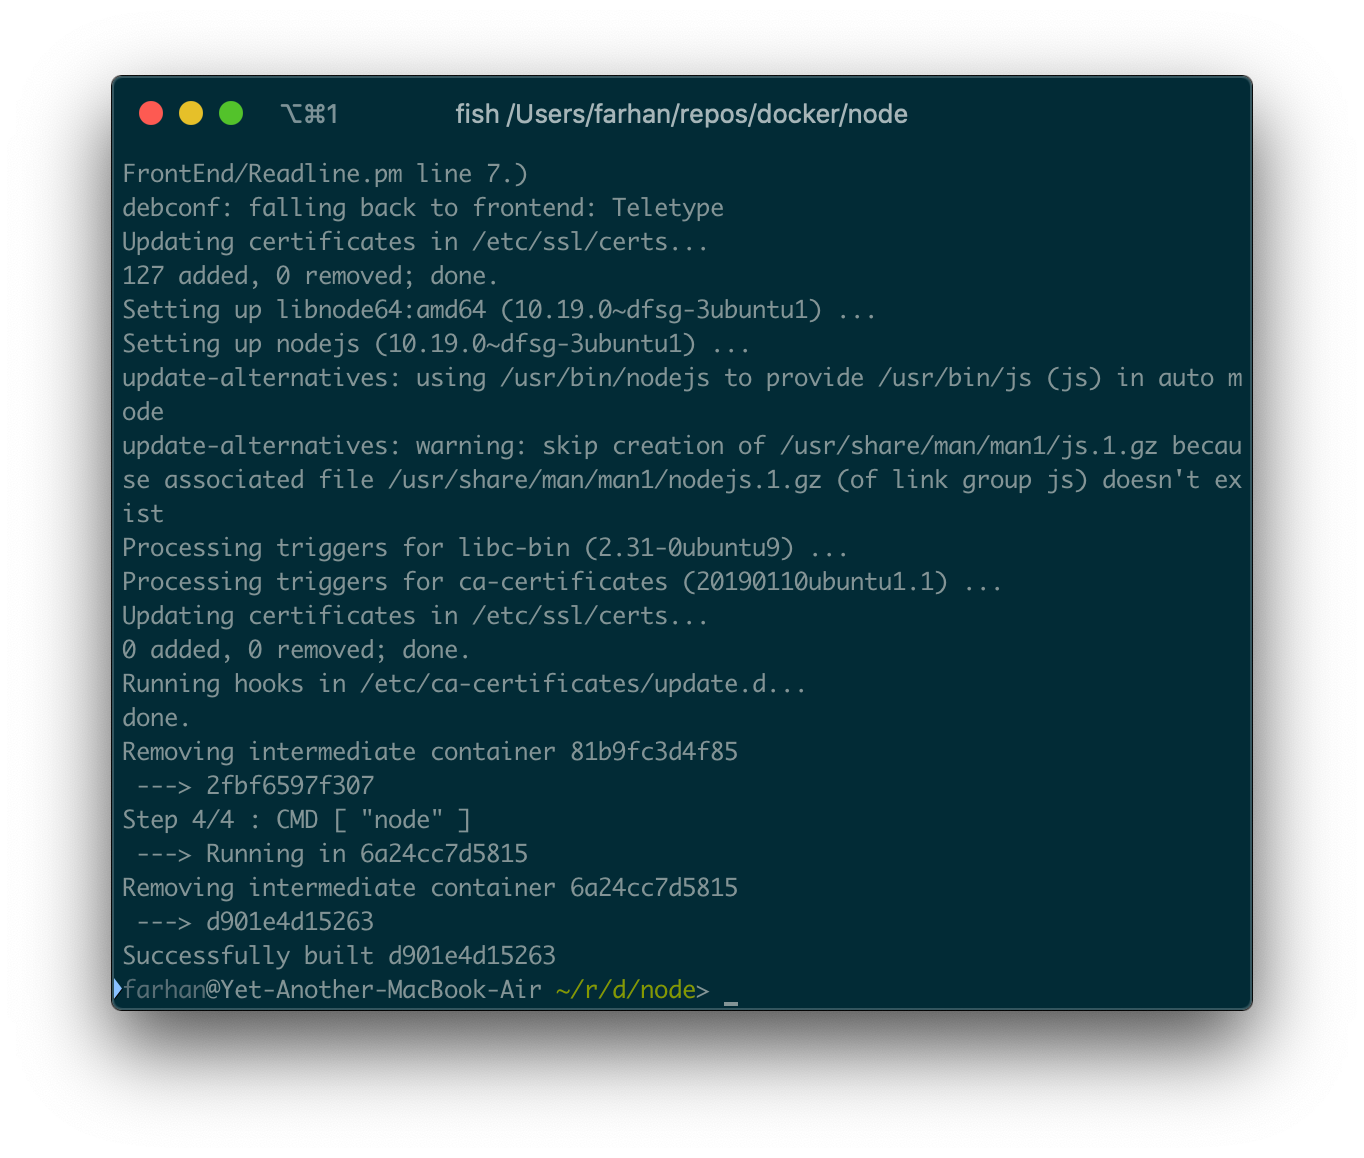
The build process may take some time to finish. Once done, you should see a wall of text in your terminal:
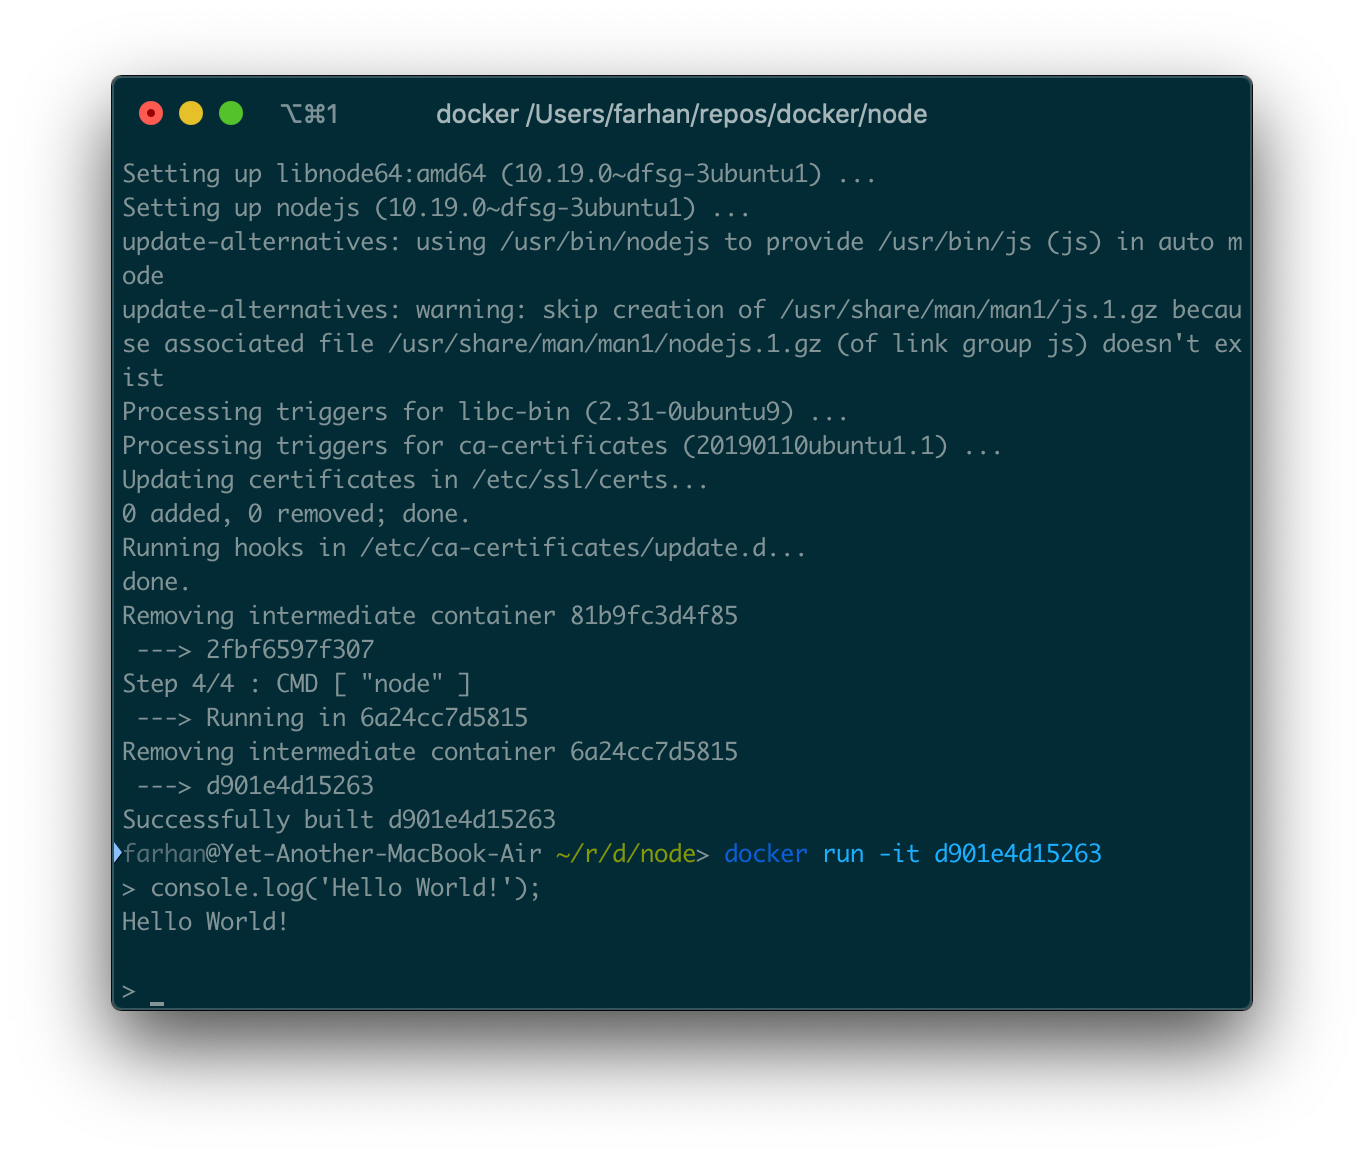
If everything goes fine, you should see something like Successfully built d901e4d15263 at the end. This random string is the image id and not container id. You can execute the run command with this image id to create and start a new container.
docker run -it d901e4d15263
Remember, the Node REPL is an interactive program, so the -it option is necessary. Once you've run the command you should land on the Node REPL:
You can execute any valid JavaScript code here, just like the official Node image.
I hope you remember the concept of an executable image from a previous sub-section. Images that can take additional arguments just like a regular executable. In this sub-section, you'll learn how to make one.
We'll create a custom bash image and will pass arguments like we did with the Ubuntu image in a previous sub-section. Start by creating a Dockerfile inside an empty directory and put following code in that:
FROM alpine

RUN apk add --update bash

ENTRYPOINT [ "bash" ]
We're using the alpine image as the base. Alpine Linux is a security-oriented, lightweight Linux distribution.
Alpine doesn't come with bash by default. So on the second line we install bash using Alpine package manager, apk. apk for Alpine is what apt-get is for Ubuntu. The last instruction sets bash as the entry-point for this image. As you can see, the ENTRYPOINT instruction is identical to the CMD instruction.
To build the image execute following command:
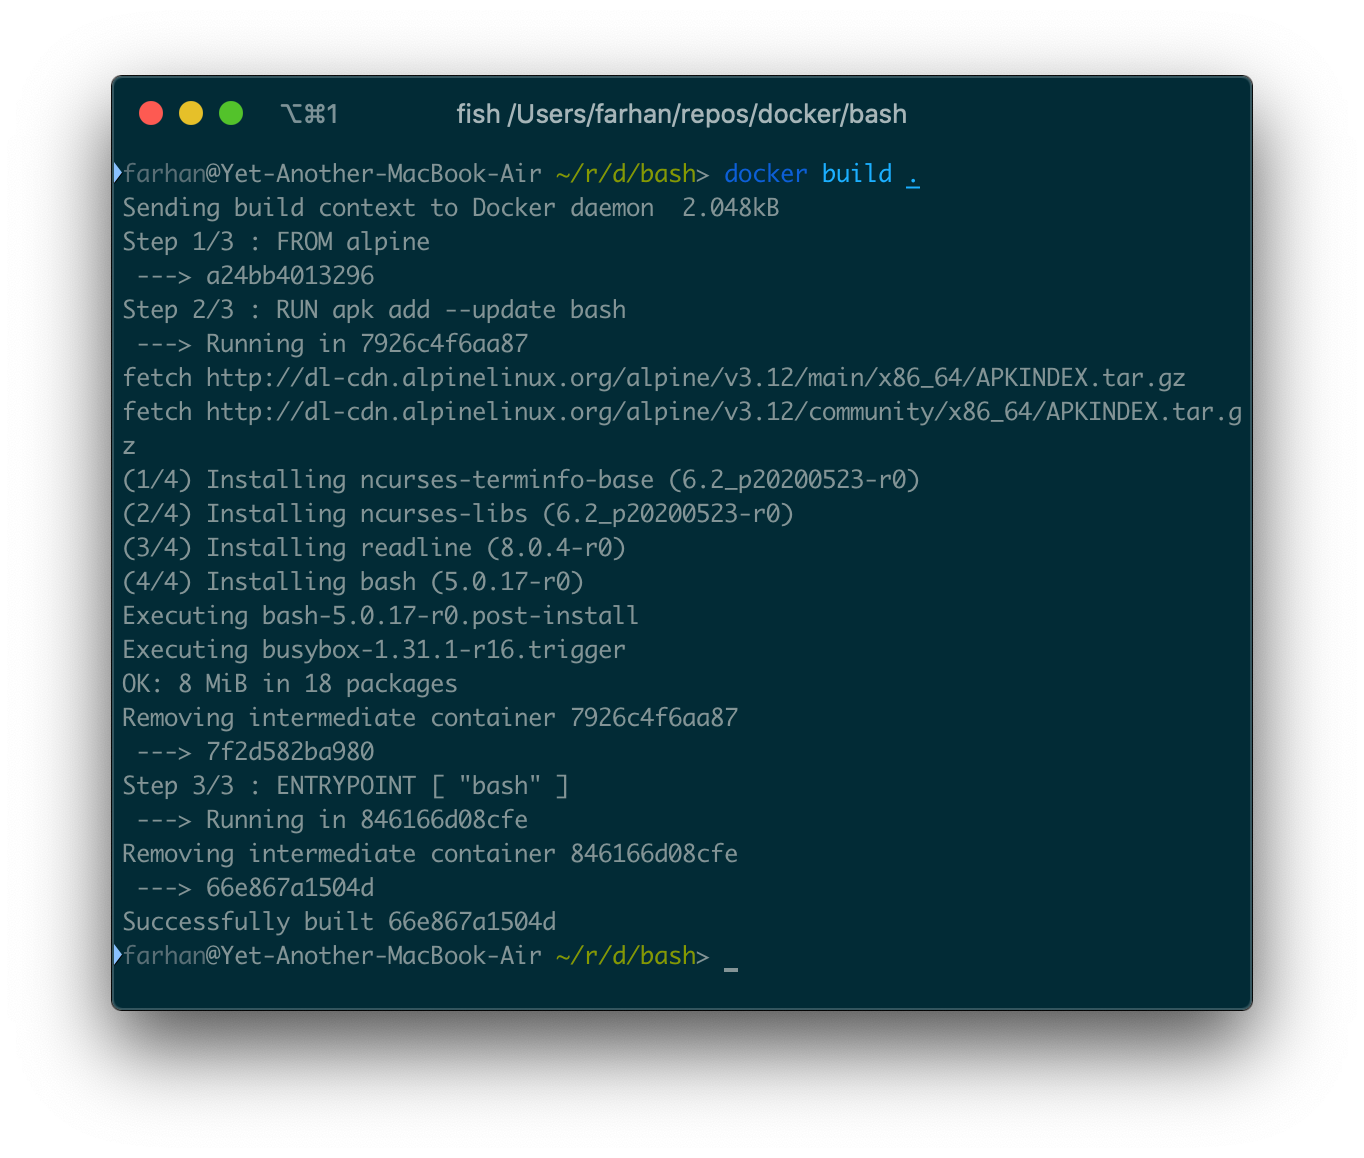
docker build .
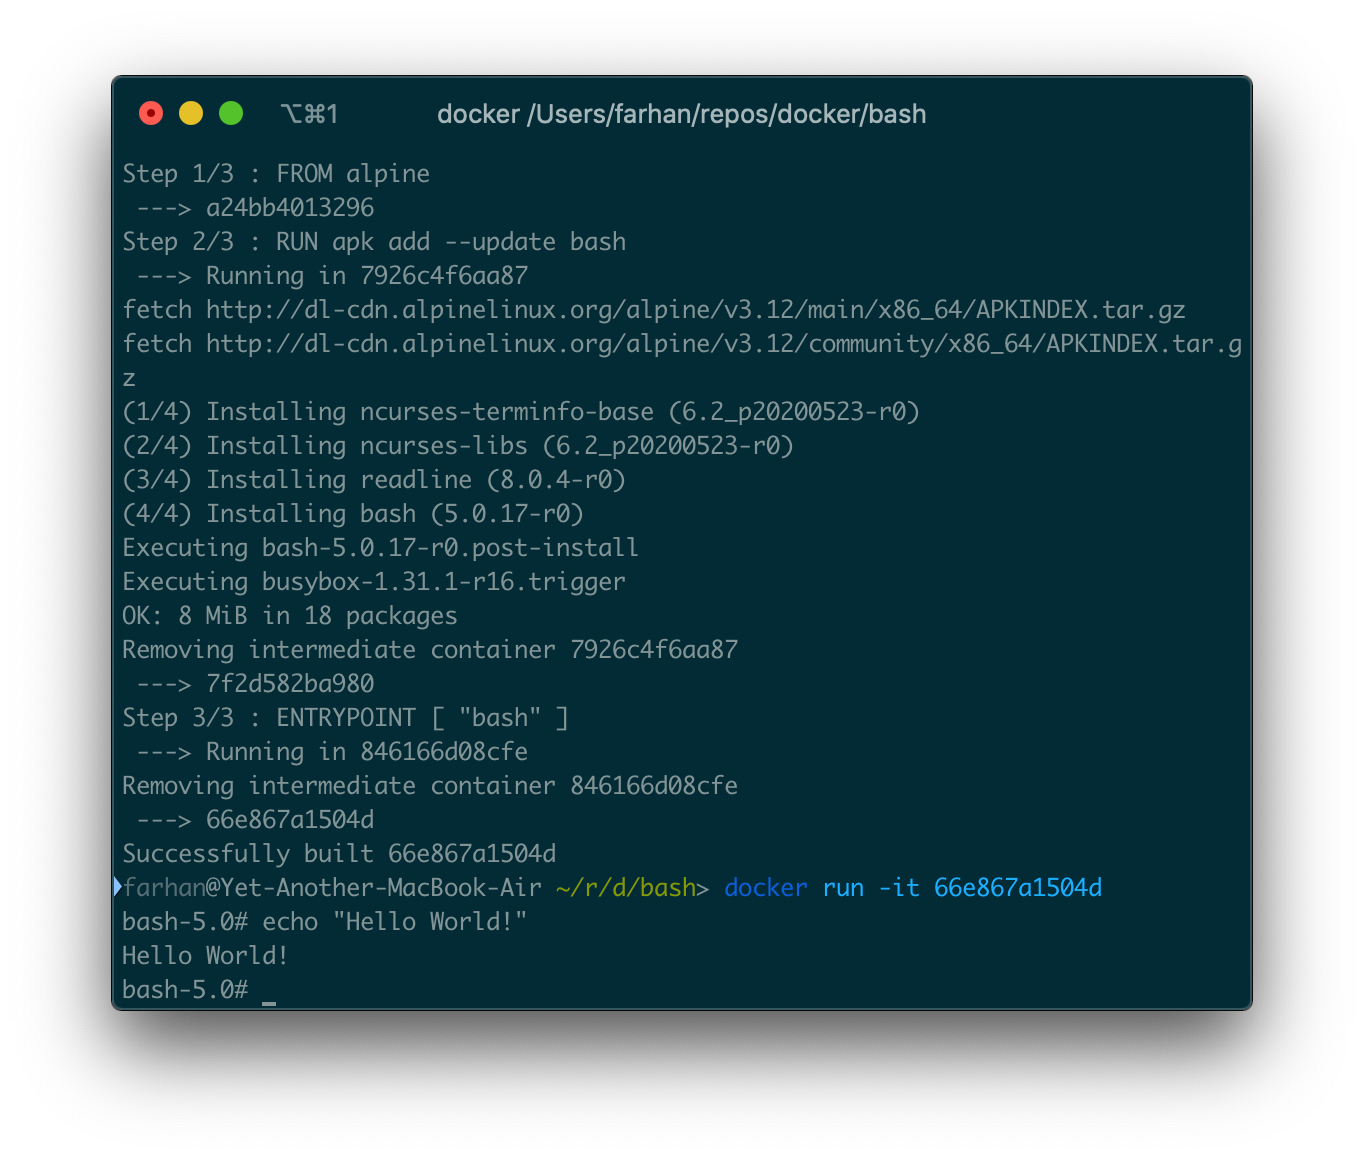
The build process may take some time. Once done, you should get the newly created image id:
You can run a container from the resultant image with the run command. This image has an interactive entry-point, so make sure you use the -it option.
Now you can pass any argument to this container just like you did with the Ubuntu container. To see a list of all files and directories, you can execute following command:
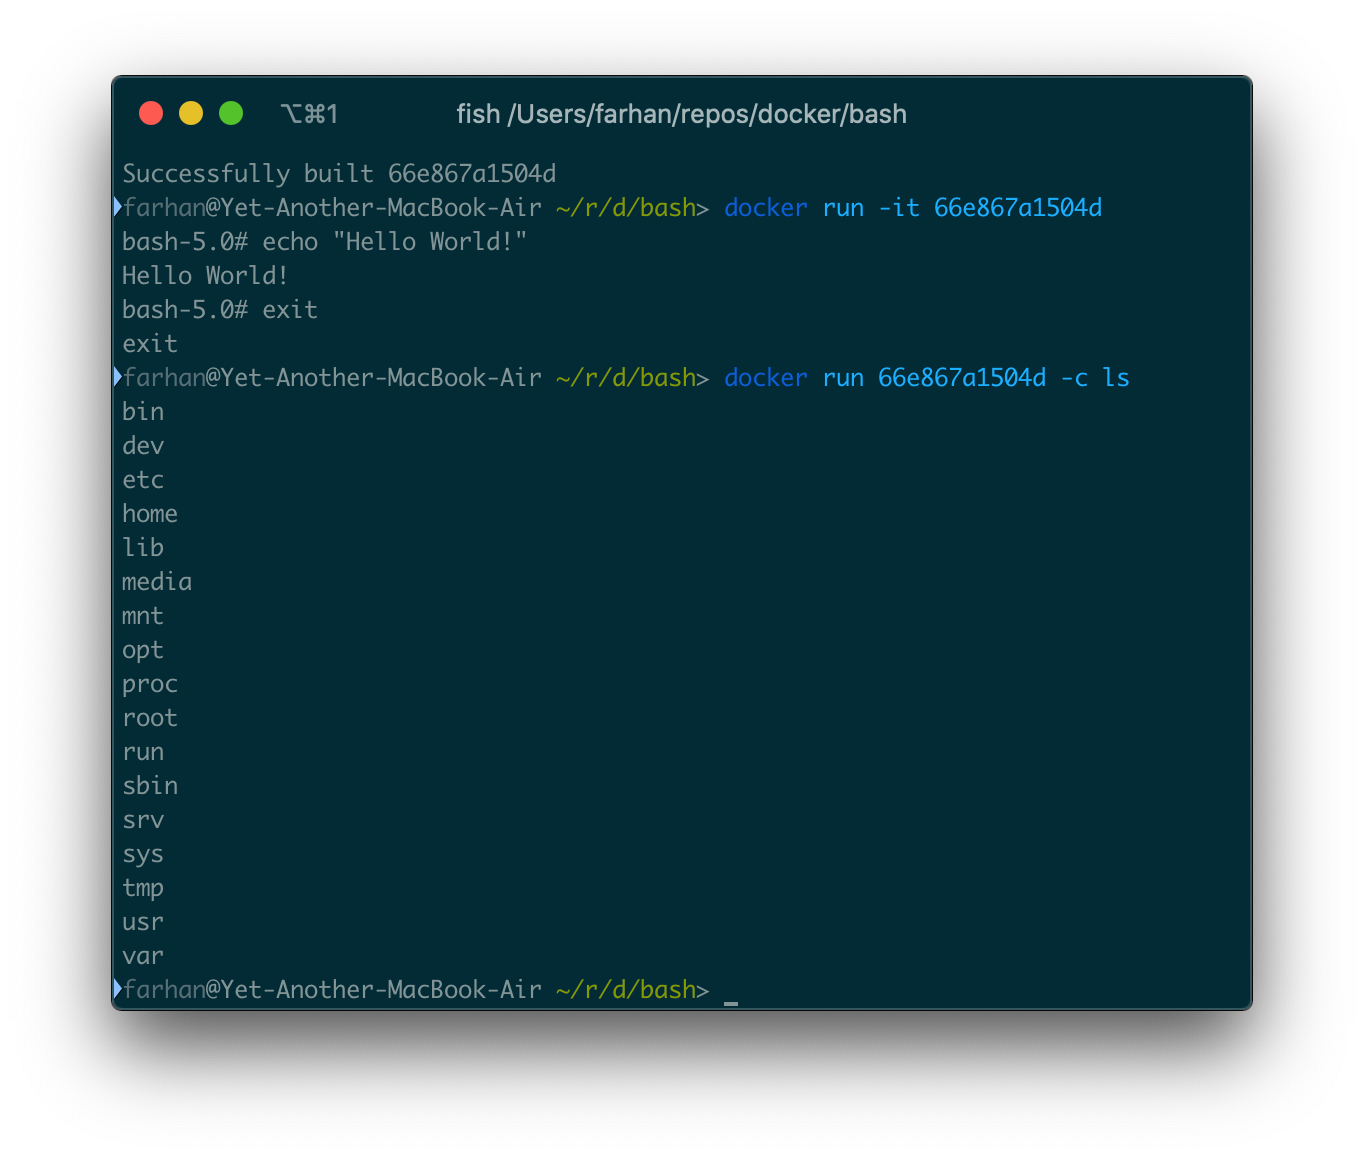
docker run 66e867a1504d -c ls
The -c ls option will be passed directly to bash and should return a list of directories inside the container:
The -c option has nothing to do with Docker client. It's a bash command line option. It reads commands from subsequent strings.
So far we've only created images that contain no additional files. In this sub-section you'll learn how to containerize a project with source files in it.
If you've cloned the project code repository, then go inside the express-api directory. This is a REST API that runs on port 3000 and returns a simple JSON payload when hit.
To run this application you need to go through following steps:
- Install necessary dependencies by executing
npm install. - Start the application by executing
npm run start.
To replicate the above mentioned process using Dockerfile instructions, you need to go through the following steps:
- Use a base image that allows you to run Node applications.
- Copy the
package.jsonfile and install the dependencies by executingnpm run install. - Copy all necessary project files.
- Start the application by executing
npm run start.
Now, create a new Dockerfile inside the project directory and put following content in it:
FROM node

WORKDIR /usr/app

COPY ./package.json ./
RUN npm install

COPY . .

CMD [ "npm", "run", "start" ]
We're using Node as our base image. The WORKDIR instruction sets the working directory for any RUN, CMD, ENTRYPOINT, COPY and ADD instructions that follow it in the Dockerfile. It's kind of like cd'ing into the directory.
The COPY instruction will copy the ./package.json to the working directory. As we have set the working directory on the previous line, . will refer to /usr/app inside the container. Once the package.json has been copied, we then install all the necessary dependencies using the RUN instruction.
In the CMD instruction, we set npm as the executable and pass run and start as arguments. The instruction will be interpreted as npm run start inside the container.
Now build the image with docker build . and use the resultant image id to run a new container. The application runs on port 3000 inside the container, so don't forget to map that.
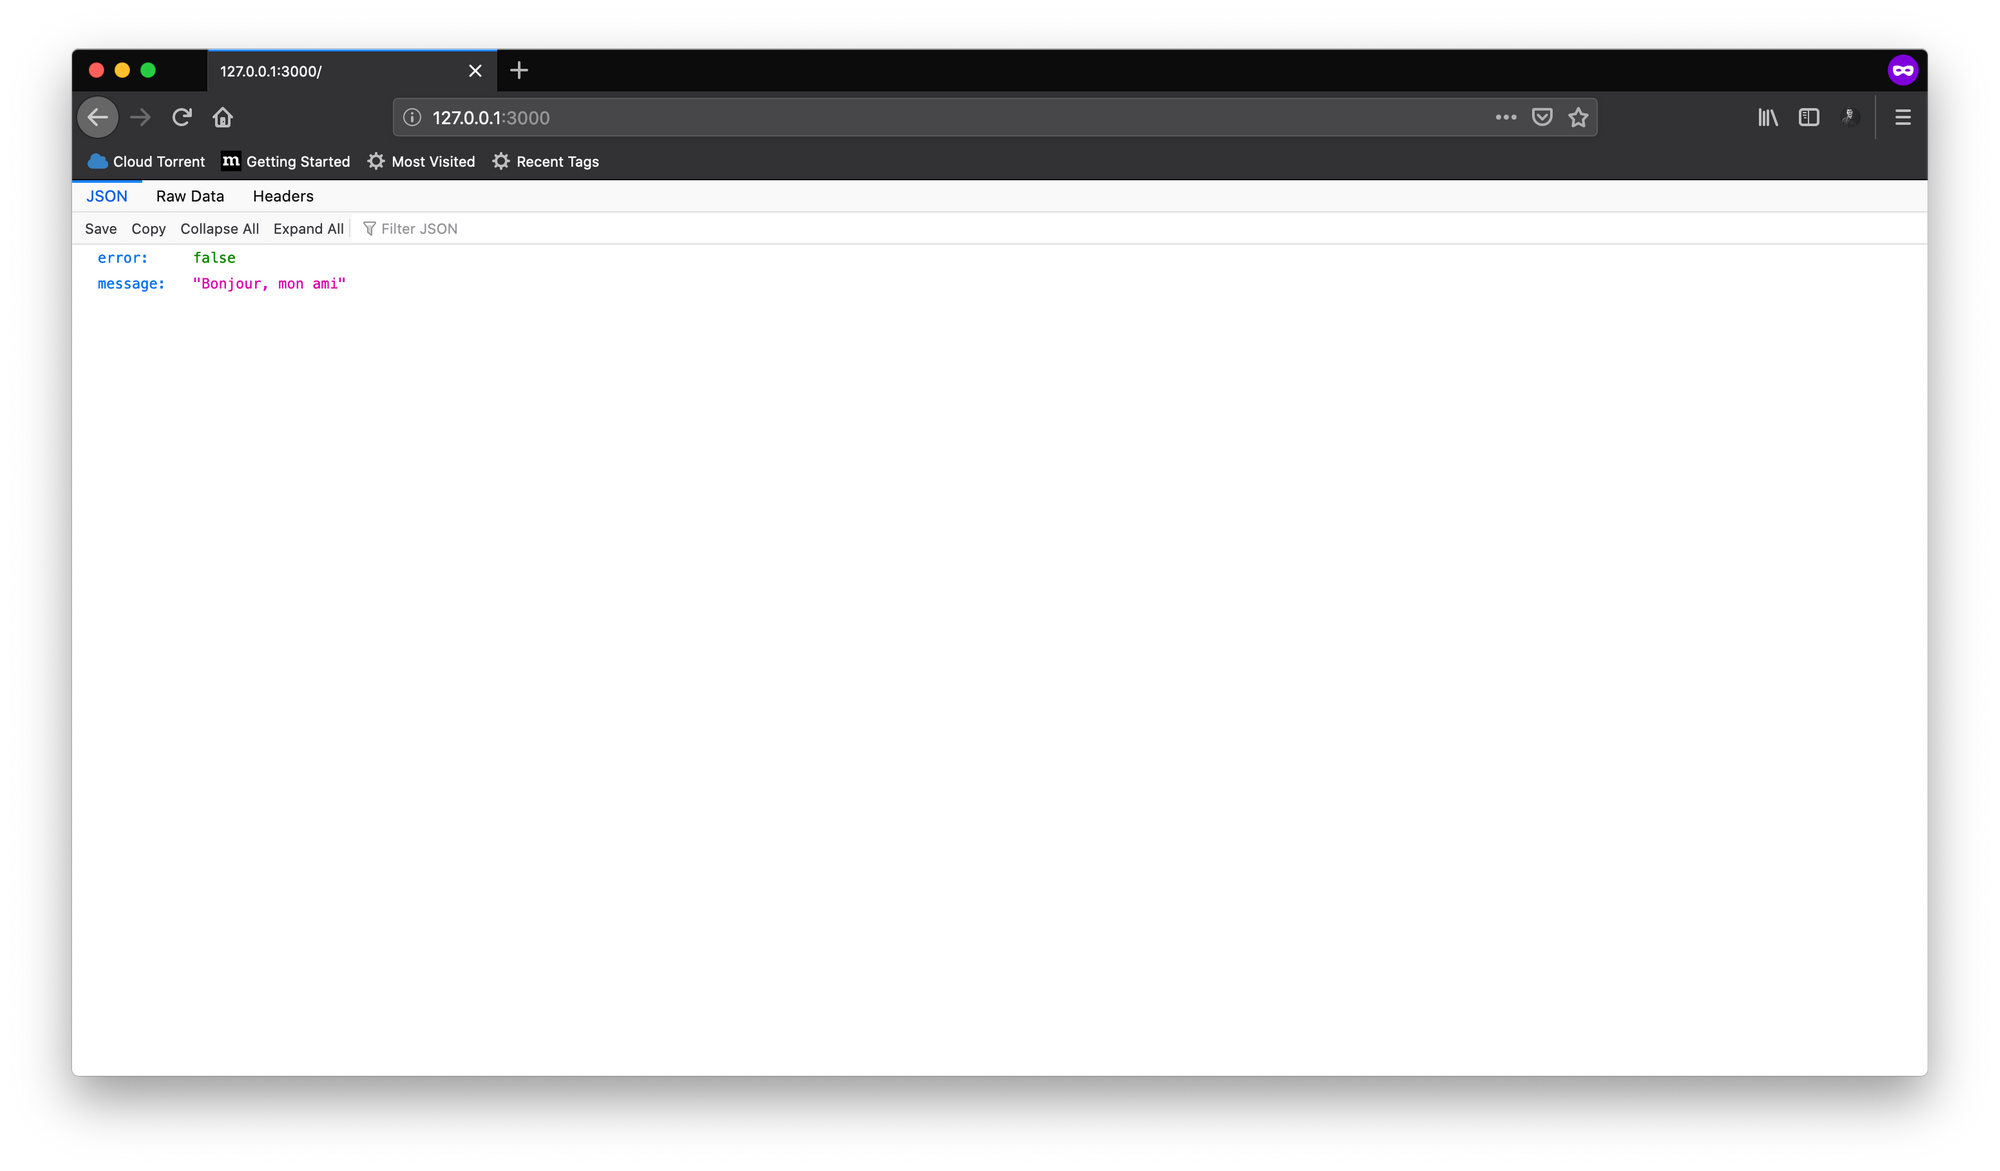
Once you've successfully run the container, visit http://127.0.0.1:3000 and you should see a simple JSON response. Replace the 3000 if you've used some other port from the host system.
In this sub-section I'll be presenting a very common scenario. Assume that you're working on a fancy front-end application with React or Vue. If you've cloned the project code repository, then go inside the vite-counter directory. This is a simple Vue application initialized with npm init vite-app command.
To run this application in development mode, we need to go through the following steps:
- Install necessary dependencies by executing
npm install. - Start the application in development mode by executing
npm run dev.
To replicate the above mentioned process using Dockerfile instructions, we need to go through the following steps:
- Use a base image that allows you to run Node applications.
- Copy the
package.jsonfile and install the dependencies by executingnpm run install. - Copy all necessary project files.
- Start the application in development mode by executing
npm run dev.
In there create a new Dockerfile.dev and put following content in it:
FROM node

WORKDIR /usr/app

COPY ./package.json ./
RUN npm install

COPY . .

CMD [ "npm", "run", "dev" ]
Nothing fancy here. We're copying the package.json file, installing the dependencies, copying the project files and starting the development server by executing npm run dev.
Build the image by executing following command:
docker build -f Dockerfile.dev .
Docker is programmed to look for a Dockerfile within the build's context. But we've named our file Dockerfile.dev, thus we have to use the -f or --file option and let Docker know the filename. The . at the end indicates the context, just like before.
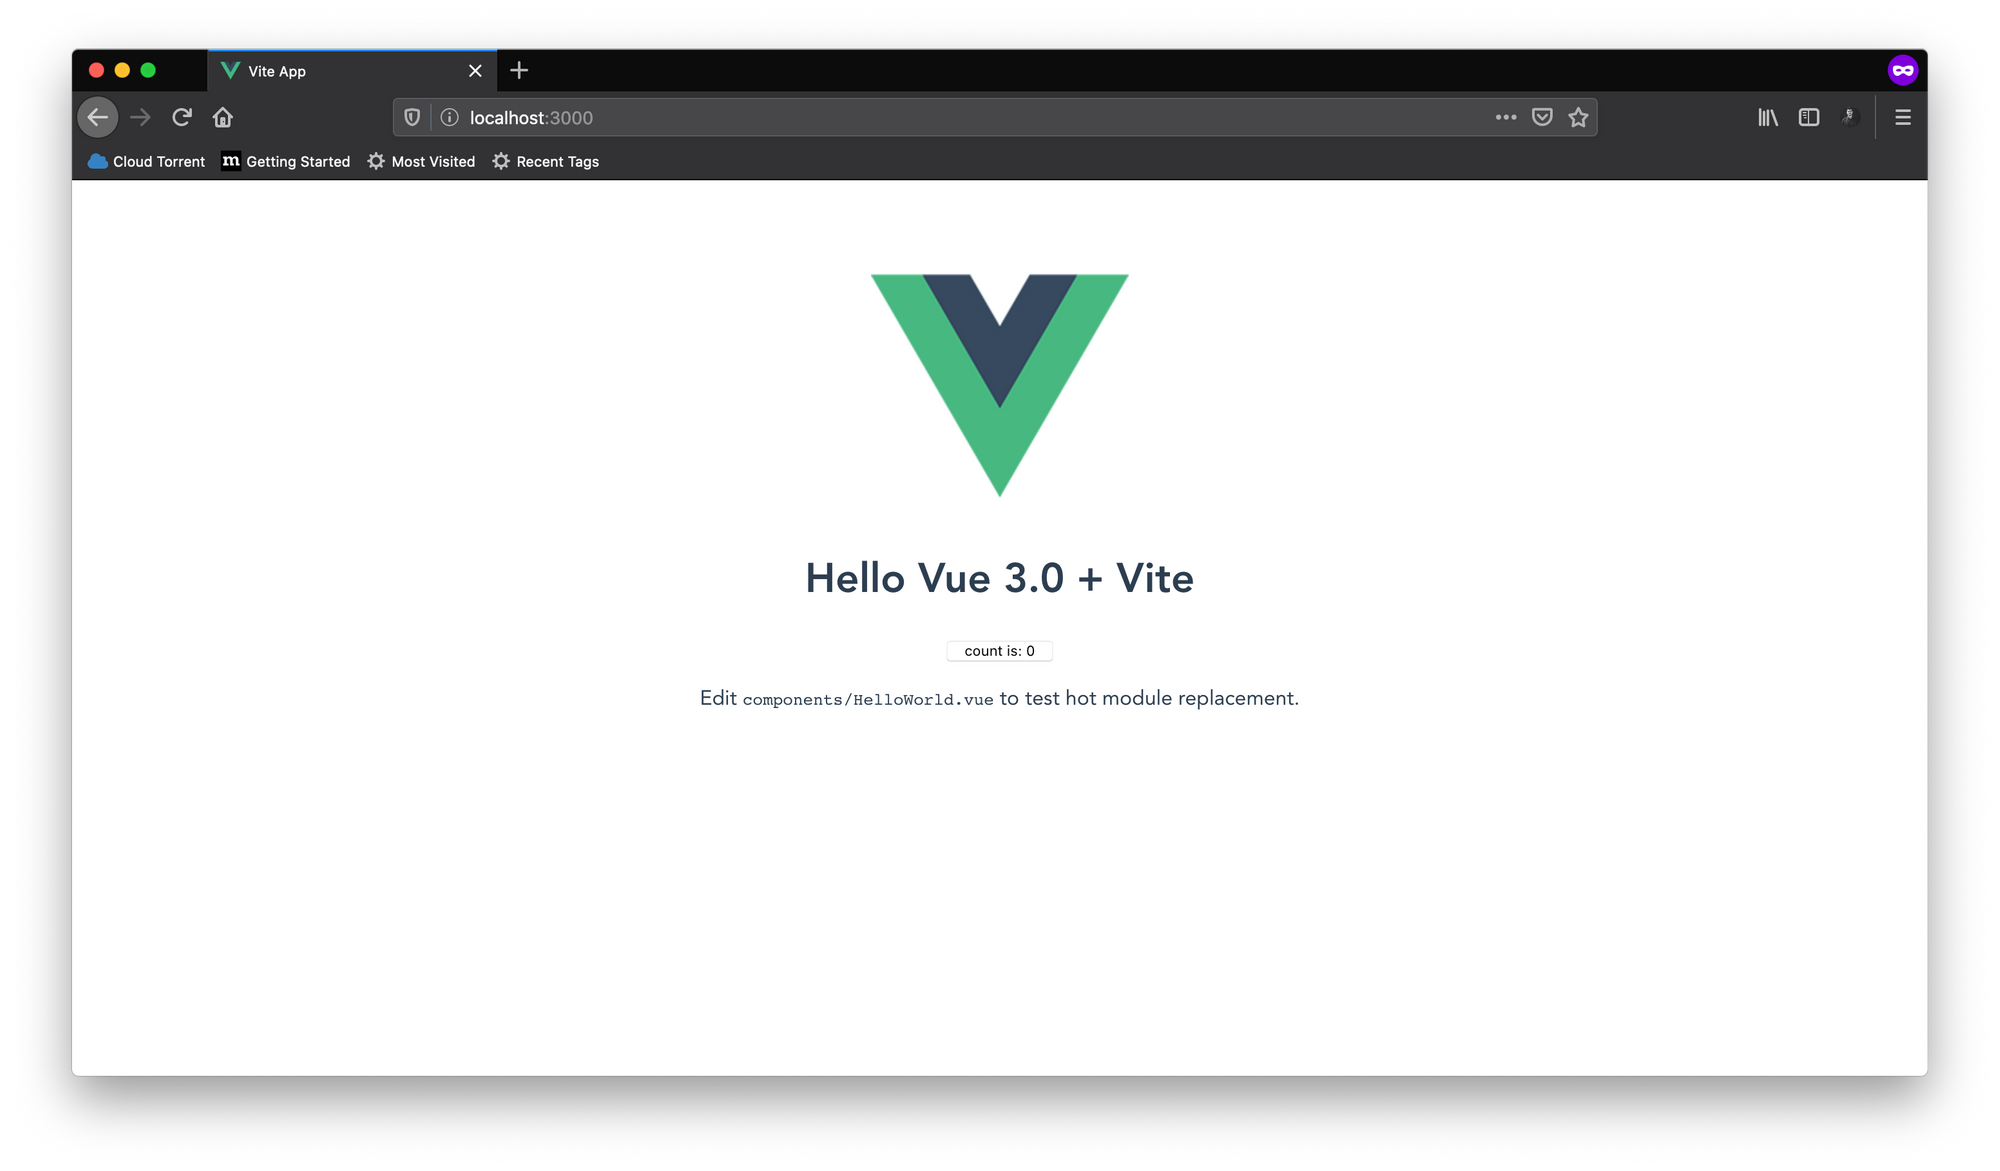
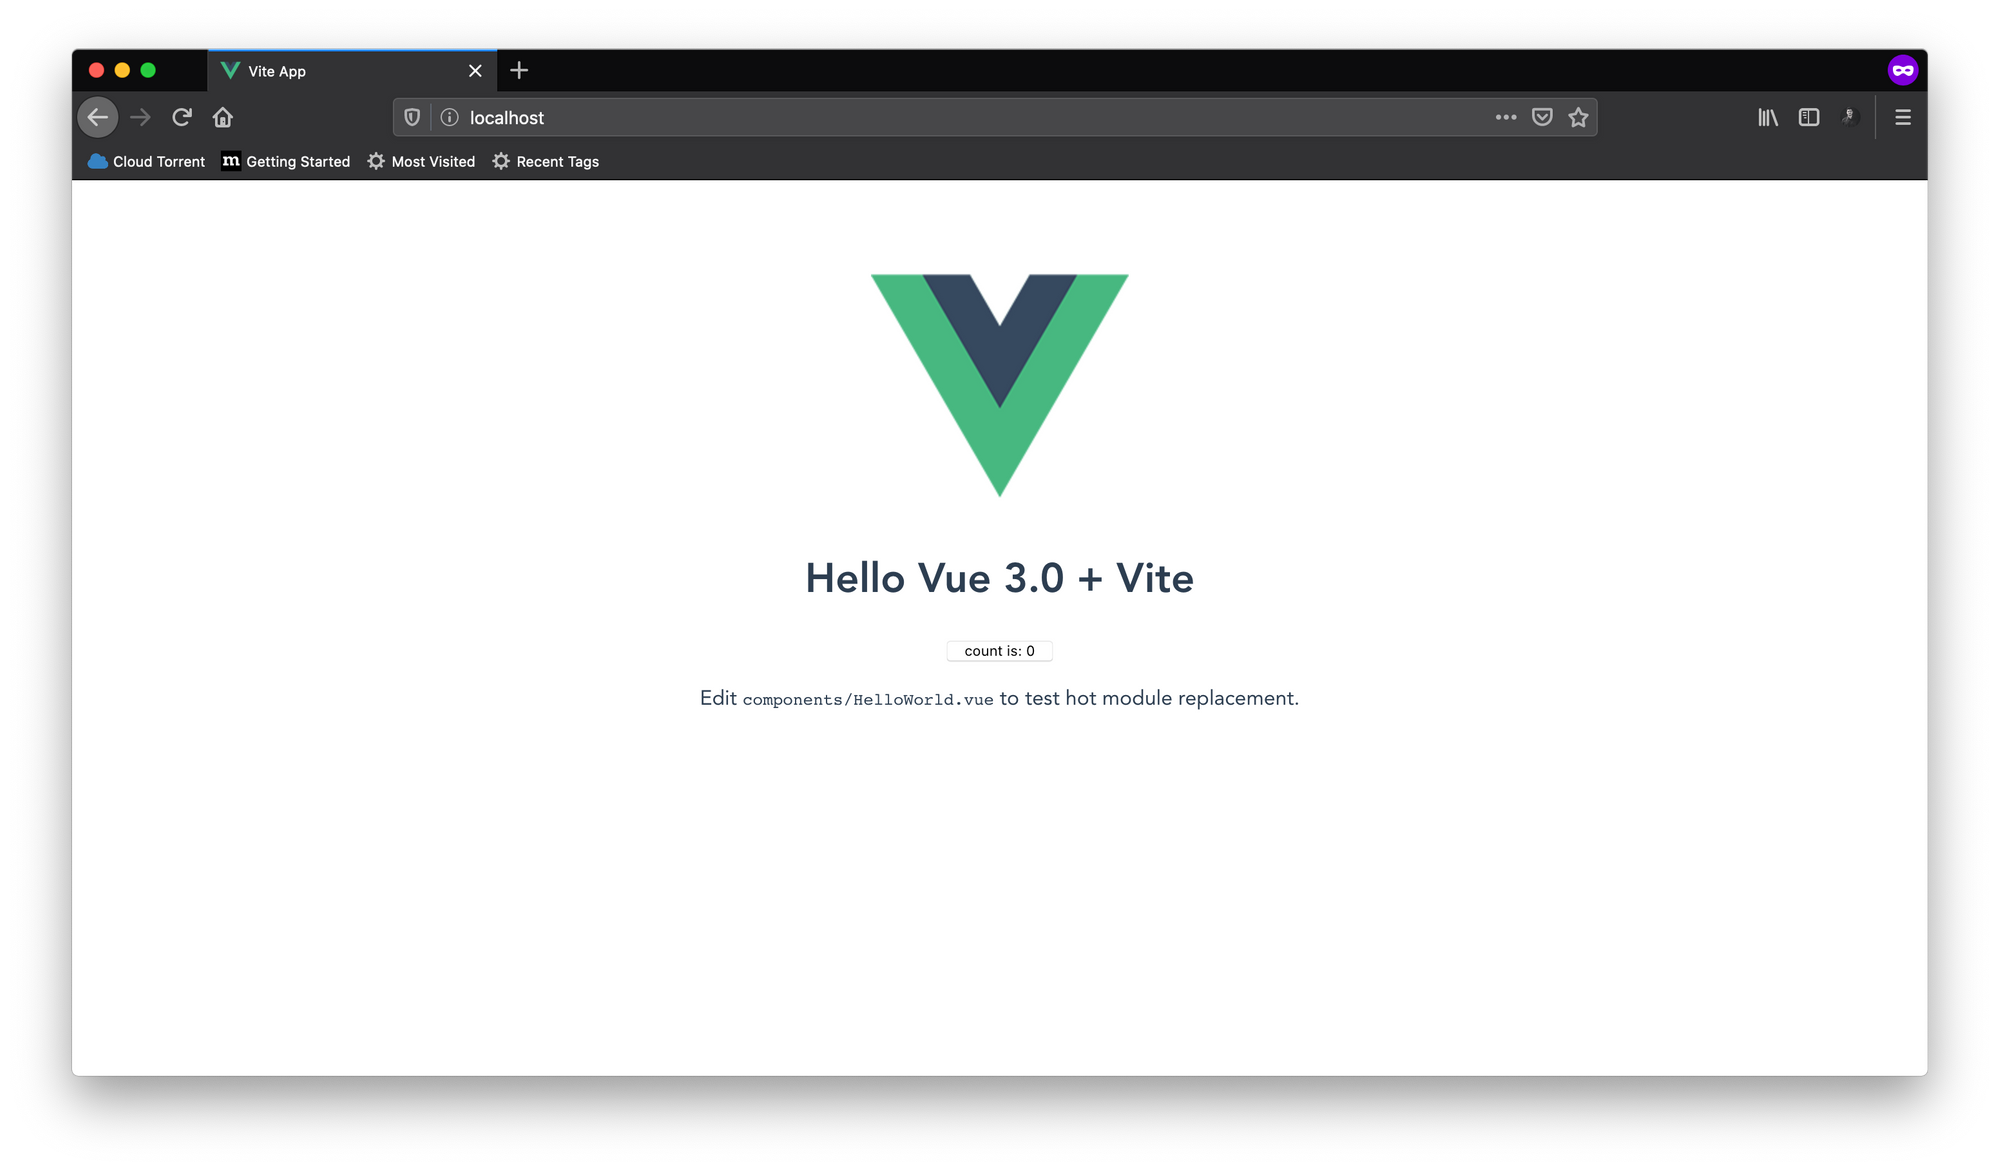
The development server runs on port 3000 inside the container, so make sure you map the port while creating and starting a container. I can access the application by visiting http://127.0.0.1:3000 on my system.
This the default component that comes with any new Vite application. You can press the button to increase the count.
All the major front-end frameworks come with a hot reload feature. If you make any changes to the code while running in the development server, the changes should reflect immediately in the browser. But if you go ahead and make any changes to the code in this project, you'll see no changes in the browser.
Well, the reason is pretty straightforward. When you're making changes in the code, you are changing the code in your host system, not the copy inside the container.
There is a solution to this problem. Instead of making a copy of the source code inside the container what we can do is, we can just let the container access the files from our host directly.
To do that, Docker has an option called -v or --volume for the run command. Generic syntax for the volume option is as follows:
docker run -v <absolute path to host directory>:<absolute path to container working directory> <image id>
You can use the pwd shell command to get the absolute path of the current directory. My host directory path is /Users/farhan/repos/docker/docker-handbook-projects/vite-counter, container application working directory path is /usr/app and the image id is 8b632faffb17. So my command will be as follows:
docker run -p 3000:3000 -v /Users/farhan/repos/docker/docker-handbook-projects/vite-counter:/usr/app 8b632faffb17
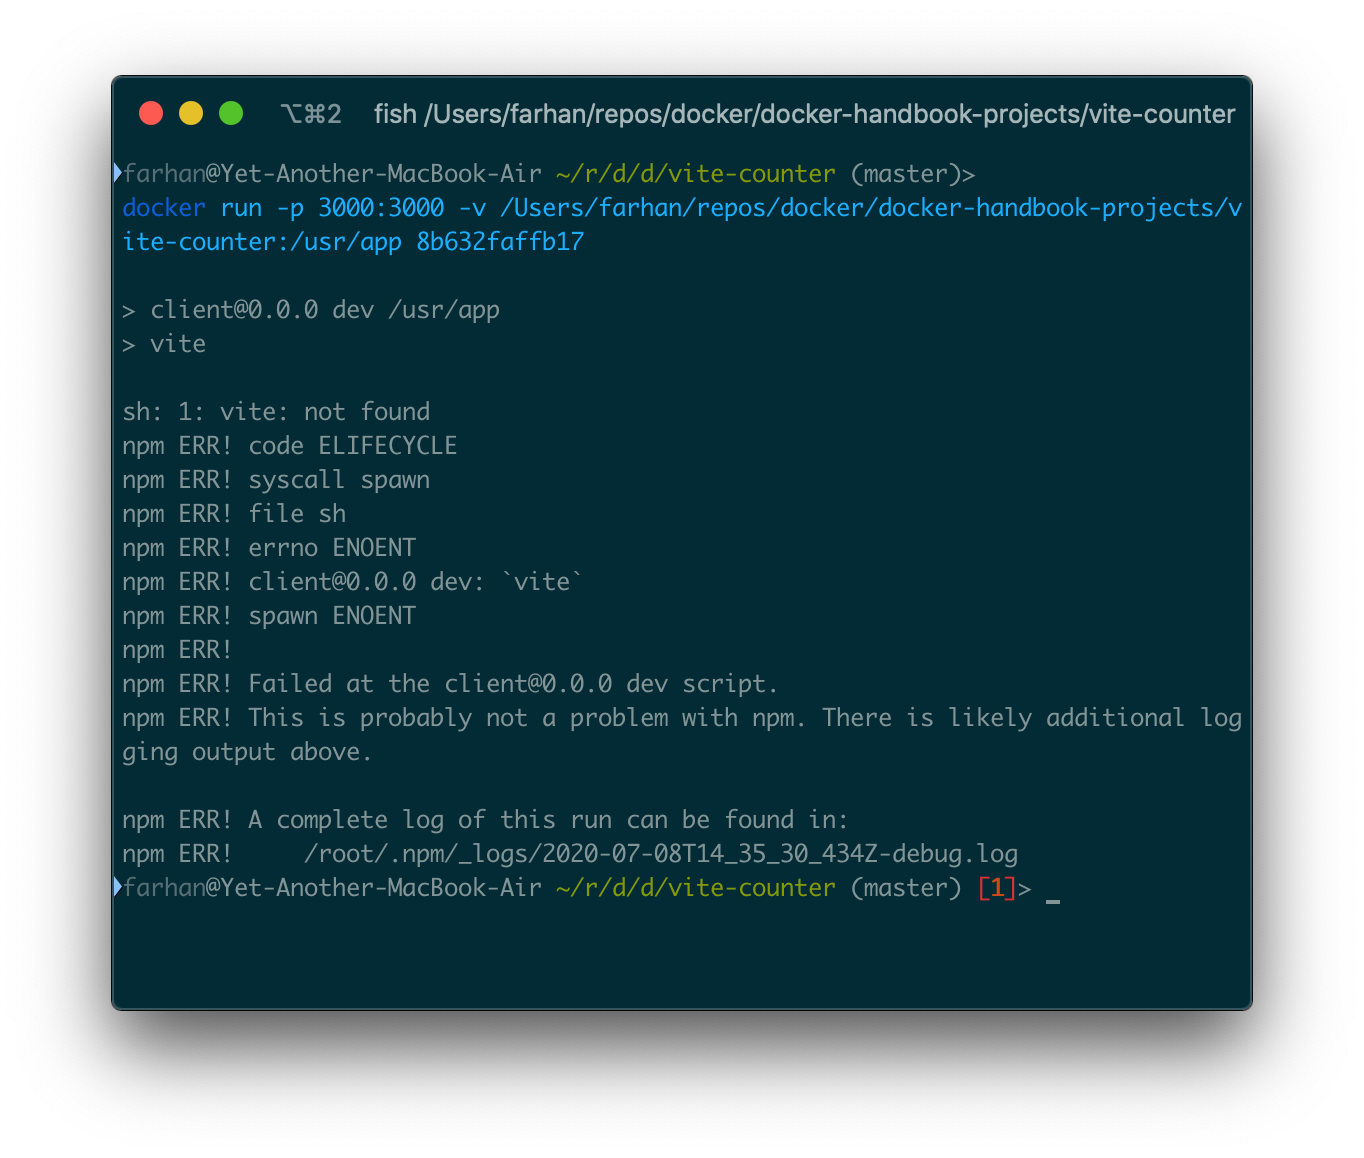
If you execute the above command, you'll be presented with an error saying sh: 1: vite: not found, which means that the dependencies are not present inside the container.
If you do not get such an error, that means you've installed the dependencies in your host system. Delete the node_modules folder in your local system and try again.
But if you look into the Dockerfile.dev, at the fourth line, we've clearly written the RUN npm install instruction.
Let me explain why this is happening. When using volumes, the container accesses the source code directly from our host system, and as you know, we haven't installed any dependencies in the host system.
Installing the dependencies can solve the problem but isn't ideal at all. Because some dependencies get compiled from source every time you install them. And if you're using Windows or Mac as your host operating system, then the binaries built for your host operating system will not work inside a container running Linux.
To solve this problem, you have to know about the two types of volumes Docker has.
- Named Volumes: These volumes have a specific source from outside the container, for example
-v ($PWD):/usr/app. - Anonymous Volumes: These volumes have no specific source, for example
-v /usr/app/node_modules. When the container is deleted, anonymous volumes remain until you clean them up manually.
To prevent the node_modules directory from getting overwritten, we'll have to put it inside an anonymous volume. To do that, modify the previous command as follows:
docker run -p 3000:3000 -v /usr/app/node_modules -v /Users/farhan/repos/docker/docker-handbook-projects/vite-counter:/usr/app 8b632faffb17
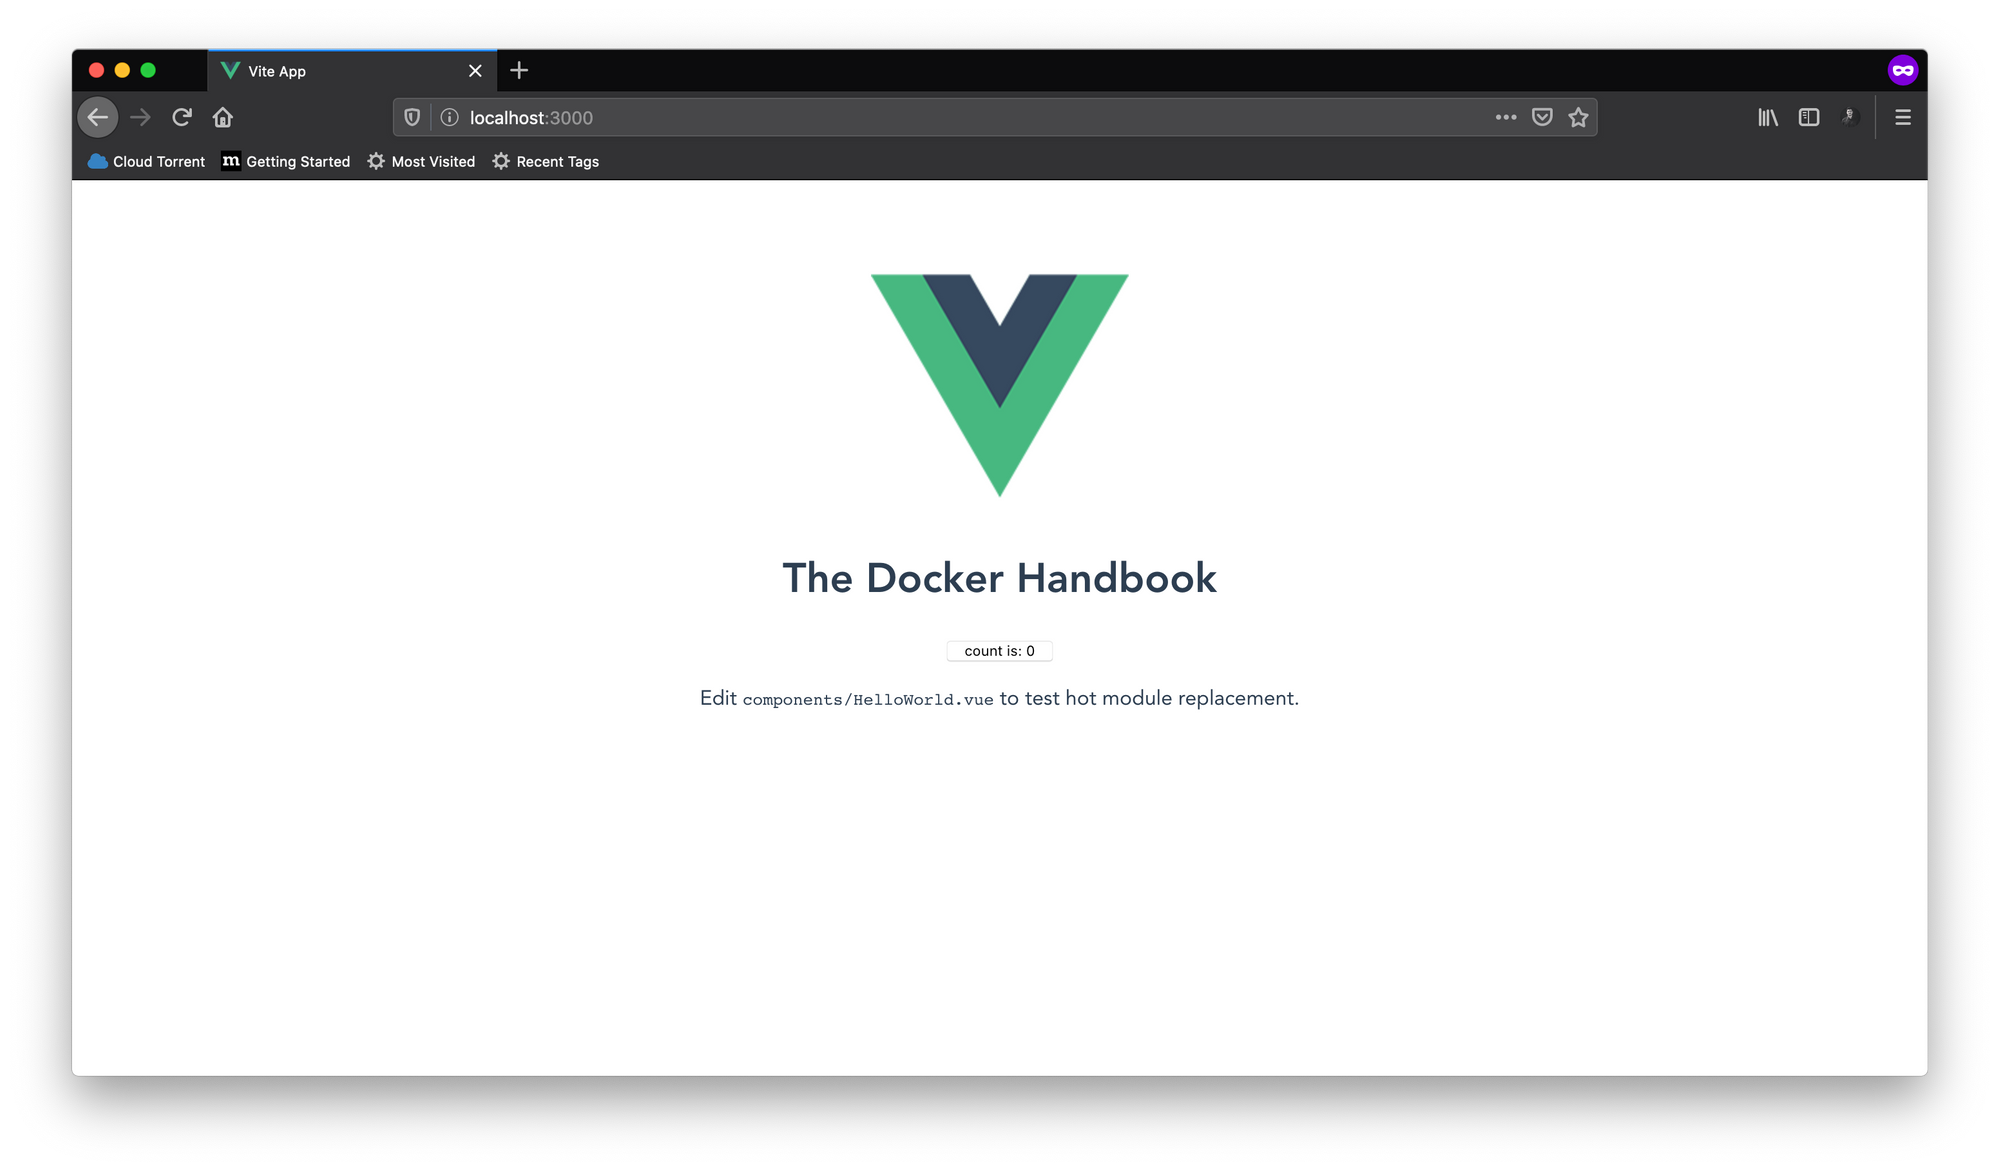
The only change we've made is the addition of a new anonymous volume. Now run the command and you'll see the application running. You can even change anything and see the change immediately in the browser. I've changed the default header a bit.
The command is a bit too long for repeated execution. You can use shell command substitution instead of the long source directory absolute path.
docker run -p 3000:3000 -v /usr/app/node_modules -v $(pwd):/usr/app 8b632faffb17
The $(pwd) bit will be replace with the absolute path to the present directory you're in. So make sure you've opened your terminal window inside the project folder.
Introduced in Docker v17.05, multi-staged build is an amazing feature. In this sub-section, you'll again work with the vite-counter application.
In the previous sub-section, you created Dockerfile.dev file, which is clearly for running the development server. Creating a production build of a Vue or React application is a perfect example of a multi-stage build process.
First let me show you how the production build will work in the following diagram:
As you can see from the diagram, the build process has two steps or stages. They are as follows:
- Executing
npm run buildwill compile our application into a bunch of JavaScript, CSS and anindex.htmlfile. The production build will be available inside the/distdirectory on the project root. Unlike the development version though, the production build doesn't come with a fancy server. - We'll have to use Nginx for serving the production files. We'll copy the files built in stage 1 to the default document root of Nginx and make them available.
Now if we want to see the steps like we did with our previous two projects, it should go like as follows:
- Use a base image (node) that allows us to run Node applications.
- Copy the
package.jsonfile and install the dependencies by executingnpm run install. - Copy all necessary project files.
- Make the production build by executing
npm run build. - Use another base image (nginx) that allows us to run serve the production files.
- Copy the production files from the
/distdirectory to the default document root (/usr/share/nginx/html).
Let's get to work now. Create a new Dockerfile inside the vite-counter project directory. Content for the Dockerfile is as follows:
FROM node as builder

WORKDIR /usr/app

COPY ./package.json ./
RUN npm install

COPY . .

RUN npm run build

FROM nginx

COPY --from=builder /usr/app/dist /usr/share/nginx/html
The first thing that you might have noticed is the multiple FROM instructions. Multi-staged build process allows the usage of multiple FROM instructions. The first FROM instruction sets node as the base image, installs dependencies, copies all project files and executes npm run build. We're calling the first stage builder.
Then on the second stage we're using nginx as the base image. Copying all files from /usr/app/dist directory built during stage one to usr/share/nginx/html directory in the second stage. The --from option in the COPY instruction allows us to copy files between stages.
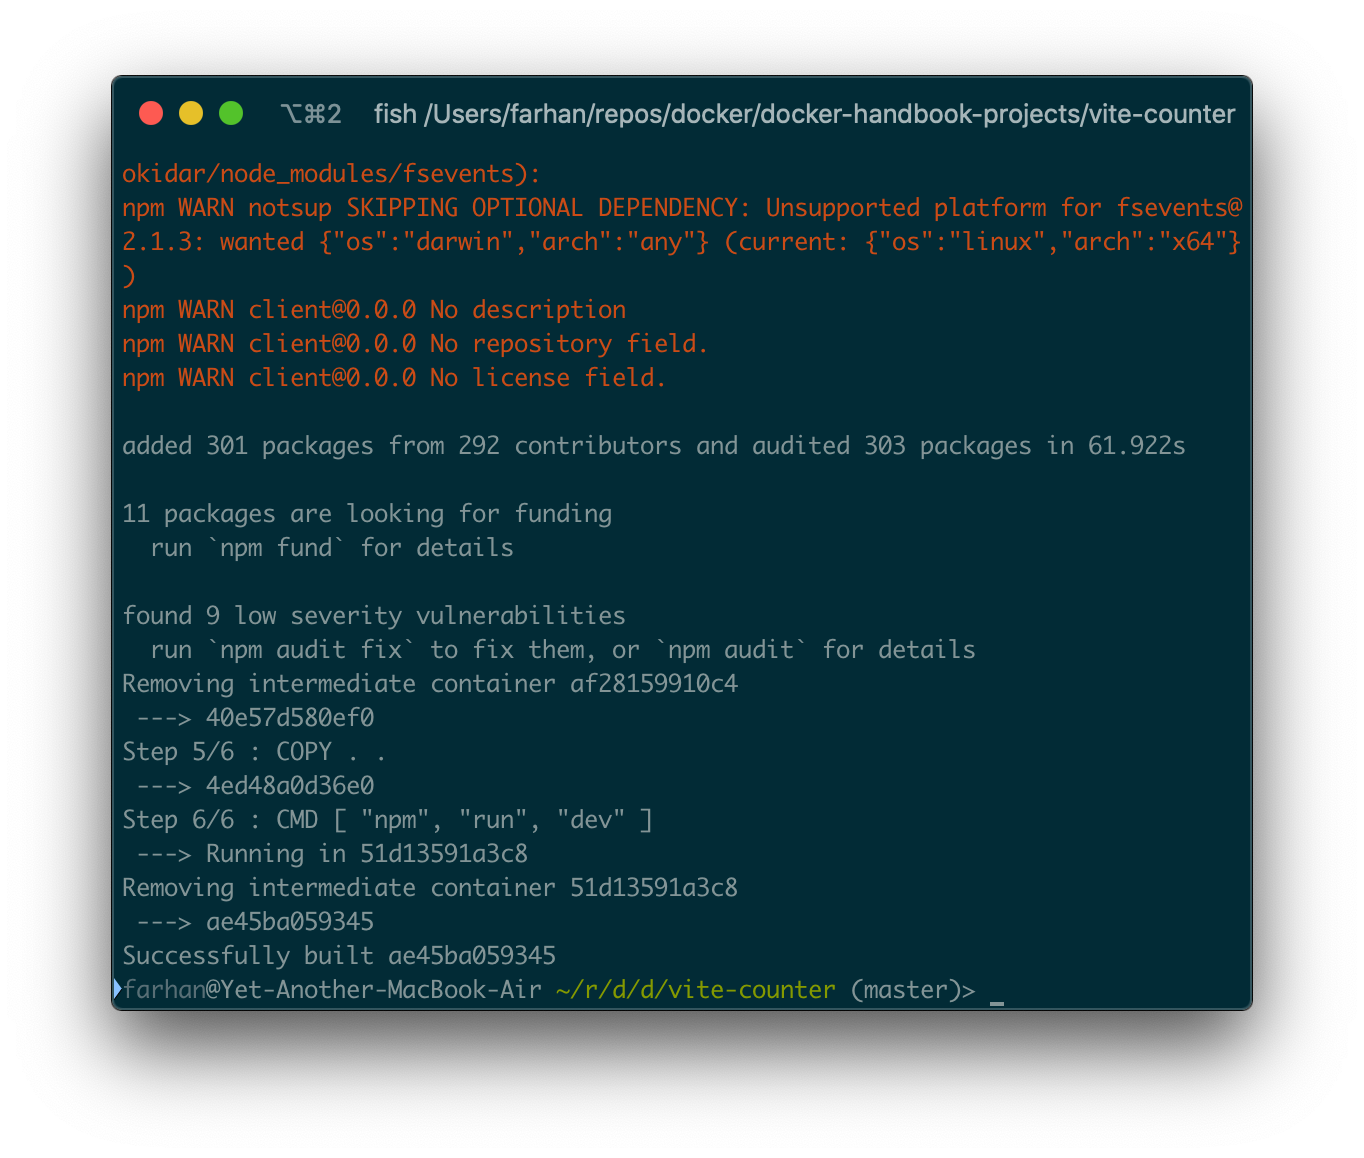
To build the image execute following command:
docker build .
We're using a file named Dockerfile this time so declaring the filename explicitly is unnecessary. Once the build process is finished, use the image id to run a new container. Nginx runs on port 80 by default, so don't forget to map that.
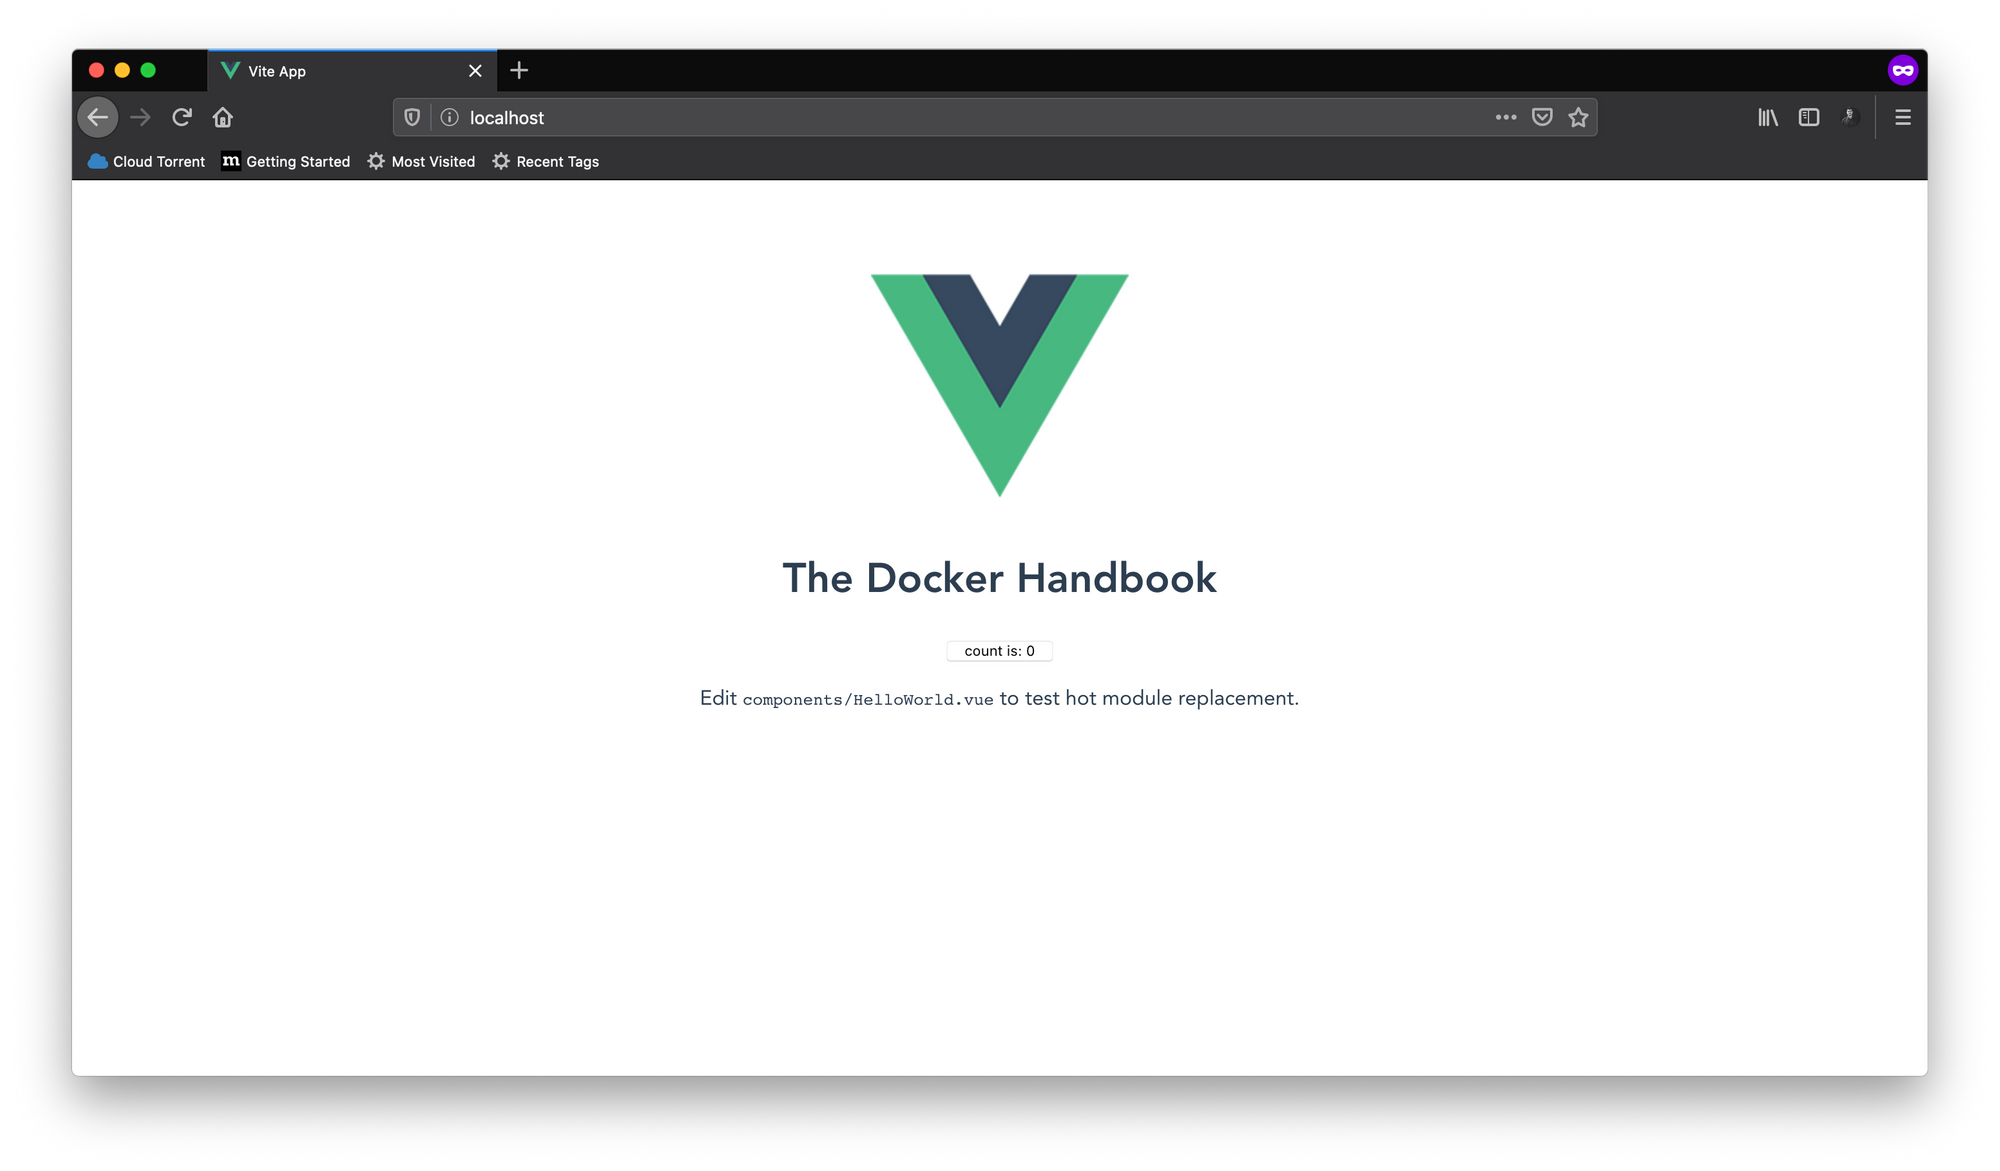
Once you've successfully started the container visit http://127.0.0.1:80 and you should see the counter application running. Replace the 80 if you've used some other port from the host system.
The output image from this multi-staged build process is an Nginx based image containing just the built files and no extra data. It's optimized and lightweight in size as a result.
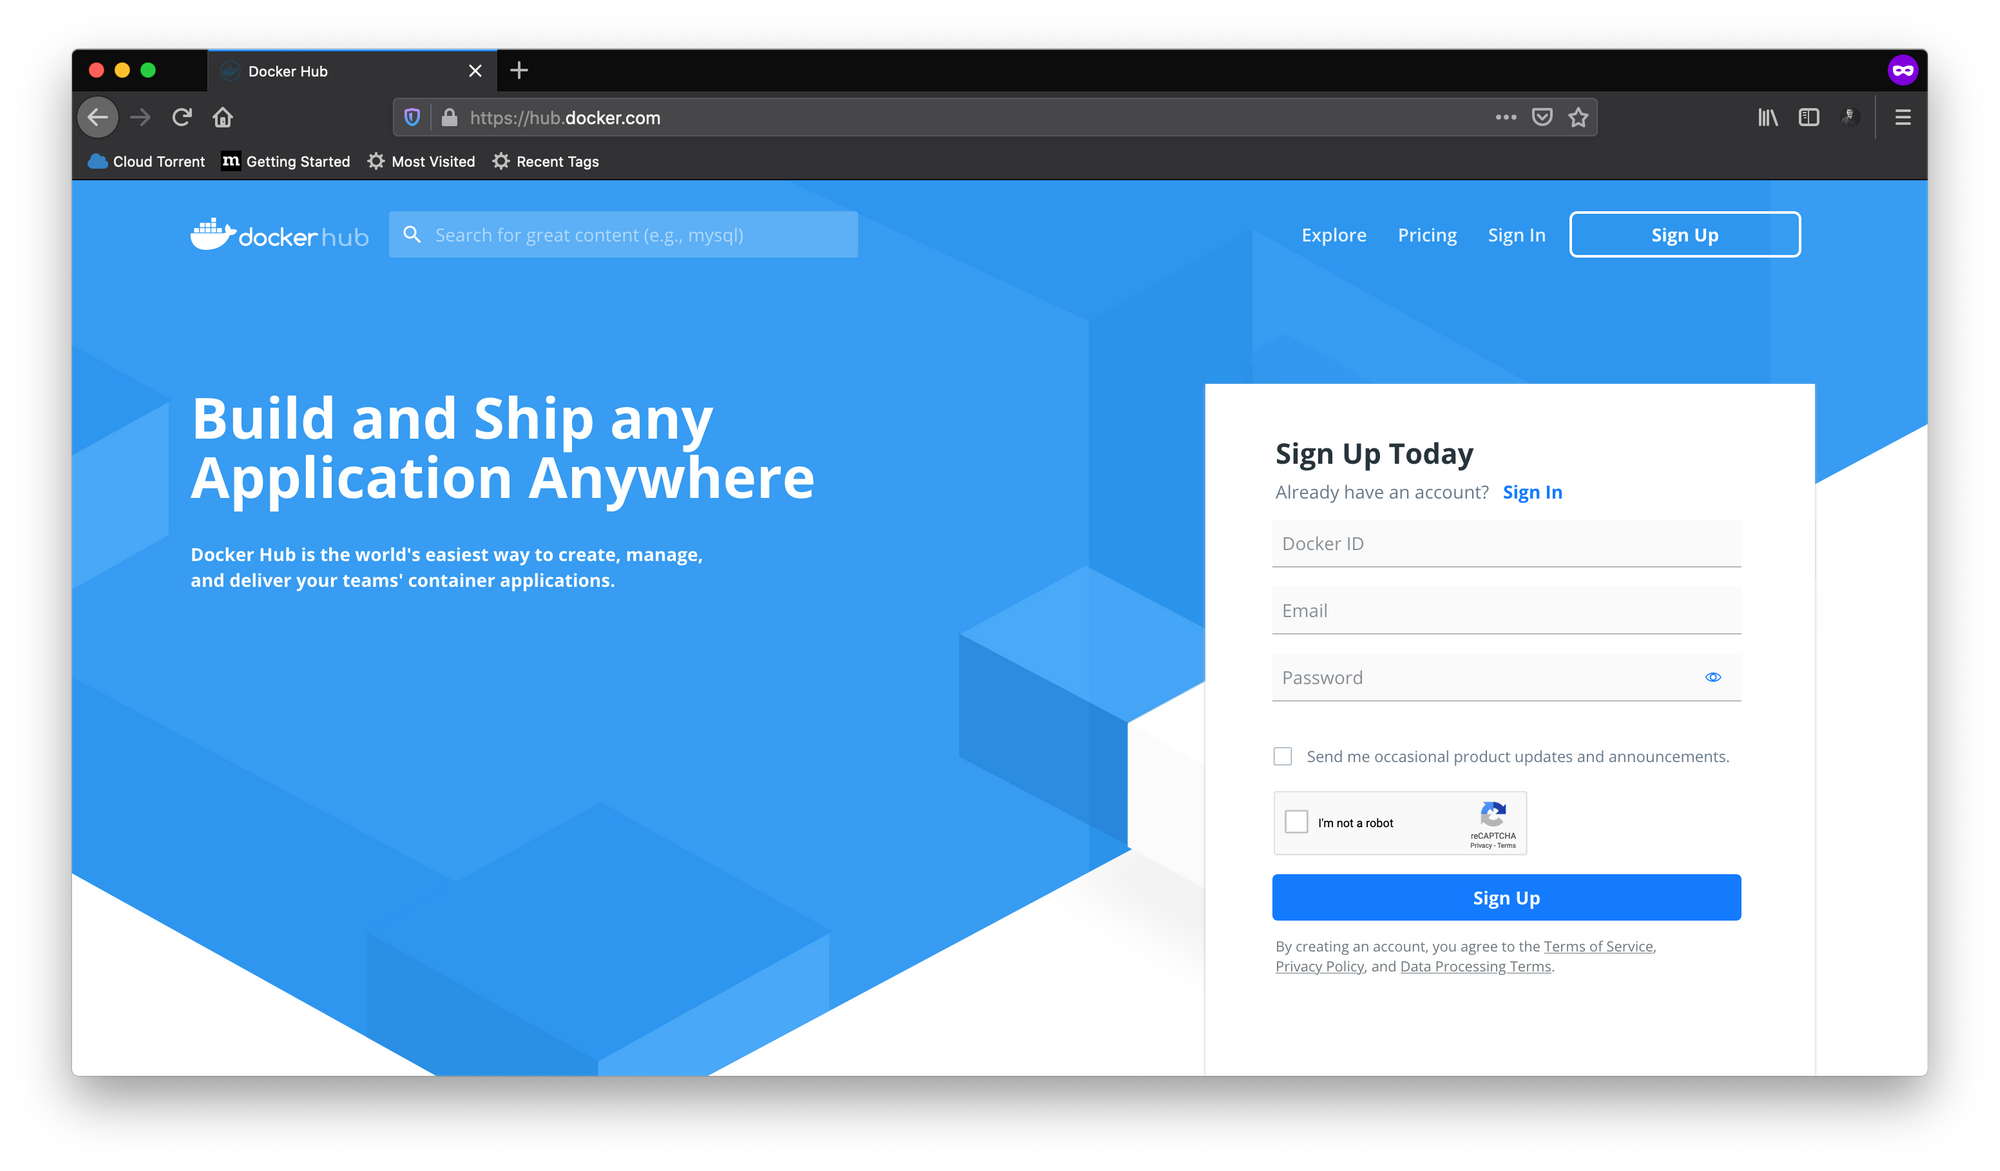
You've already built quite a lot of images. In this sub-section, you'll learn about tagging and uploading images to Docker Hub. Go ahead and sign up for a free account Docker Hub.
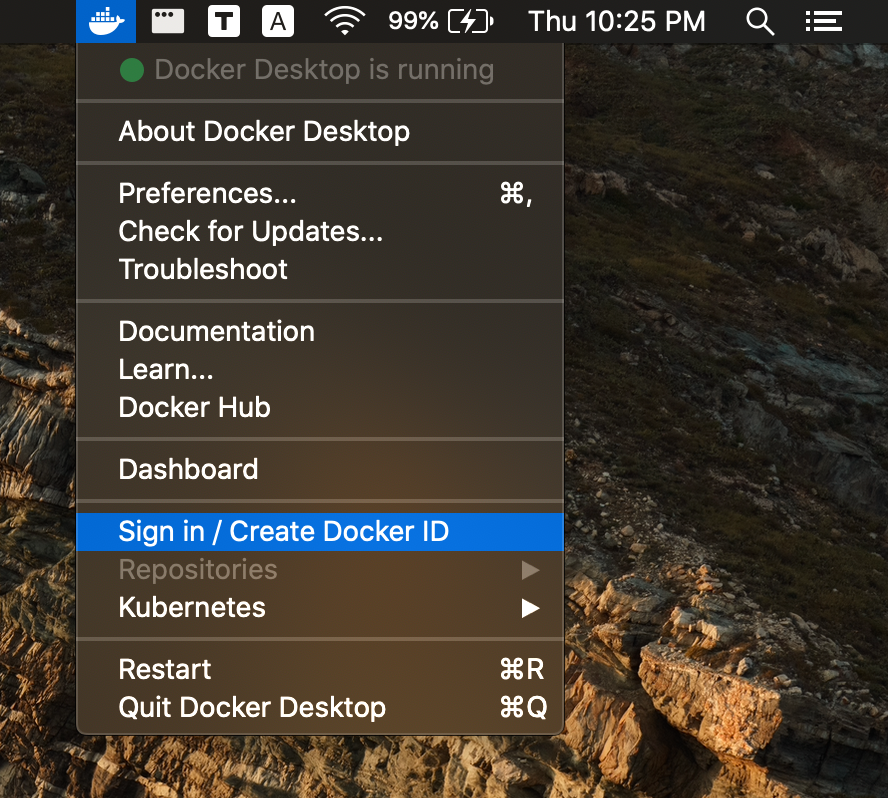
Once you've created the account, you log in using the Docker menu.
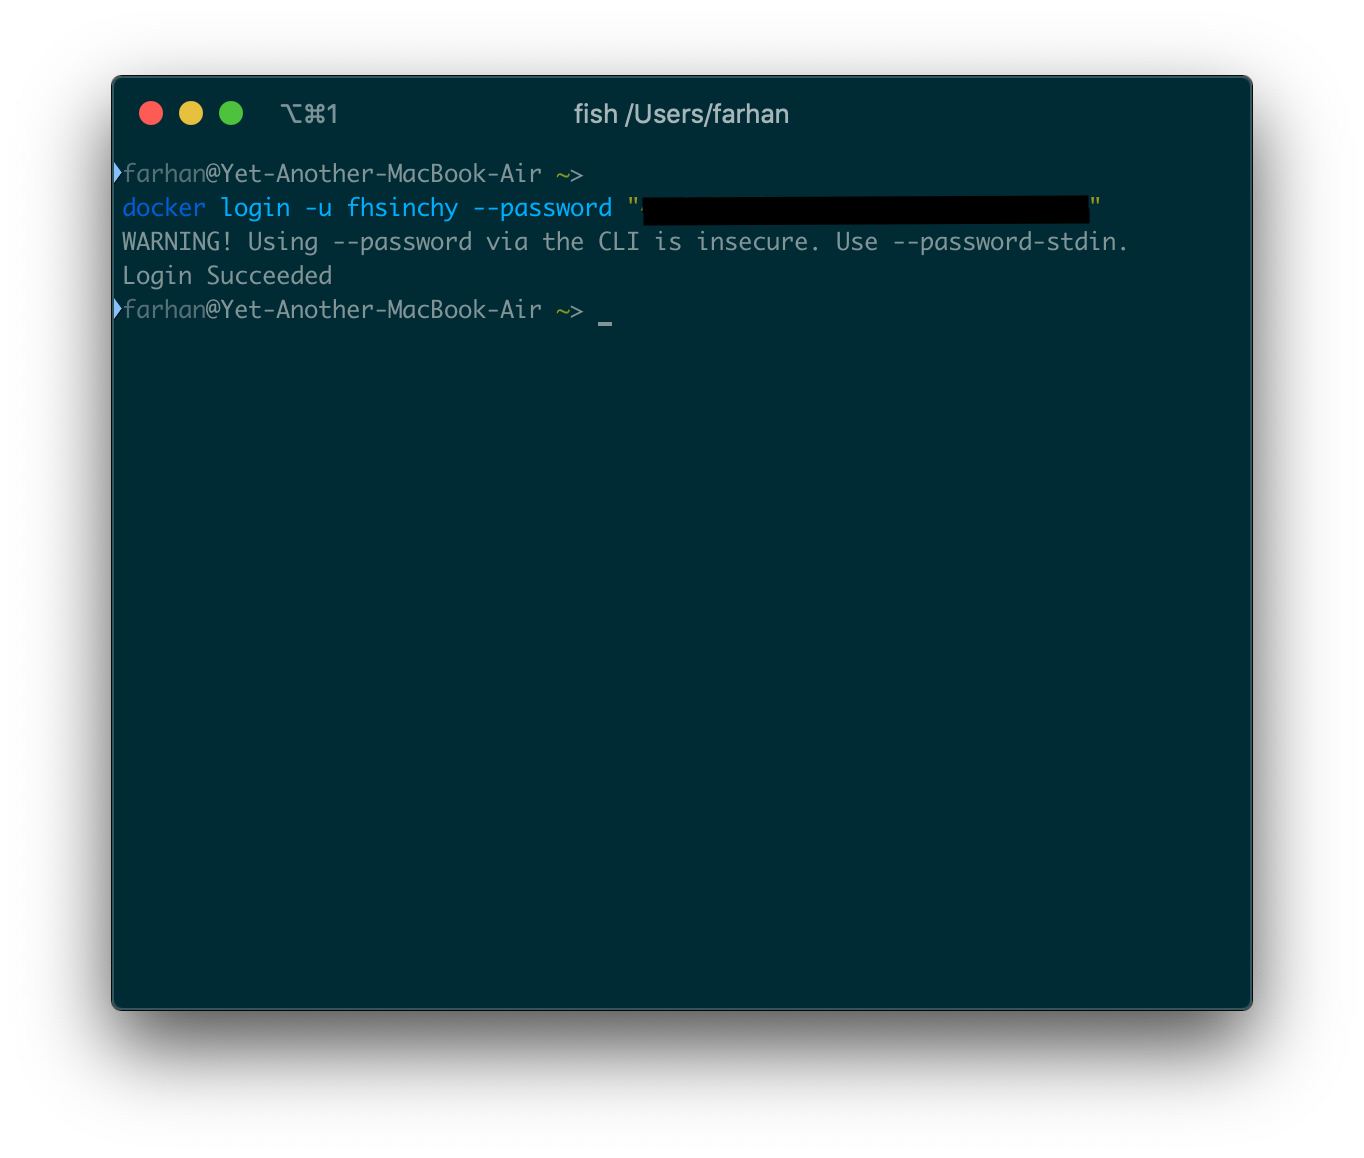
Or you can log in using a command from the terminal. Generic syntax for the command is as follows:
docker login -u <your docker id> --password <your docker password>
If the login succeeds, you should see something like Login Succeeded on your terminal.
Now you're ready to upload images. In order to upload images, you first have to tag them. If you've cloned the project code repository, open up a terminal window inside the vite-counter project folder.
You can tag an image by using the -t or --tag option with the build command. The generic syntax for this option is as follows:
docker build -t <tag> <context of the build>
The general convention of tags is as follows:
<your docker id>/<image name>:<image version>
My Docker id is fhsinchy, so if I want to name the image vite-counter then the command should be as follows:
docker build -t fhsinchy/vite-controller:1.0 .
If you do not define the version after the colon, latest will be used automatically. If everything goes right, you should see something like Successfully tagged fhsinchy/vite-controller:1.0 in your terminal. I am not defining the version in my case.
To upload this image to the hub you can use the push command. Generic syntax for the command is as follows:
docker push <your docker id>/<image tag with version>
To upload the fhsinchy/vite-counter image the command should be as follows:
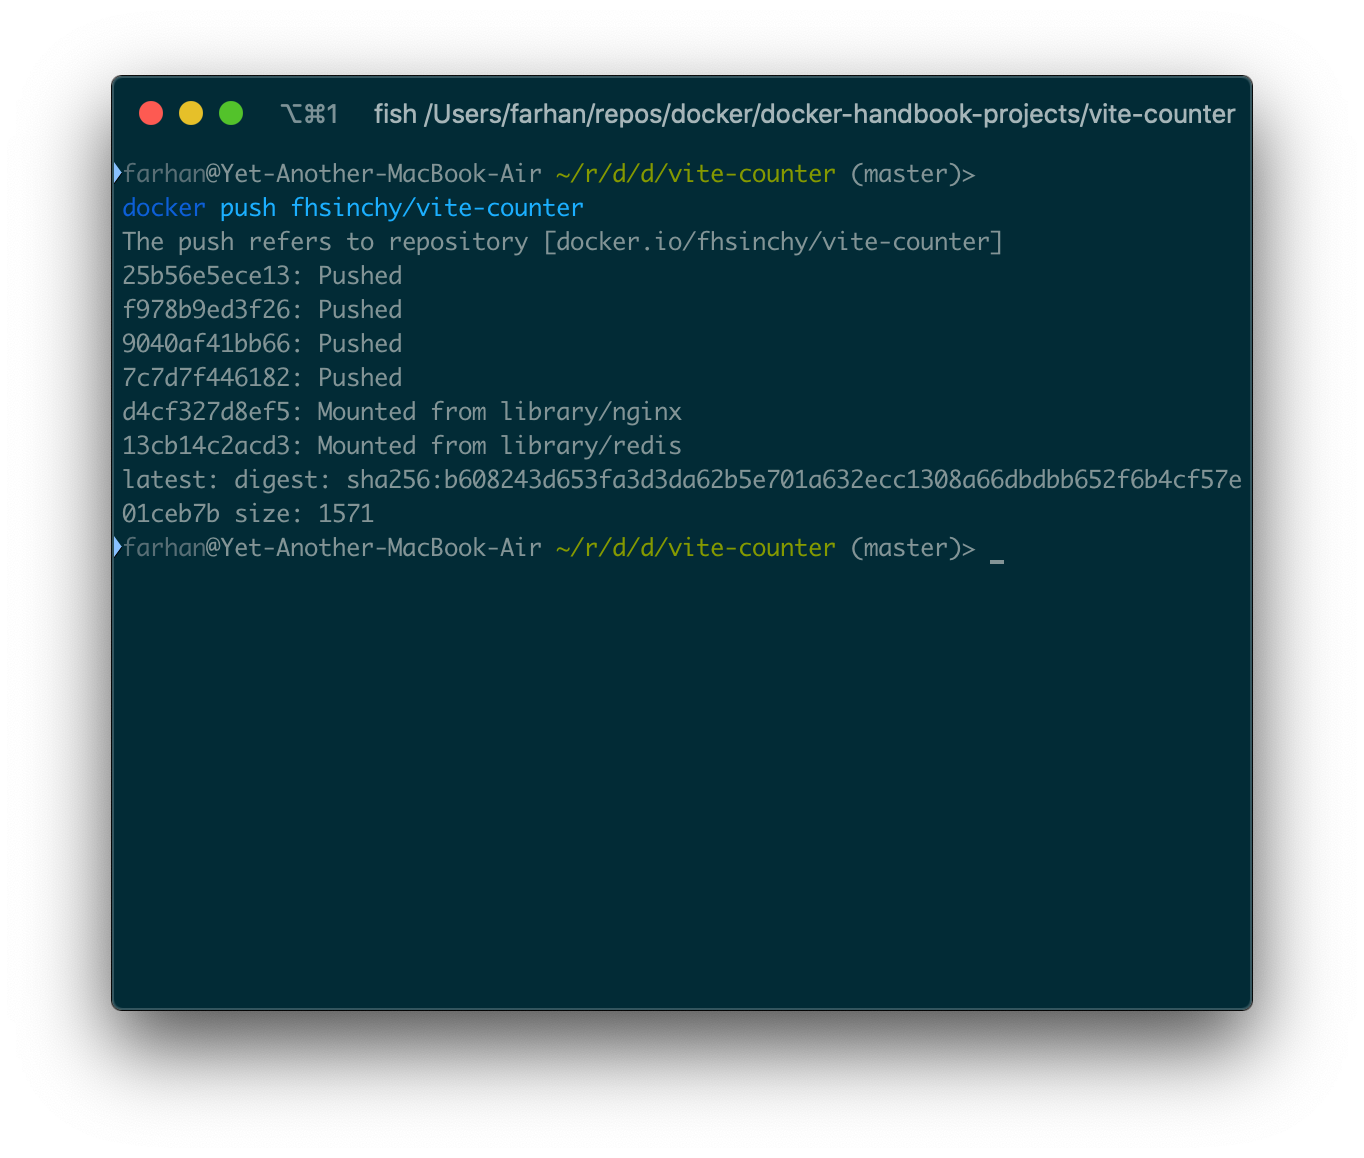
docker push fhsinchy/vite-counter
You should see some text like the following after the push is complete:
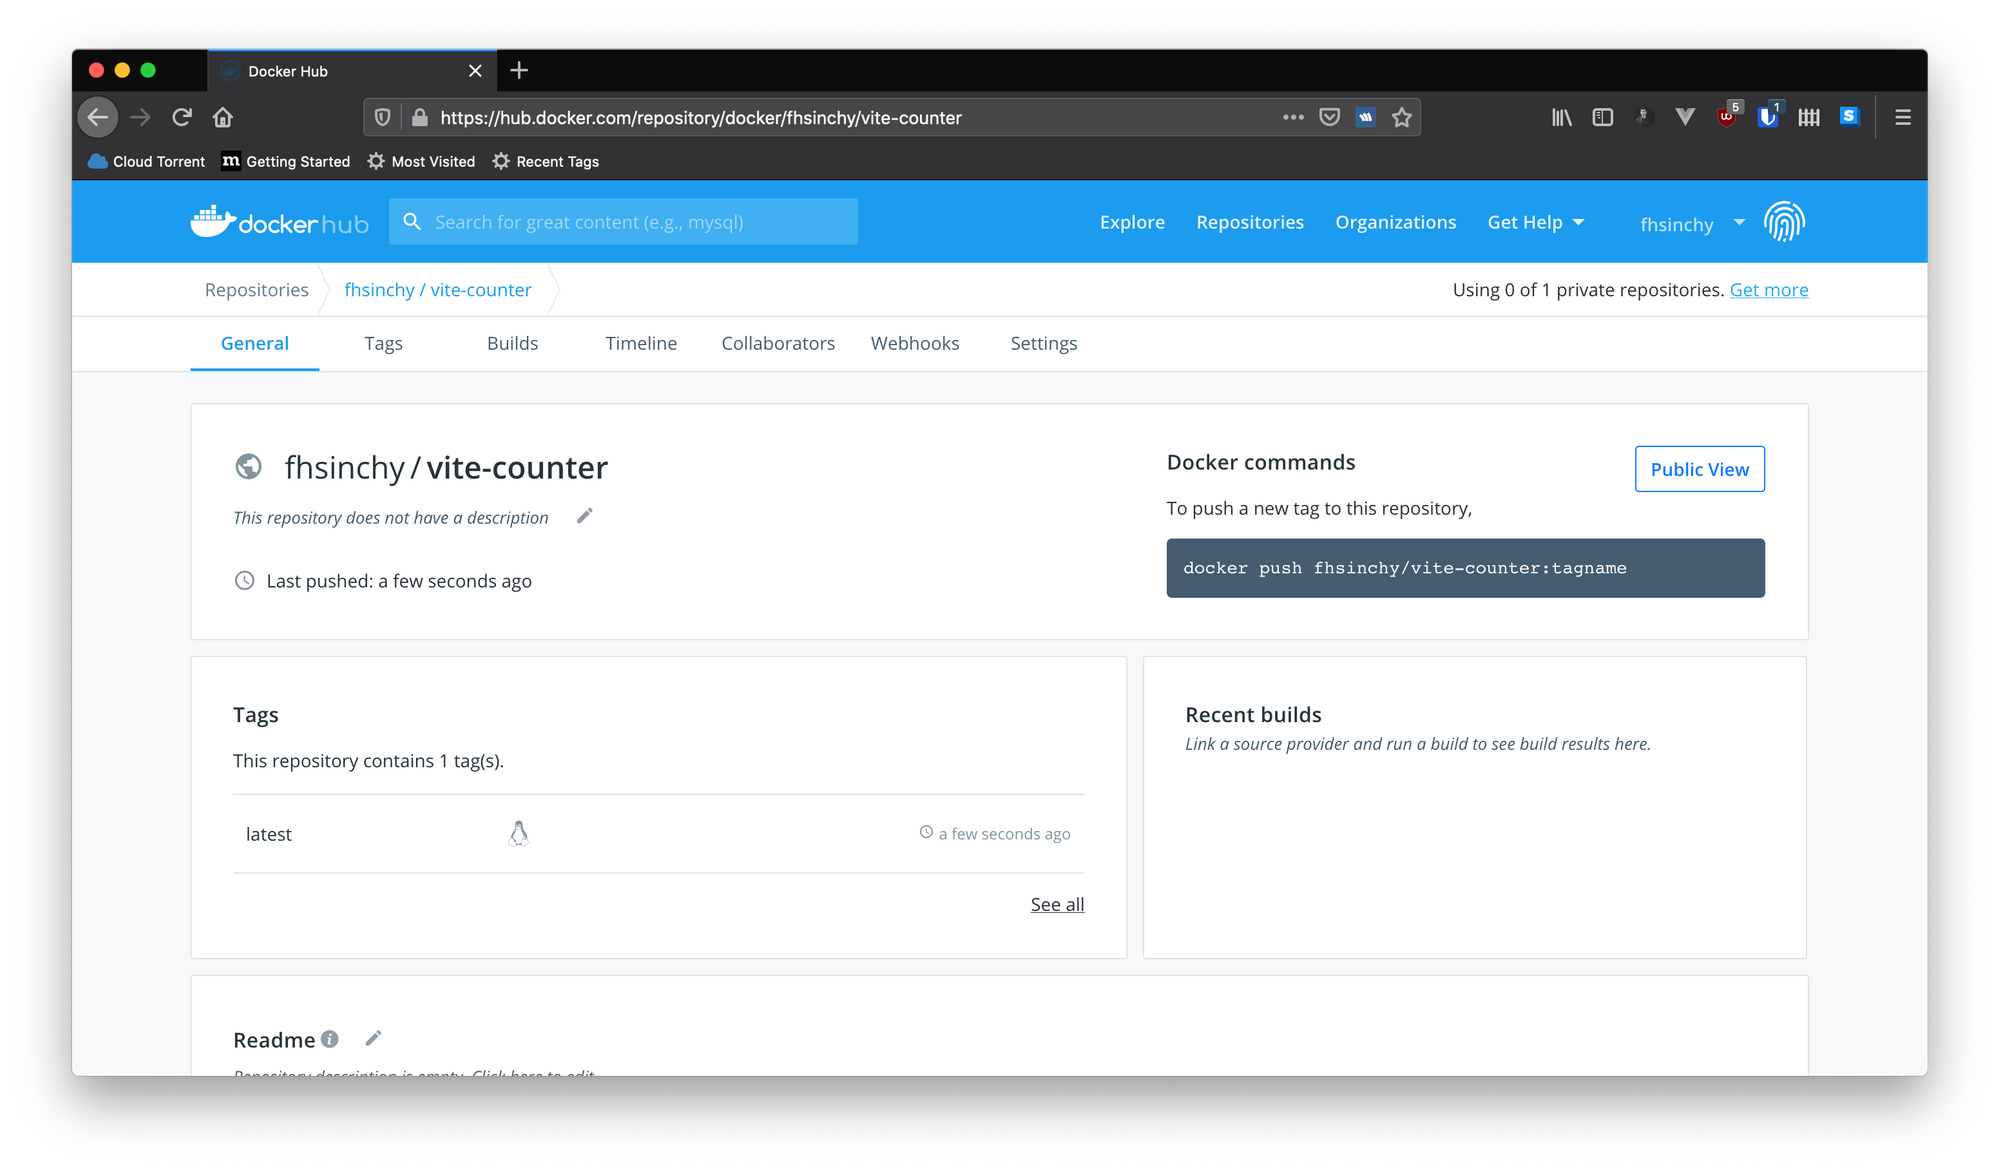
Anyone can view the image on the hub now.
Generic syntax for running a container from this image is as follows:
docker run <your docker id>/<image tag with version>
To run the vite-counter application using this uploaded image, you can execute the following command:
docker run -p 80:80 fhsinchy/vite-counter
And you should see the vite-counter application running just like before.
You can containerize any application and distribute them through Docker Hub or any other registry, making them much easier to run or deploy.
