A fun IoT app using a Raspberry Pi + camera. The app detects motion from the h264 encoder with little CPU drain. A first snapshot is taken once the total motion in the video stream exceeds a certain threshold. A second snapshot is taken after the scene becomes static again. Finally, the second snapshot is analyzed. Thus, this Thing of the Internet is a (wonky) surveillance camera and a selfie-machine at the same time --however you want to view it. The purpose was to demo Azure IoT and cognitive services on top of building an image acquisition framework for the RPi.
The importance of (data) privacy grows daily, but having a NN talk about its observations might just be ok... Thus, snapshots get only persisted on the local file system. The gist of the second snapshot is extracted by Microsoft's computer vision API. This gist consists of tags, categories and a caption from the second snapshot. It is passed on to the cloud.
Next to the description and other features at the end of the scene, telemetry includes motion vectors for each frame during a scene. Learning gestures from this dataset would be even more fun! I wanted to try Azure's IoT Hub for data ingestion. All data mentioned above is forwarded via device-to-cloud-messages.
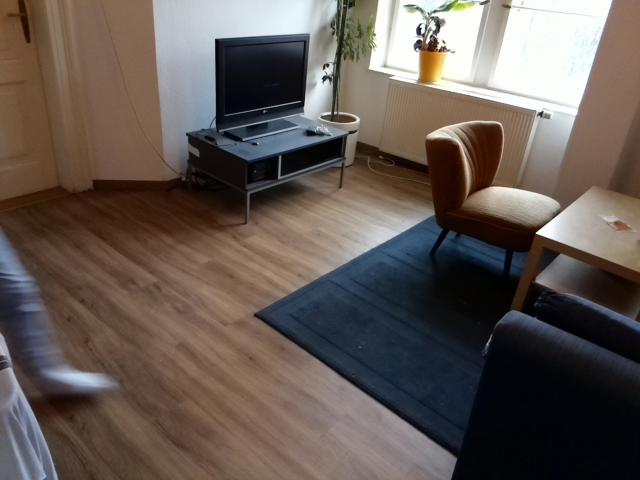
I'm entering the living room from the left

The motion detector triggers the first snapshot to be stored on the RPi. At the same time, motion vector data from each video frame is forwarded to the cloud asynchronously.
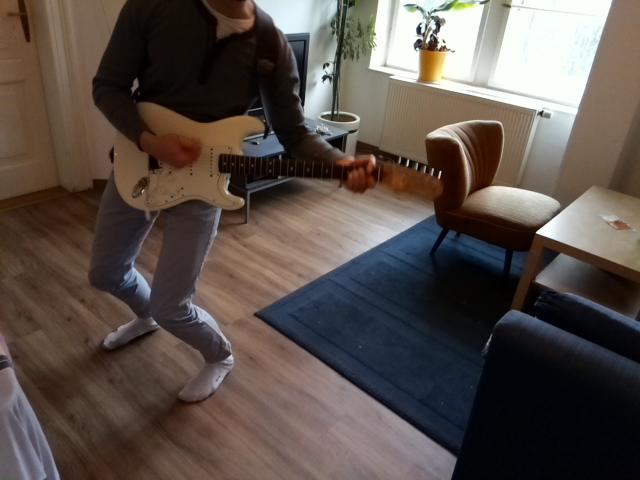
    caption: 'a man that is standing in the living room'
    confidence: 0.1240666986256891
    tags: 'floor', 'indoor', 'person', 'window', 'table', 'room', 'man', 'living', 'holding', 'young', 'black', 'standing', 'woman', 'dog', 'kitchen', 'remote', 'playing', 'white'
This is how the second snapshot is described by Azure's cognitive API. Fair enough... Unfortunately, the caption doesn't mention my awesome guitar performance. The description of the scene and meta-information like timestamps are dispatched whereas recording motion-data stops.
I leave the room after much applause 👏👏👏 (snapshot omitted)...
After no motion was detected for a set amount of time (0.75 secs in that case), another scene is analyzed.
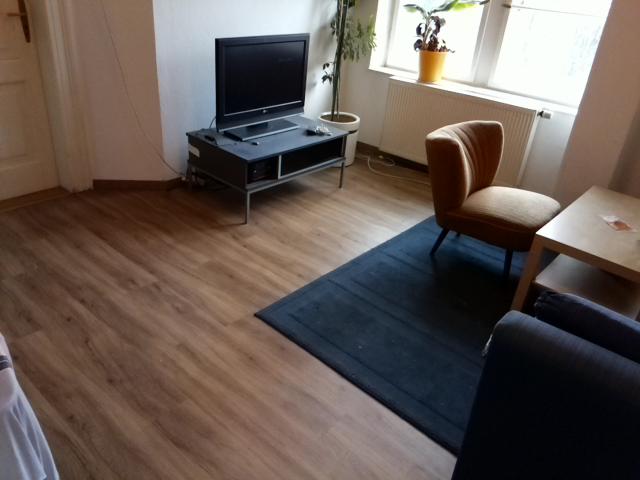
Now it's just the the bare room

    caption: 'a living room with hard wood floor'
    confidence: 0.9247661343688557
    tags: 'floor', 'indoor', 'room', 'living', 'table', 'building', 'window', 'wood', 'hard', 'wooden', 'sitting', 'television', 'black', 'furniture', 'kitchen', 'small', 'large', 'open', 'area', 'computer', 'view', 'home', 'white', 'modern', 'door', 'screen', 'desk', 'laptop', 'dog', 'refrigerator', 'bedroom'
This time, the description is pretty accurate (and confident).
- Setup an Azure IoT Hub and add the RPi as a device.
git clone https://github.com/ahirner/room-glimpse.git- Create
credentials.pyin./credswith the Azure Cognitive API key, the IoT device ID and a device connection string.
AZURE_COG_KEY= 'xxx'
AZURE_DEV_ID= 'yyy'
AZURE_DEV_CONNECTION_STRING='HostName=zzz.azure-devices.net;SharedAccessKeyName=zzz;SharedAccessKey=zzz='- Install missing modules (
requirements.txttbd) - Start with
python3 room-glimpse.py
Only the HTTP API is used for now. The dedicated azure-iot-python SDK can control batching more effectively, use MQTT for less overhead but is not yet available via pip3 on Unix.
Configuration for the video stream, motion thresholds and cloud endpoints are in config.py.
-
Of course, nothing prevents you from running/training your own version of a talking NN. In fact, this project is a vantage point to try pushing computing on the edge. Sam maintains a pip wheel to install TensorFlow on the little RPi. Pete Warden has done amazing work recently to trim down NNs in a principled way (e.g. quantization for fixed point math).
-
In general, make use of spare cores. Most of the time, the CPU idles at 15% (remember the h264 motion detection). So there is plenty of room left for beefier tasks on the edge.
-
Overlay motion vectors in a live web view (there is a 2D vector for each 16x16 macro block).
