Embedded Proto is a product of Embedded AMS B.V. For more information about Embedded Proto please visit EmbeddedProto.com.
Copyrights 2020-2024 Embedded AMS B.V. Amsterdam, www.EmbeddedAMS.nl, info@EmbeddedAMS.nl
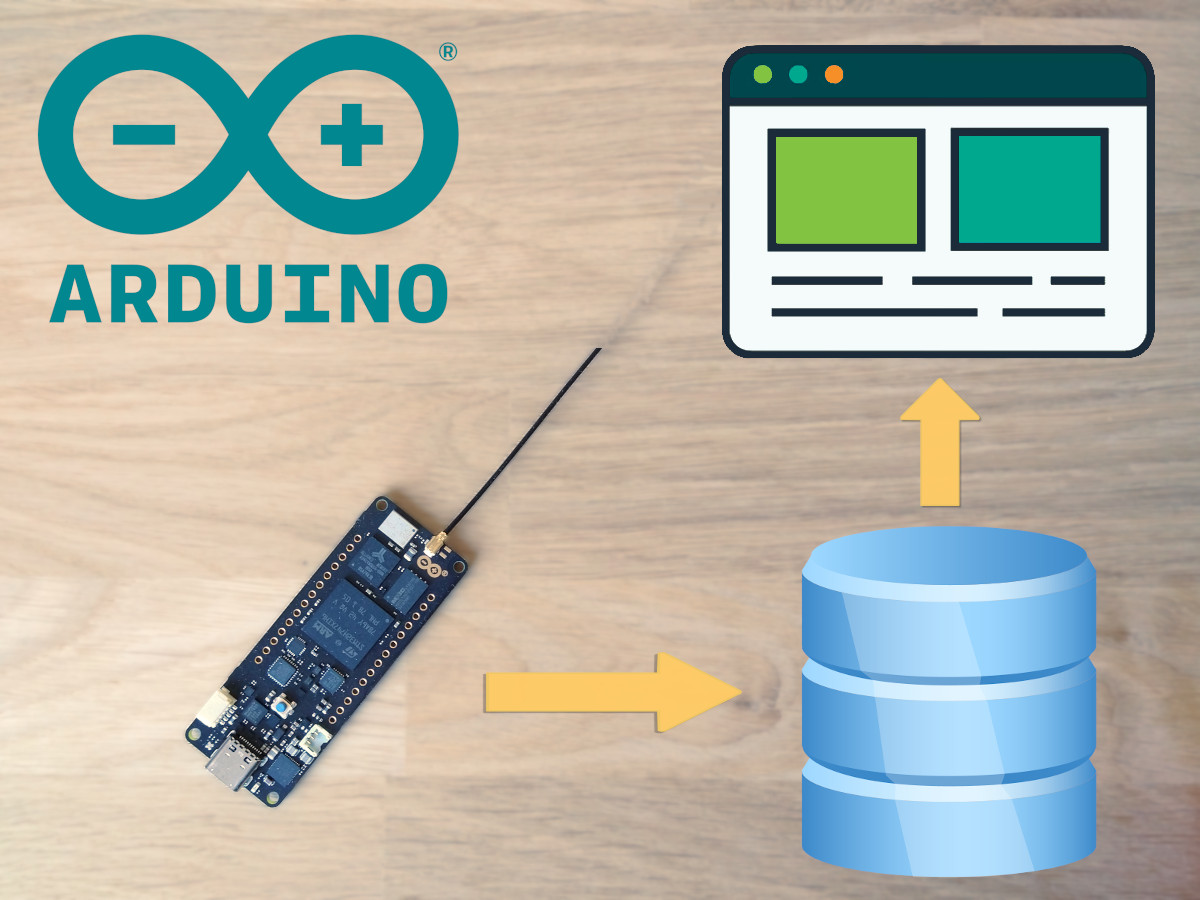
This repository hosts example code for Embedded Proto, the embedded implementation of Google Protocol Buffers. It is a simple example showing how an Arduino sends data through a server to a front end.
Following this tutorial, you will learn how an IoT system works from the device through the server to the front end.
You can read the full tutorial here.
An Arduino with WiFi. An Arduino Pro Portenta H7 was used in this example.
- Arduino IDE, we used version 1.8.19.
- NPM, we used version 7.11.2.
- NodeJS, we used version 10.19.0.
- Embedded Proto version 3.4.1 (included as a submodule). The requirements of Embedded Proto are listed here.
This is the short installation instruction. For instructions and explanations, please read the full tutorial.
git clone --recursive https://github.com/Embedded-AMS/EmbeddedProto_Example_Arduino_Pro_WiFi_to_NodeJS.git
cd embeddedproto_example_arduino_pro_wifi_to_nodejs
python setup.py
mkdir ~/Arduino/libraries/EmbeddedProto_Library
cp EmbeddedProto/src/* ~/Arduino/libraries/EmbeddedProto_Library/
cd NodeServer
npm installUpload the sketch using the Arduino IDE. When connected over USB, you can view the debug information over the com port.
To run the server:
npm run serverDebug information will be shown in the terminal. The URL on which you can find the front end is shown at the start of the output.
Have fun!
Three simple things you can do to help improve Embedded Proto:
- Give private feedback.
- Report an issue in public on Github.
- Stay up to date on Embedded Proto via our User mailing list.


